This month was not as productive as I had hoped due to my New Media Expo / CES trip for work. I did get some things done though!
Interior Insulation and Deadener
I’ve been slowly installing the sound deadener and insulation into the car. Here are the latest pictures. The deadener is done. As for the insulation, only a few gaps remain. I’m using a closed cell foam with aluminum backing on both sides. Even in the below freezing weather, when you put your hand on it it feels room temperature. All gaps are taped with aluminum tape.
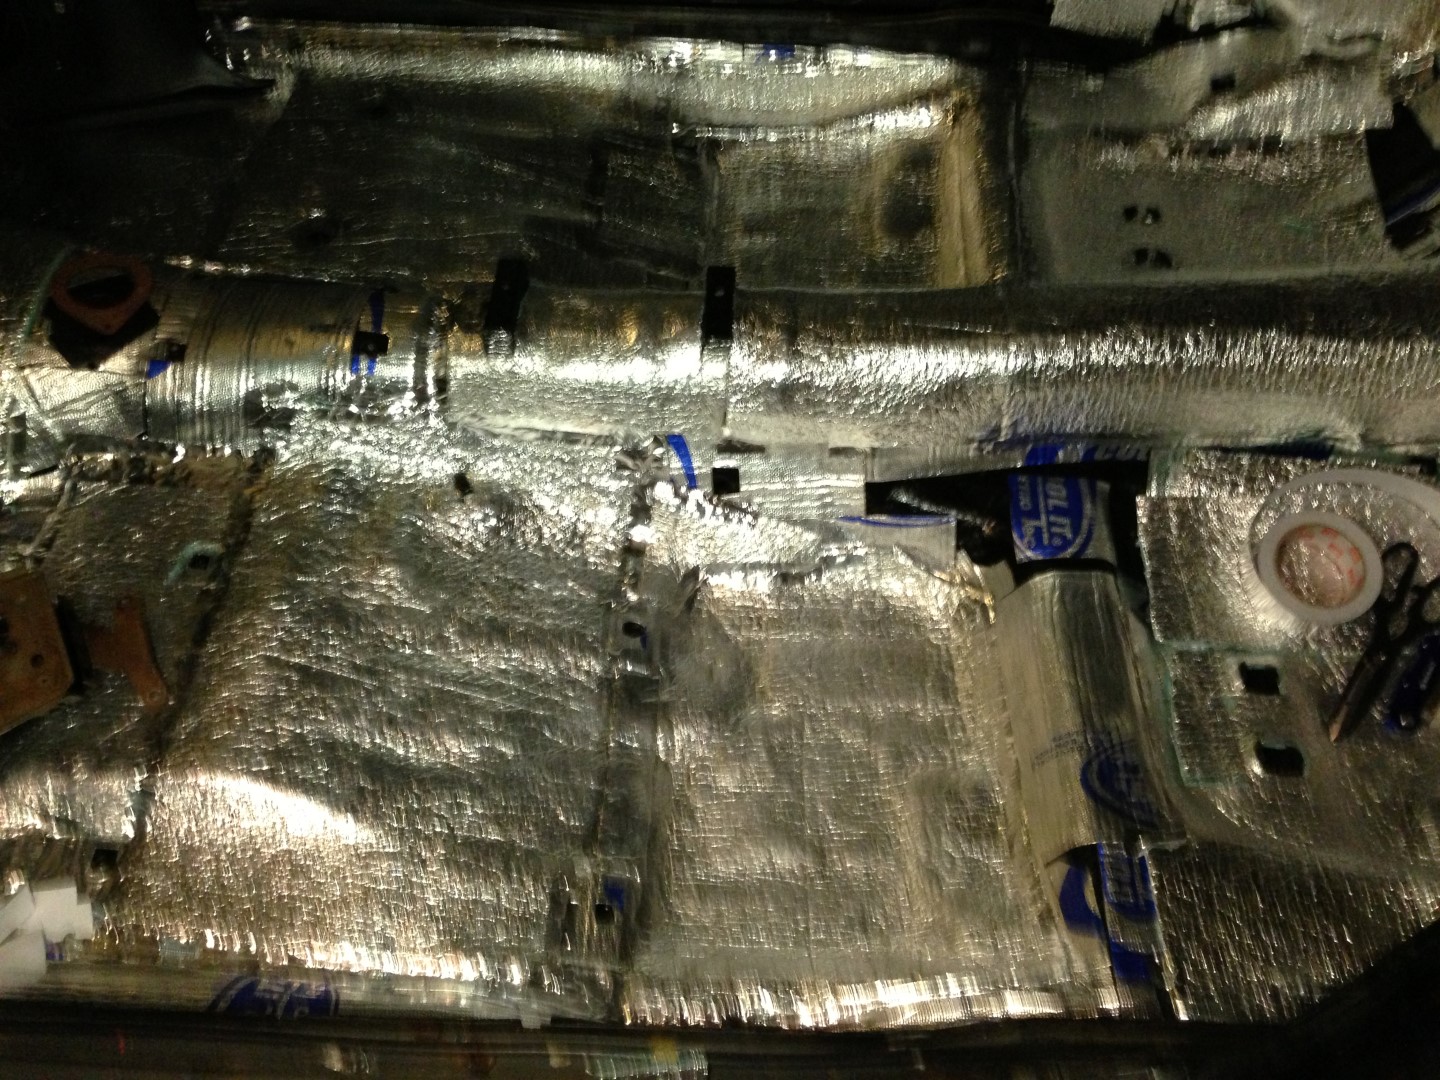
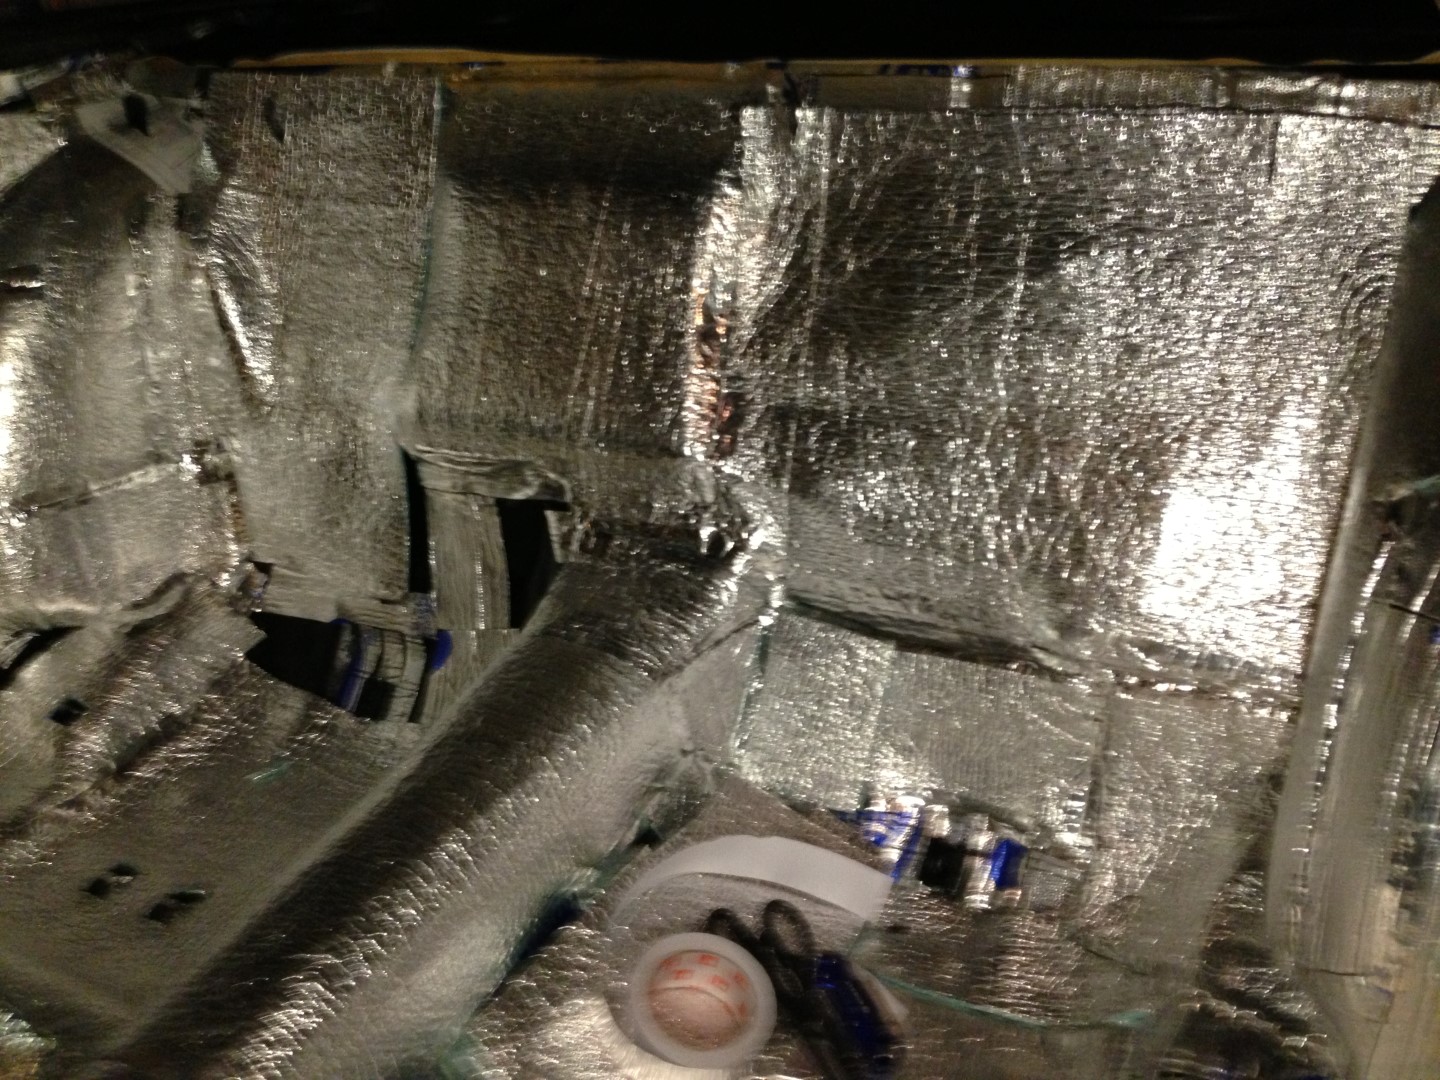
I would say that I’m about 90% done, one good hour in the garage and I’ll be ready for carpet.
AC/Heater Controls
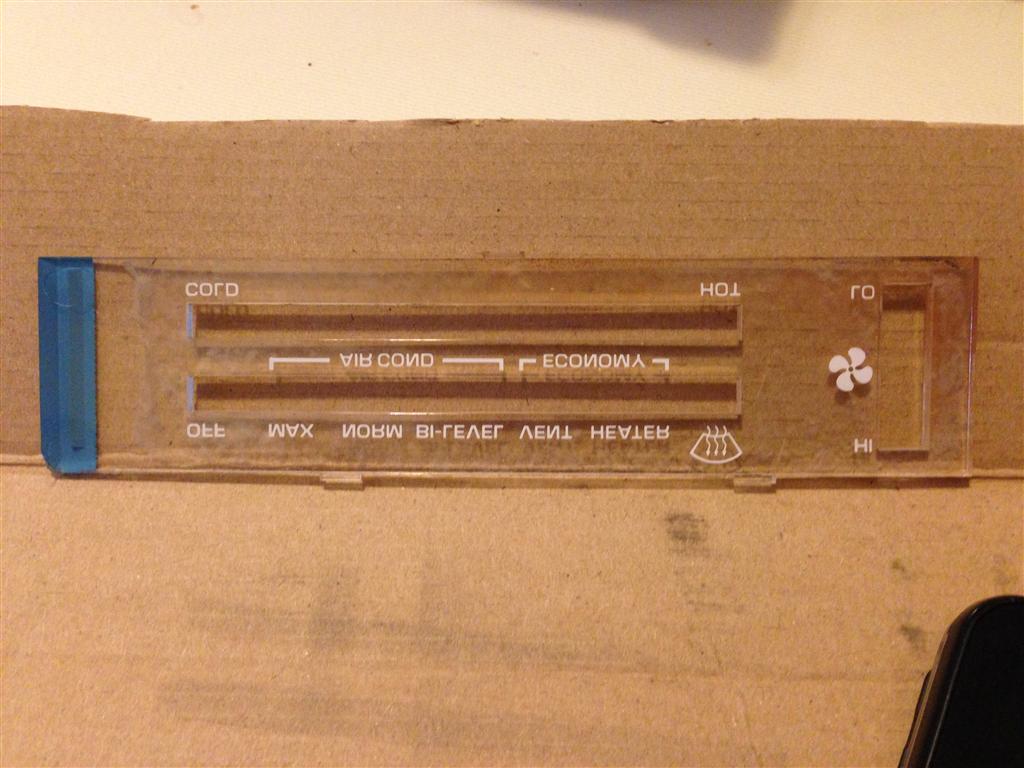
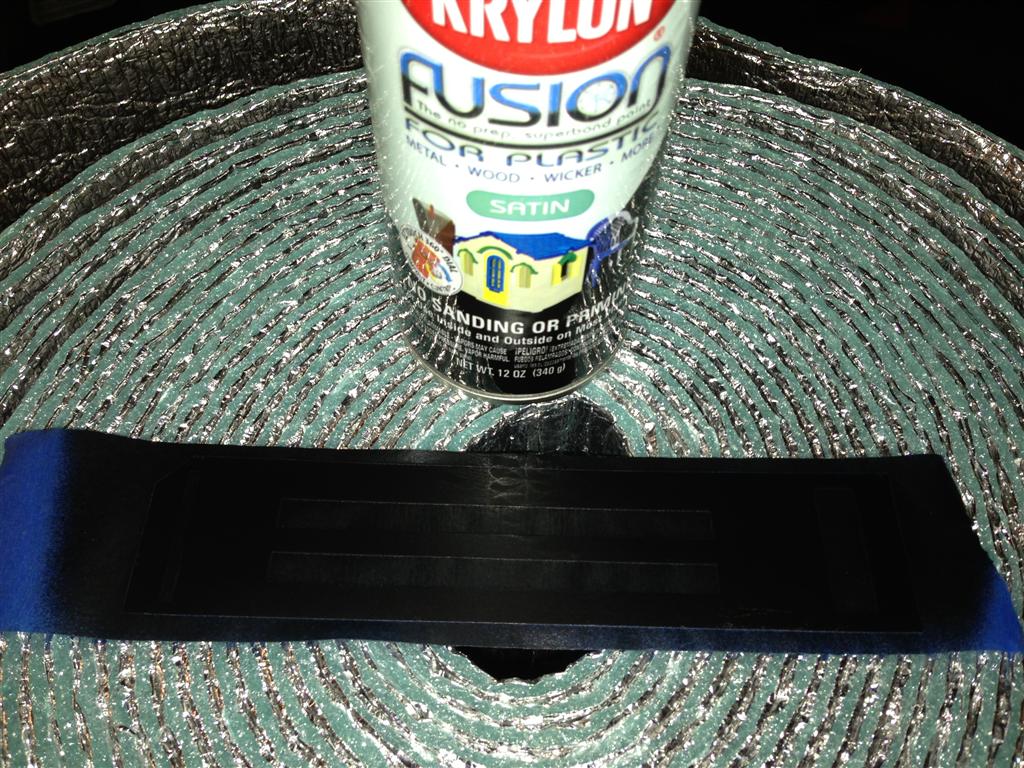
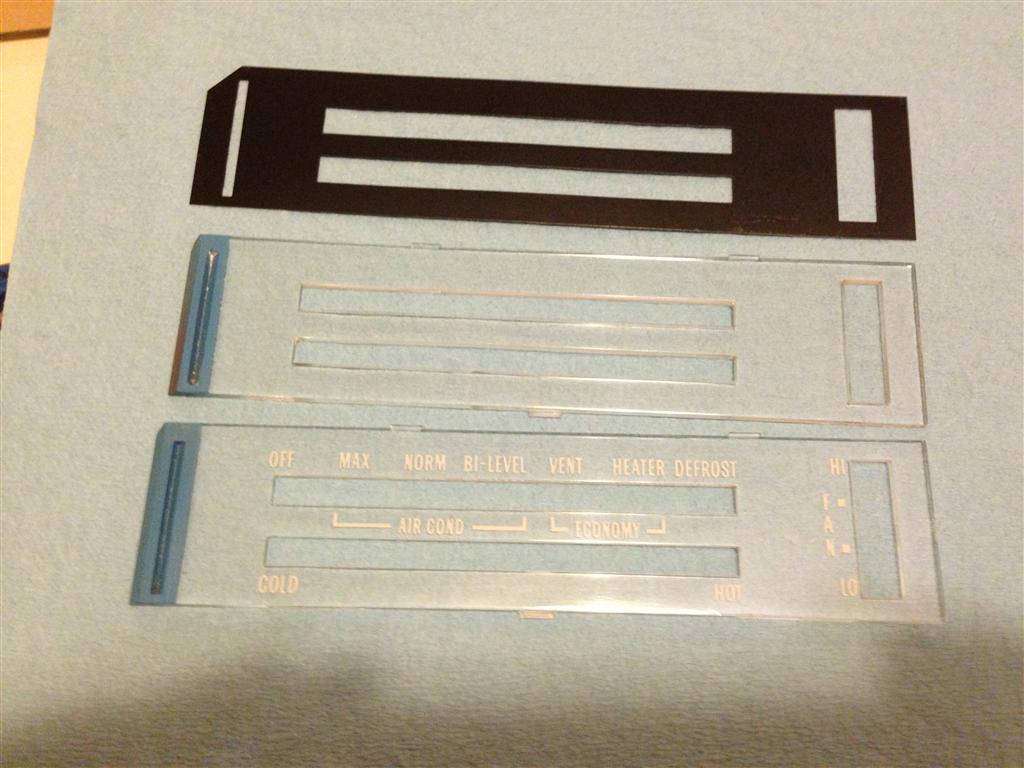
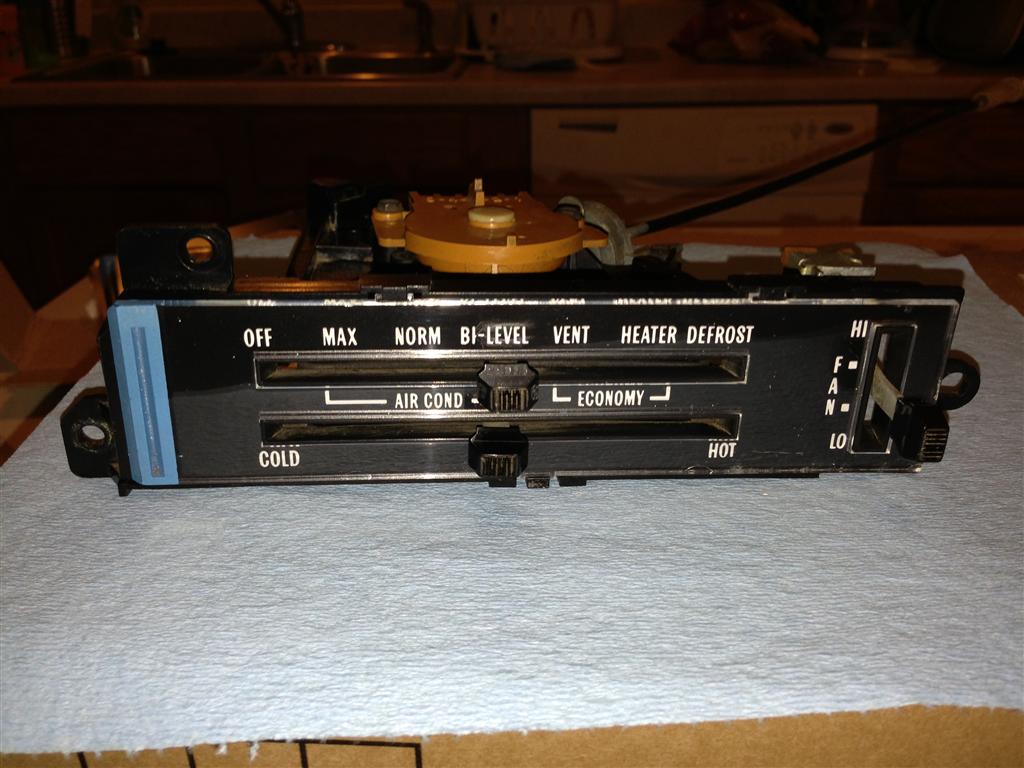
The AC/Heater controls were in pretty bad shape. The face plate was the worst having paint splatter on it. The controls themselves are in good condition and only needed a light cleaning. The bezel though required re-polishing. In the process of re-polishing, I accidentally polished the back side with the lettering on the bezel glass, the accident promptly made the bezel worthless. Never the less, I finished polishing the bezel and also went ahead and polished a backup bezel I had. Here are some pictures of the before/after, you can see the one with the paint cleaned up beyond nice, I polished even the wording right off. But it did give me an idea to make my own printed label to go behind the glass bezel, something I could print at work on the color printer. The only question is if the sticker I make would be able to handle the heat on the light bulb end. The bezel backing I painted with Krylon Fusion satin black. The backing could have had more gloss to it, a semi-gloss would have been perfect, but I couldn’t find that in the Fusion paint line.
Reassembling Dashboard and Center Console
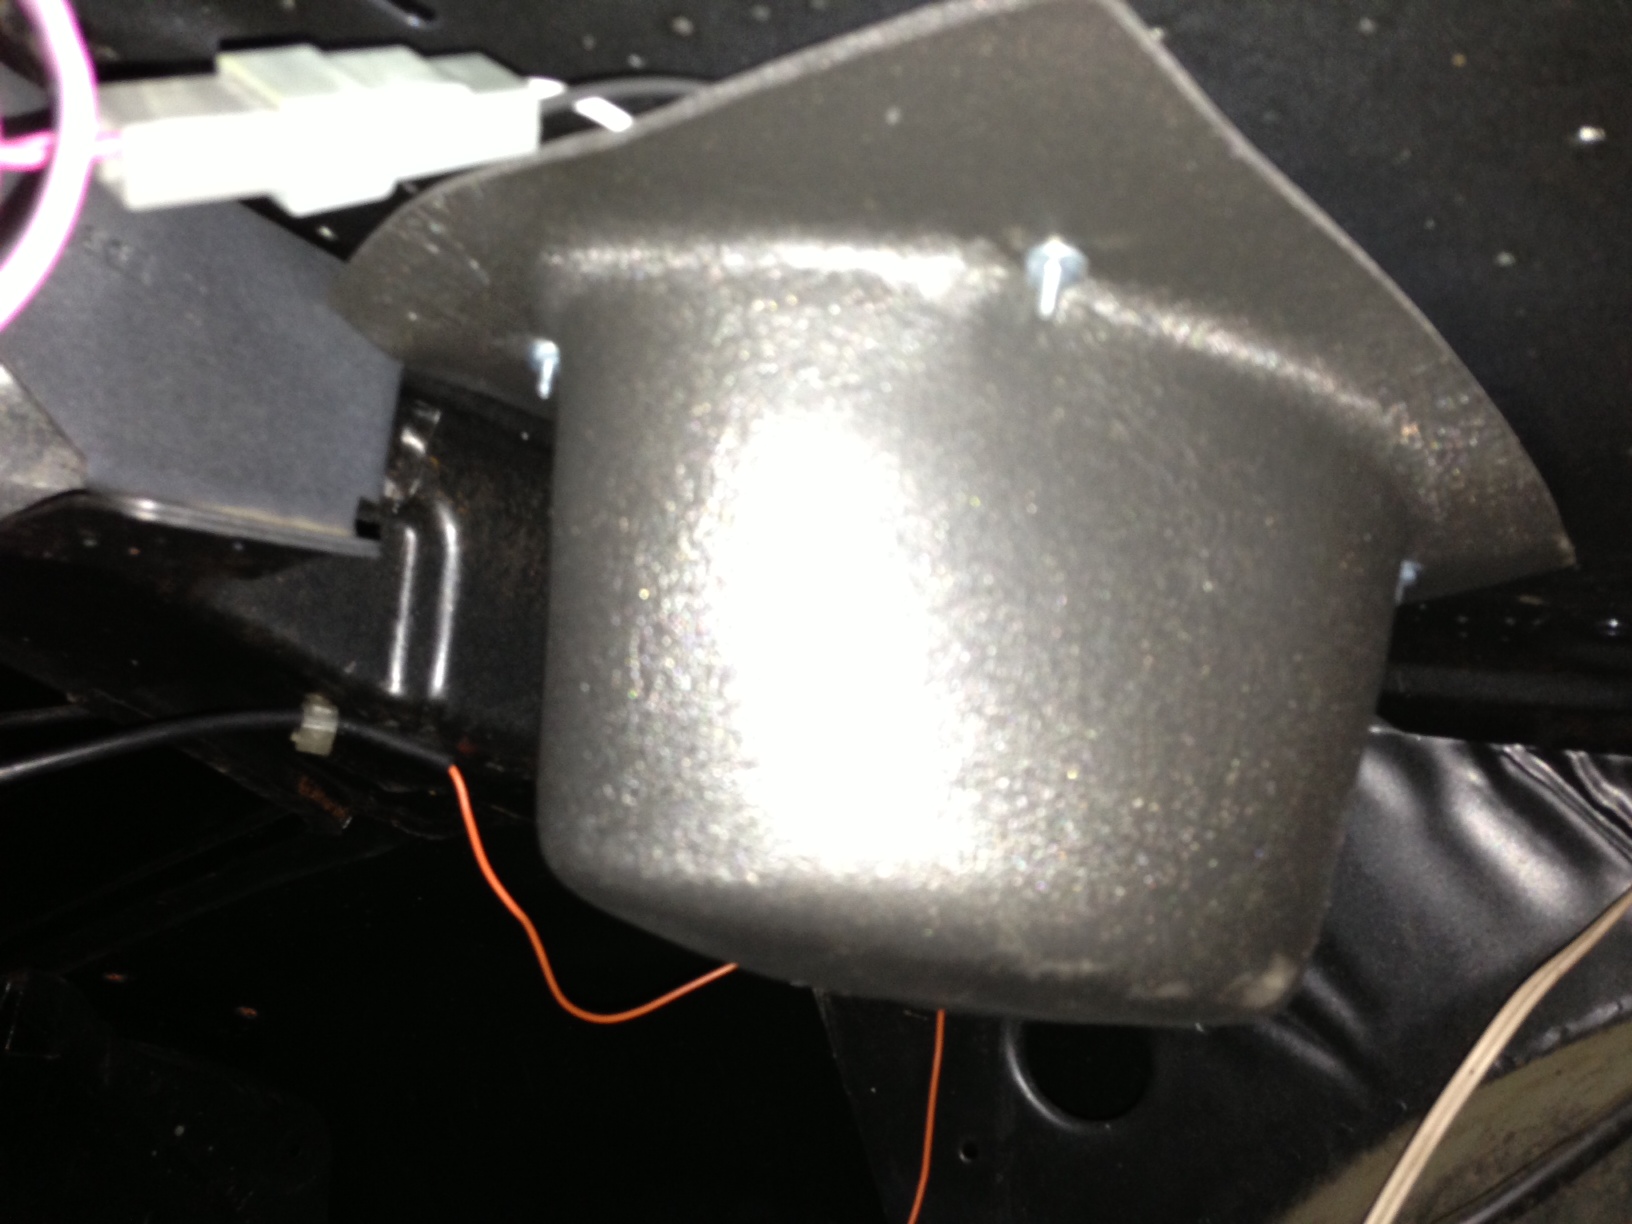
Pretty much I spent this month getting everything together to put the dash and center console back in the car. The dash is needed in order to properly mount the gauges and steering column. The dash is ready for the new cover I got to be glued on. One thing left is to cut the holes for the deluxe passenger side grab handle.
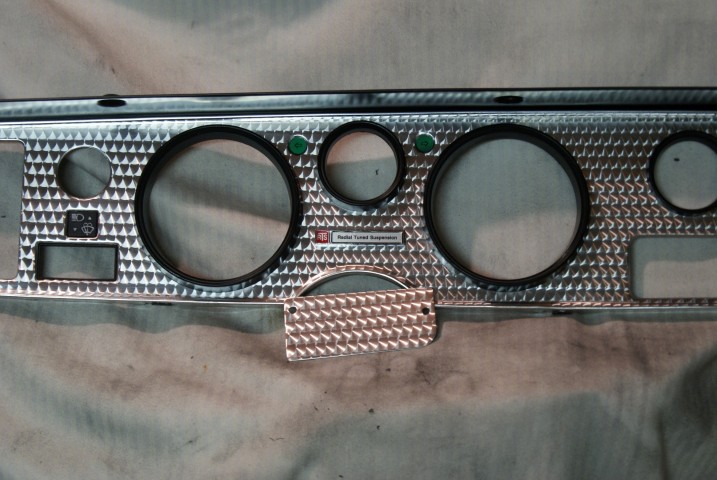
I sent my dash bezel out to get refinished. I just got an email that it is finished and should have it next week. I’ll blog a separate post with pictures when it arrives. Here’s a preview picture.
The center console, unfortunately, is far from ready. nearly 3 years ago when I started taking the car apart, I unknowingly boxed up the center console parts assuming they were in good condition. I thought I had a good center console glove box, but little did I know the previous owner rigged a brass door hinge onto the glove box. Worse yet, the hinge was recessed, which meant every time you open the door the opposite side of the hinge presses into the center console.GM designed the hinge on these all the way to the edge for a reason.
Now moving onto the lid to the center console glove box. Last year on eBay I got a lid cover with all the fasteners/screws to fix my lid. I tossed it in the box of center console parts without checking its fit and finish. I’m kicking myself for not checking the fit and finish! You can see the molding of the top and bottom mounts aren’t lined up so you can picture what this looks like when you try to mount it on the center console! Worse is the top of the cover has a round indent, which looks like crap. They gave me 2 sticker options to place there, like that will make it look better.
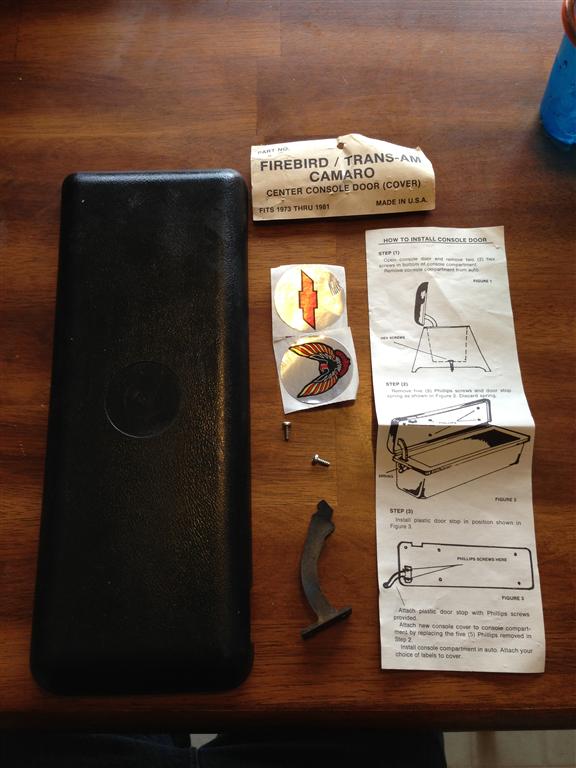
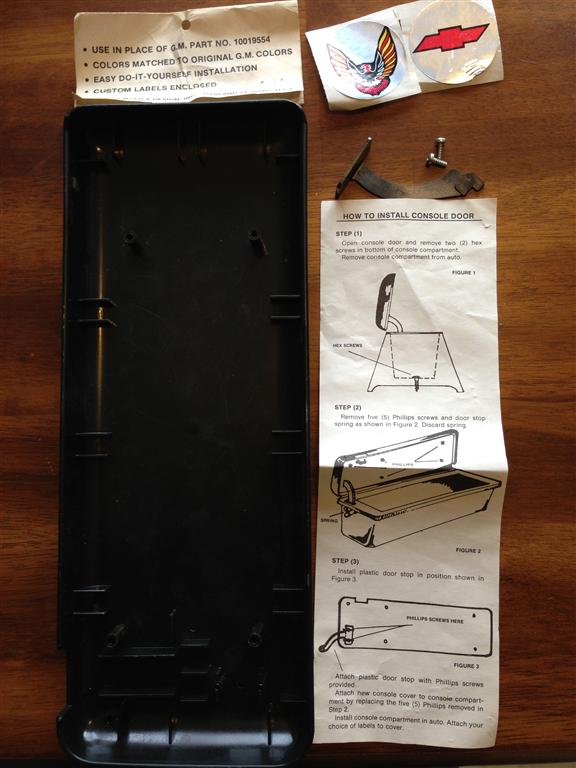
I had a couple opportunities to get these parts in the past and I skipped on them, so I’m kicking myself now. My plan now is to buy reproduction center console glove box and padded door next month, The padded door is about $60-70, the glove box with hinge is about $40-50.
I also need to get a shift bezel. The past 2 years I’ve gone to many Pontiac swap meets, no one ever has an un-cracked shift bezel. These bezels seem to be broken in some way for everyone.. I’m now planning on ordering a new reproduction one, they are about $60-80. Luckily they reproduce this stuff.
Stereo Speakers installed and Tested
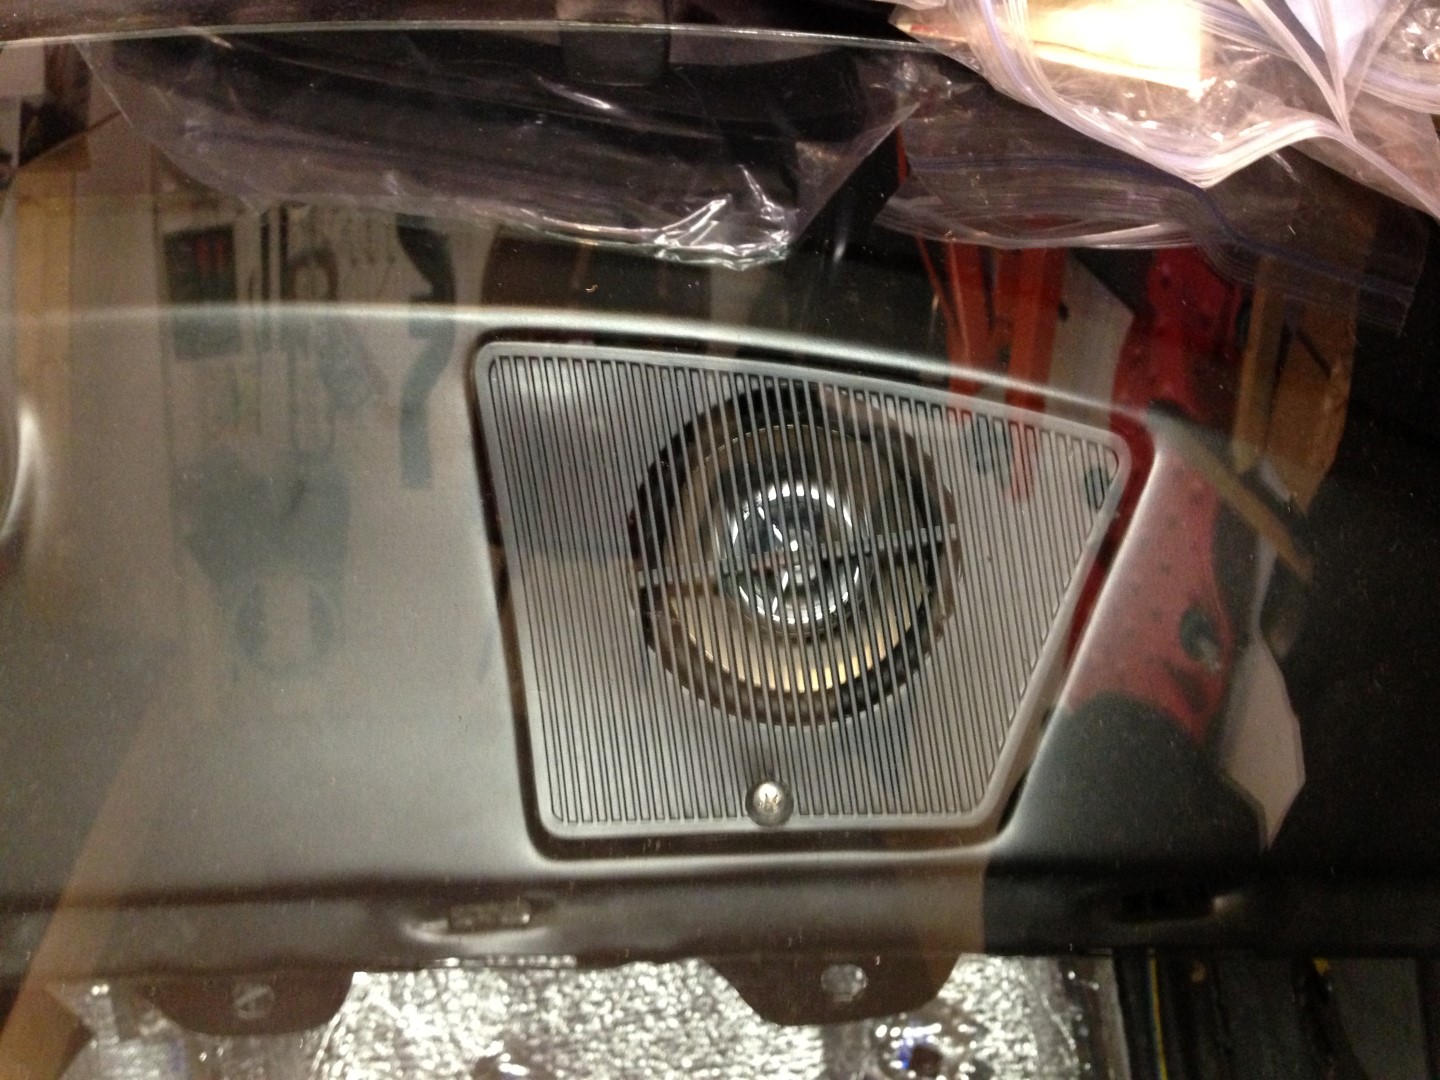
The most fun part of the project this year so far has been testing the stereo and speakers. The stereo is an old Aiwa CD/mp3 receiver with an aux input jack cranking out 52 Watts per speaker with 4 speakers total. It’s an excellent receiver for the Trans Am. I wired it directly to my battery, the remaining speaker wires and antenna I plugged into the factory wiring. The speaker combination sounded great. I installed Rockford Fosgate Prime R1693 6″ x 9″ full range speakers in the rear package tray and Polk Audio DB351 3.5″ speakers in the front dash. Installation looks great as well! Other than the rear speaker grills, you have to look closely to tell there’s a decent speaker system in the car. To top things off, I found the correct oval head screws to fasten the front dash speaker grills to the dash at West Marine! Yes, boats and cars share a lot of things including fasteners! 🙂
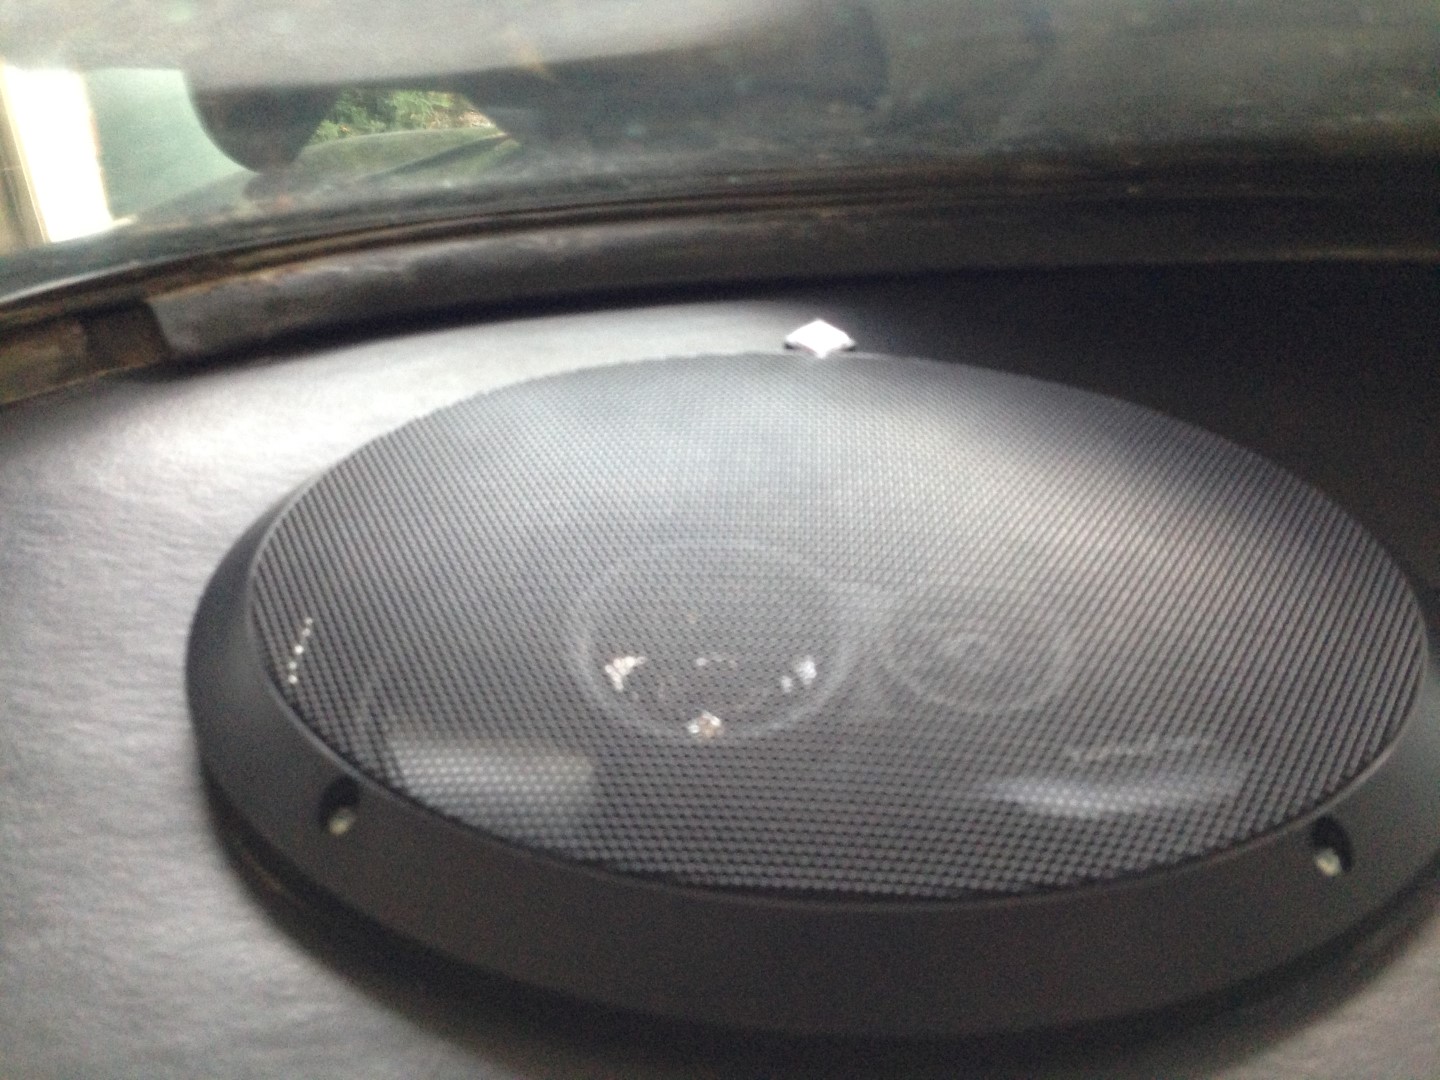
I added 6 x 9 speaker baffles to the rear speakers. I used 2″ long #6 machine screws to mount the speakers into the car. I then bought extra nuts and washers to attached the baffles to the extra stud portion of the screws that was left after mounting. The closed cell foam baffles add plenty of friction, I only tightened these nuts finger tight. The baffles should help with sound, but more importantly, protect the speakers in the trunk.
What’s Next
One more good hour and the insulation should be done, so hopefully February will be the month I get most of the interior installed, at least the critical items such as the dash, steering column, carpet and kick panels.