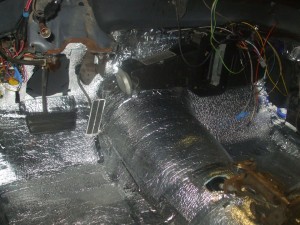
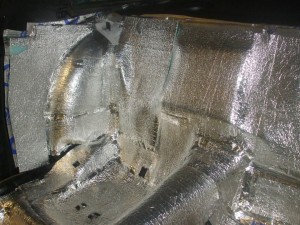
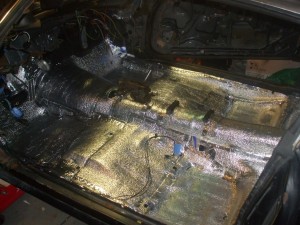
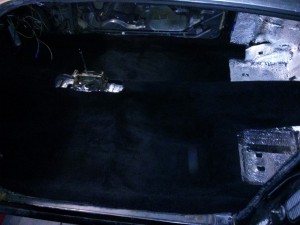
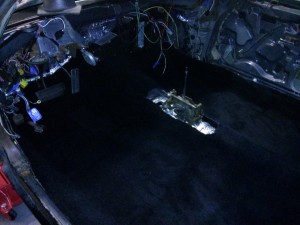
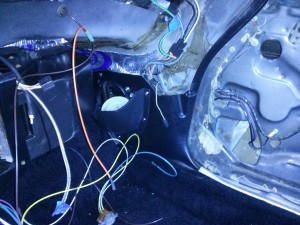
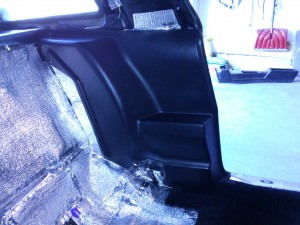
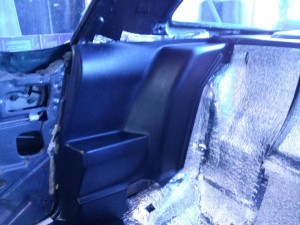
March has been a productive month! The cabin is now fully insulated (minus the doors) and many other interior details are starting to come together!
Insulation Completed
Not much to go into detail about, but I have pictures, so check them out!
Carpet Installed
Carpet is a little tricky to install, but as long as you Google search tips for your specific car you’ll be all set. For 2nd gen Firebirds, there are some tricks how to cut the holes for the seat bolts, and finding the seat belt holes is also a little tricky. Otherwise, it’s pretty straight forward. Just center the carpet, cut the necessary holes, and you’re done.
Kick Panels, 1/4 Panels and Sill Plates installed
Once I had the carpet installed, I went ahead and installed the lower panels (Kick Panels and 1/4 rear quarter panels). During the process I wrapped wires with a special friction tape to prevent them from rattling.
The kick panel on the passenger side was quite a challenge. The kick panel doubles as the vent to allow the circulation of inside air through the HVAC system. The way the factory has this setup it is prone to leaks. There are many recommendations, including a trick using a cut in half rotisserie chicken container lid to act as a roof to shed the water away from the vent. I decided to use the sound deadener and form a roof around the hole to shed the water away. Read more about how I installed the passenger kick panel.
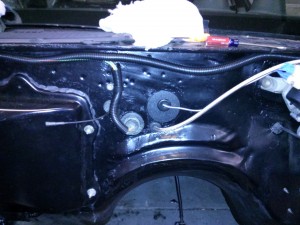
Oil Pressure and Water Temperature Lines
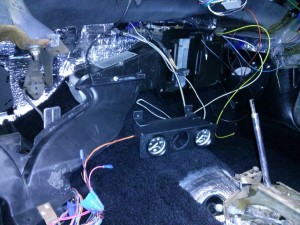
I decided about a year ago after testing the factory oil pressure and water temperature gauges that I did not want to rely on them. I then found this awesome map pocket gauge cluster adapter on the 78ta Forums.
I purchased a set of AutoMeter AutoGages that includes water temp, oil pressure and a volt meter. I’m not going to use the volt meter since I’m pretty confident with the factory volt meter, but the other 2 gauges are going in! After talking about the gauges with my buddy Joel, he talked me into upgrading the plastic oil pressure line to a braided line. The water temperature line is part of the gauge, so I had to install into the map pocket gauge adapter.
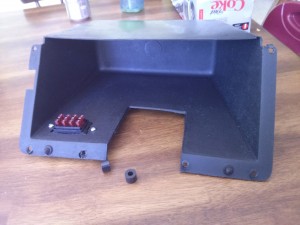
Added a 4 Blade Fuse Block in Glove Box
I’ve been looking for the ideal place to put a 4 blade fuse block in the car. While preparing the dashboard, I noticed the space above the glove box is pretty much unused. I went ahead and made some measurements and figured out the best spot in the glove box for the fuse block.
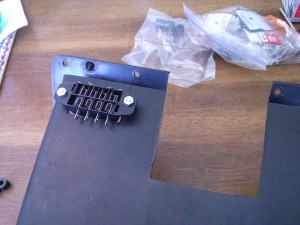
The fuse block will be used for the 20 amp always hot wire to the receiver and 30 amp always hot wire for the power window relays. Both the radio and windows will not work unless the key is in the ignition, the receiver has a 2nd wire that uses the ACC power to turn on/off, and the power window relay switches will get their power from an IGN source.
The fuse block I got uses the flat blade 1/4″ quick disconnect connectors. Each Fuse can handle up to 30 amps. I bent the connectors on the dash side to make it easier to get the glove box in and out.
T-top Headliner Cut and Glued
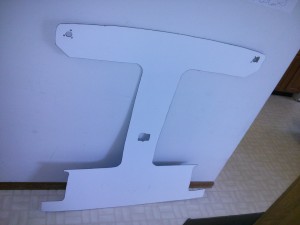
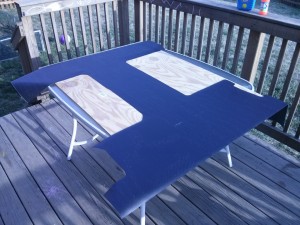
I used the instructions on the Trans Am Country forums how to make your own headliner out of bathroom wall board and a roll of headliner material. Pretty simple, just trace the pattern of the hold headliner on the hardboard, cut with a jig saw, then glue the new material onto the hardboard.
What’s Next
Seems like this project never ends, but I’m starting to see the light at the end of the tunnel. Next is to install the dashboard, steering column and remaining interior (upper panels, headliner and seats) this April, followed by the final assembly and installation of the Pontiac 400 V8 motor and transmission. Hopefully sometime in May the engine will be broken in and by Fathers Day be on the road!
