FiTech Go EFI 4 installed in a 1981 (to 1978 conversion) Trans Am was a success. Please follow the post completely for details of the process.
The results
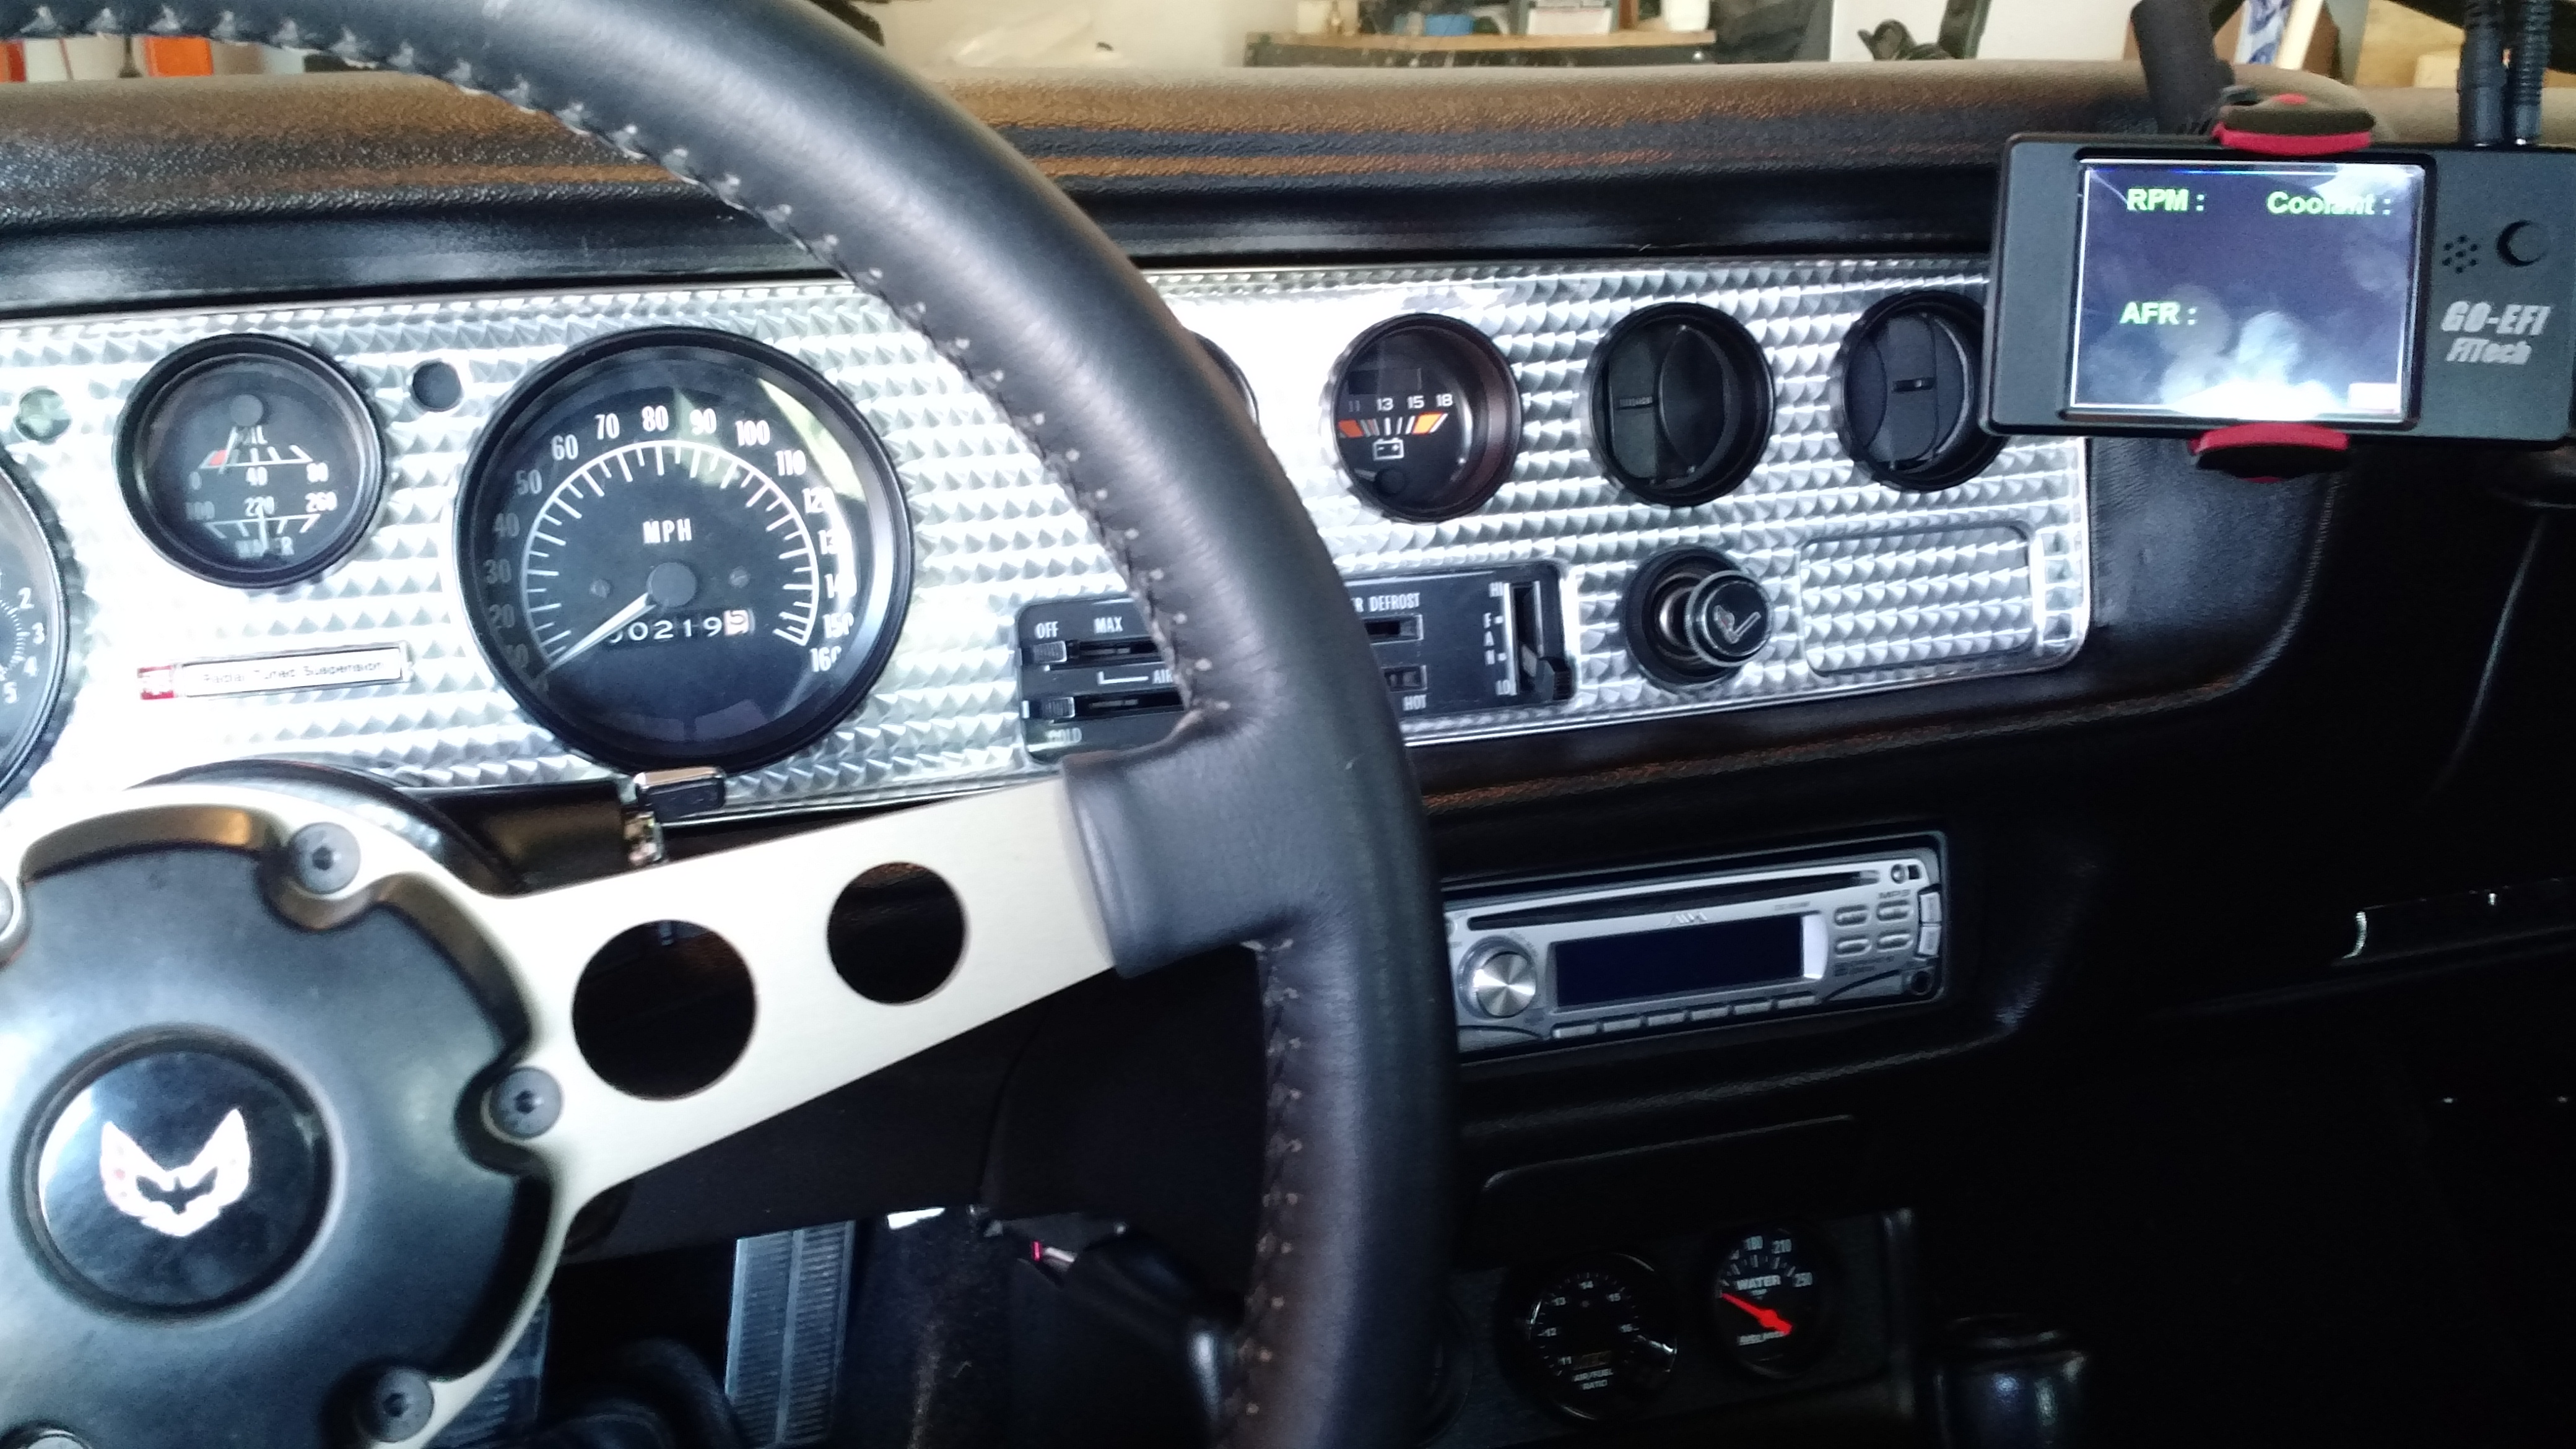
I’ve only put 120 miles on the FiTech so far, but I have to say it’s worth every penny. I’m a geek (I write software for a living), having the ability to tweak settings from a hand held controller makes me happy. Having the LCD display providing me real time AF ratios, engine temperature and rpm at the same time is pretty sweet too. Throttle response is not delayed, I expected it to have a delay like most modern fuel injection cars do. Throttle response is as instant as a carburetor.
As fast as I can turn the key and let go is how fast it starts. No more high to low engine rev at startup, it starts and stays right at 750rpm. When I put it in gear, there’s a slight drop in rpm then it’s back up to 750rpm. I may drop the rpm’s down another 50-100 rpm once I’m satisfied with everything. Best part is, I can change this with the handheld controller.
Engine has never ran this consistently cool before. I have a 160 thermostat, usually my car would get as hot as 195. It now stays between 165-175.
So far so good! Now with the process of installing…
W72 shaker air cleaner clearance
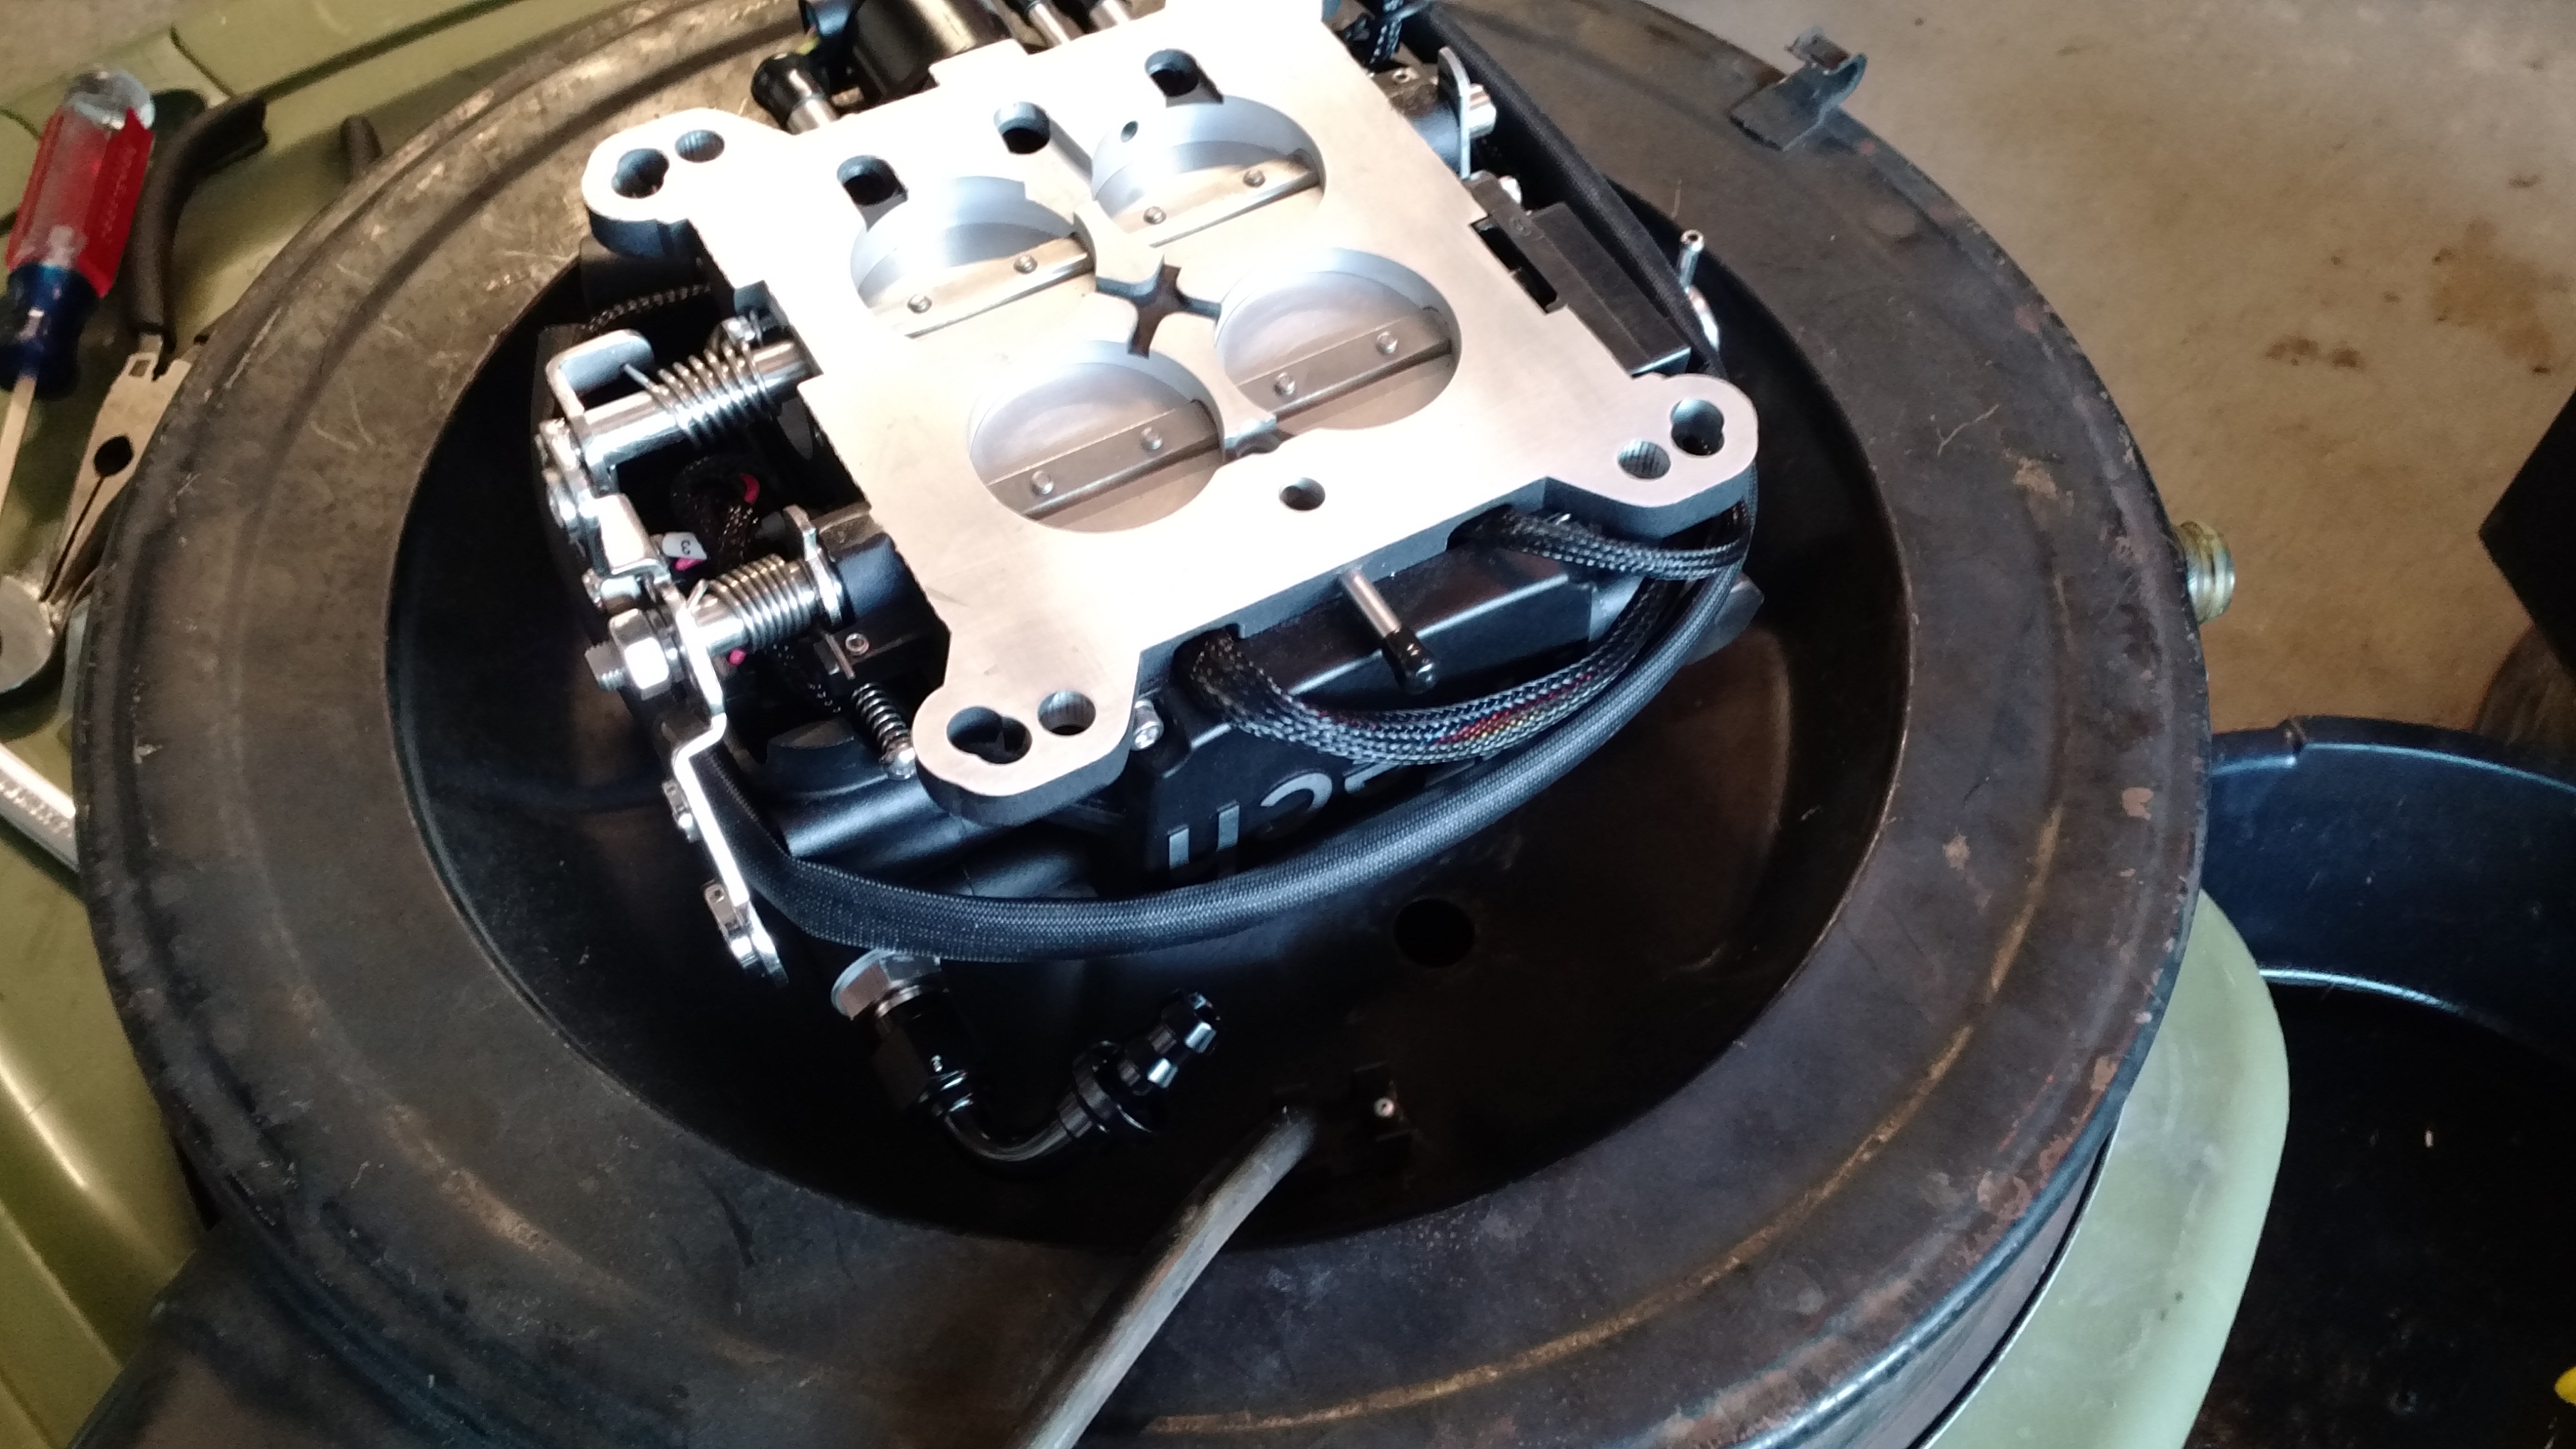
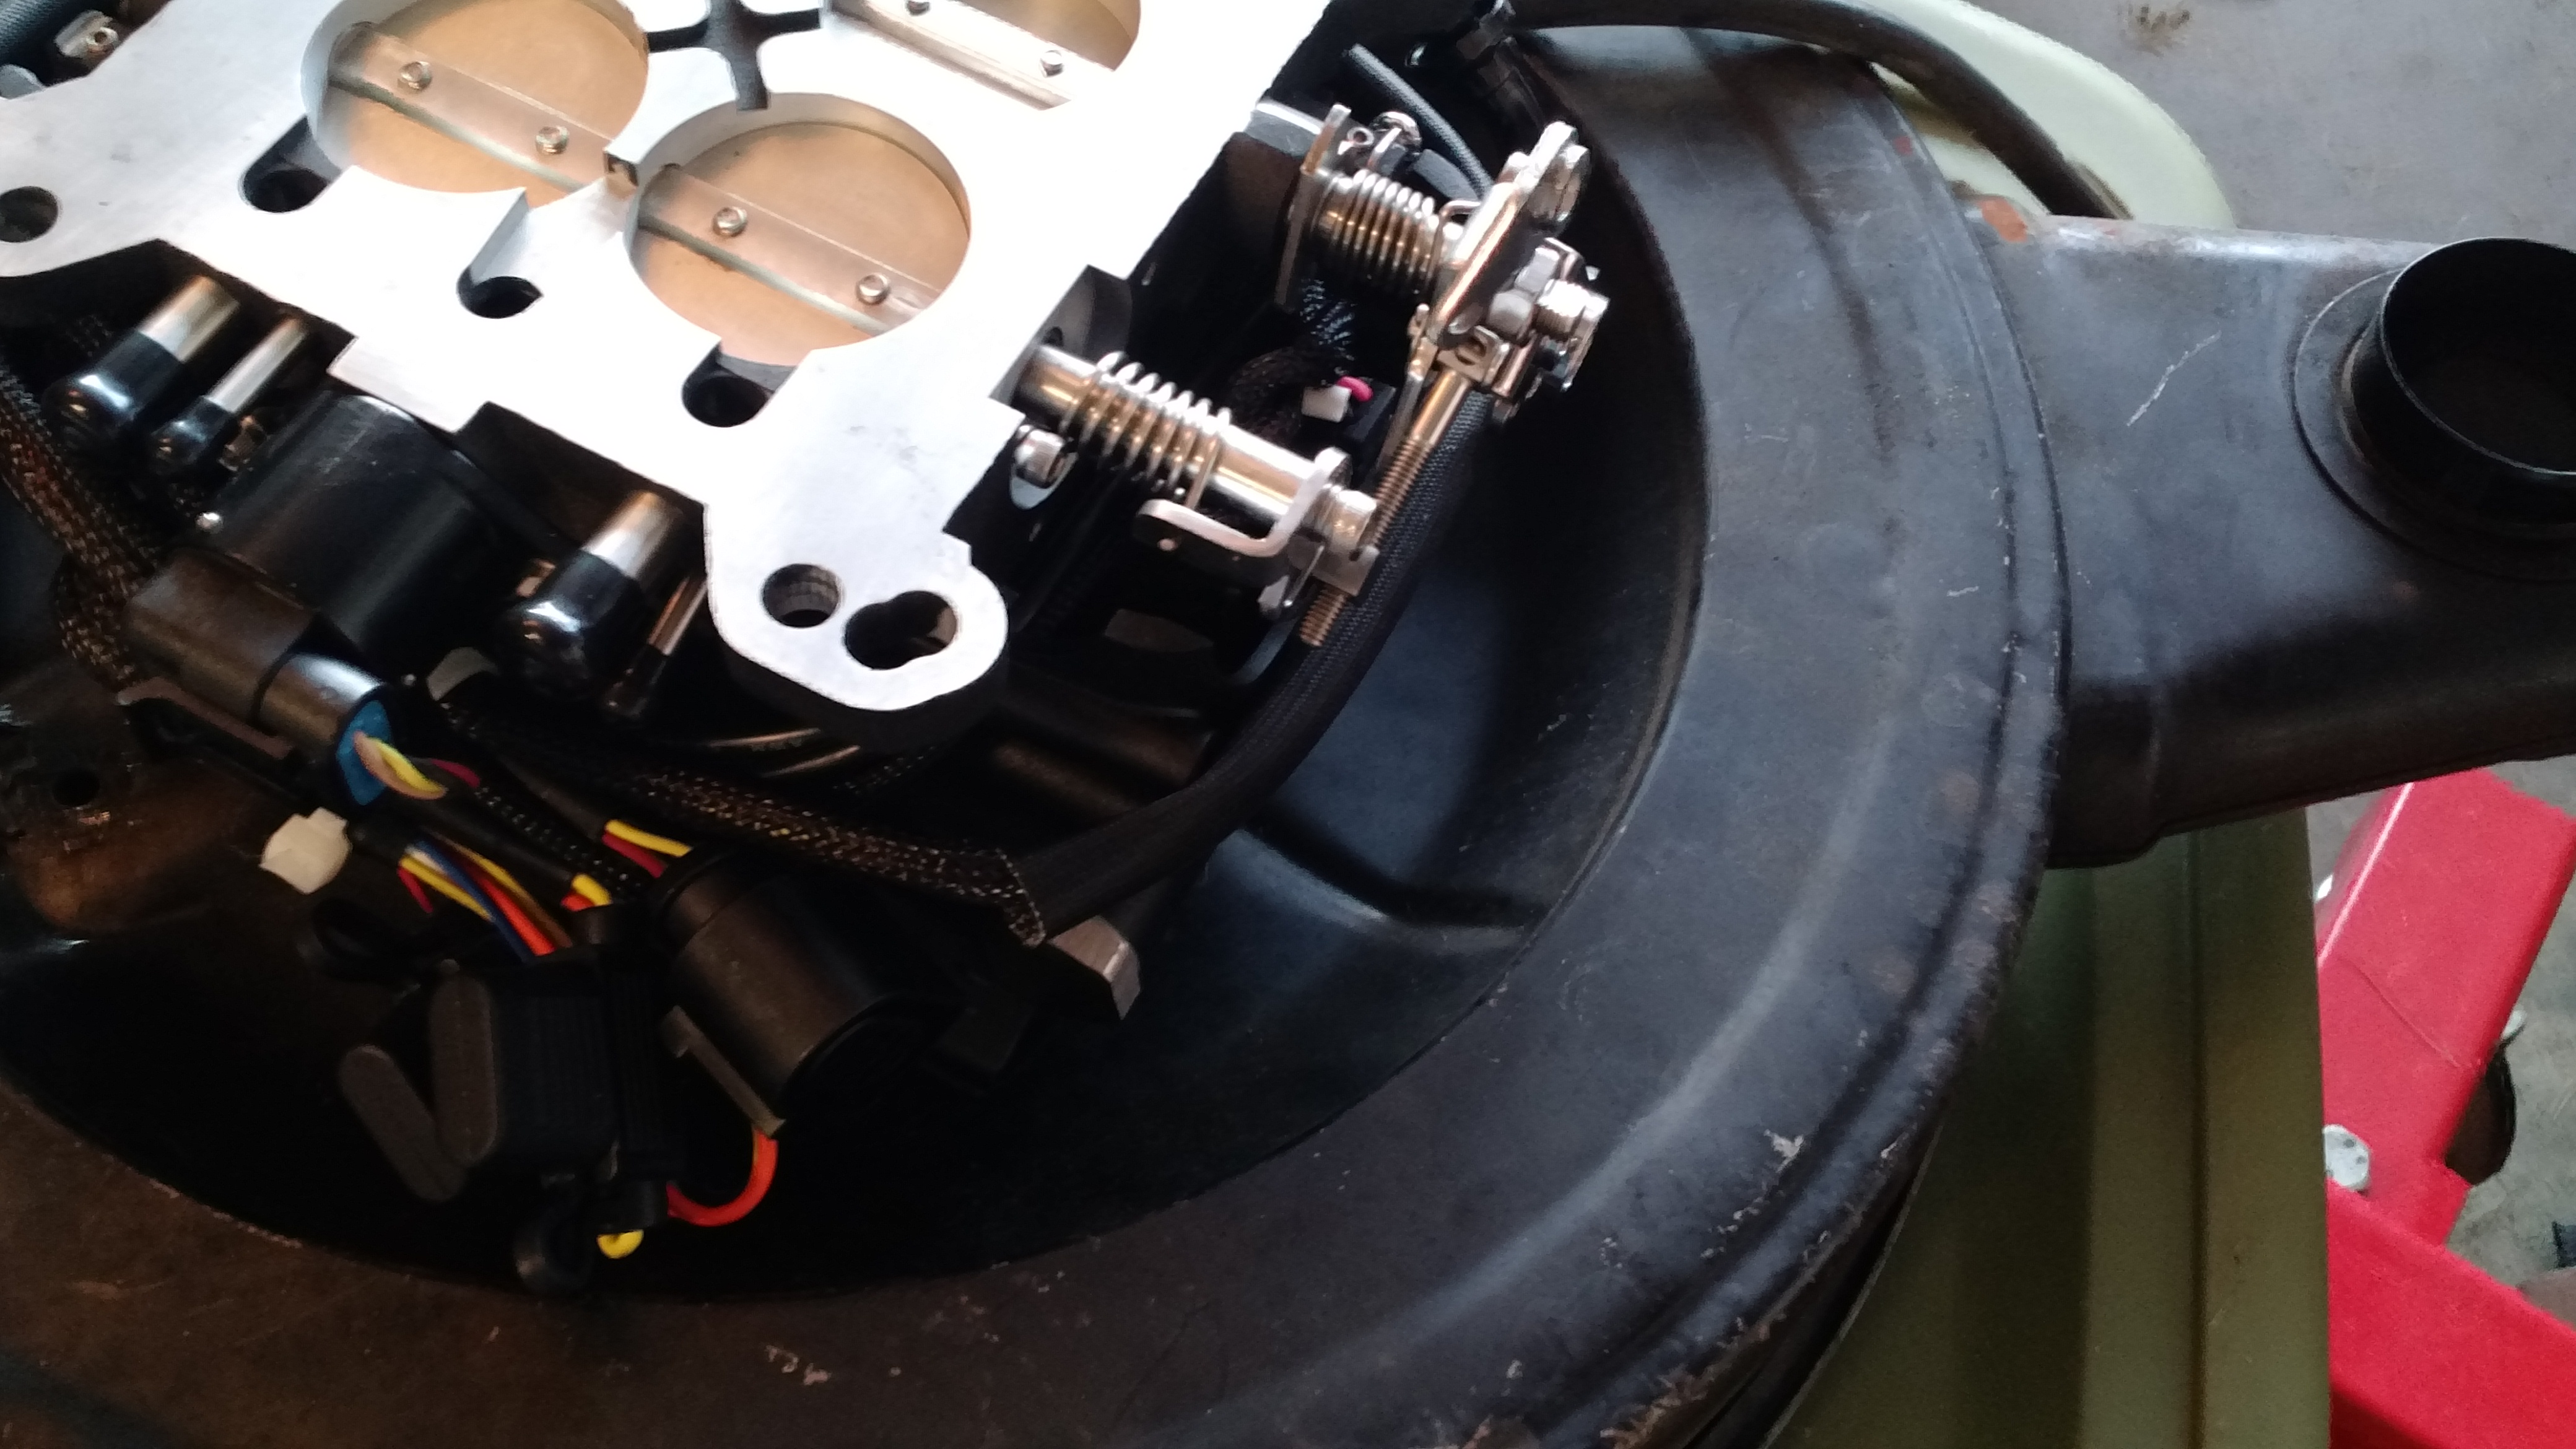
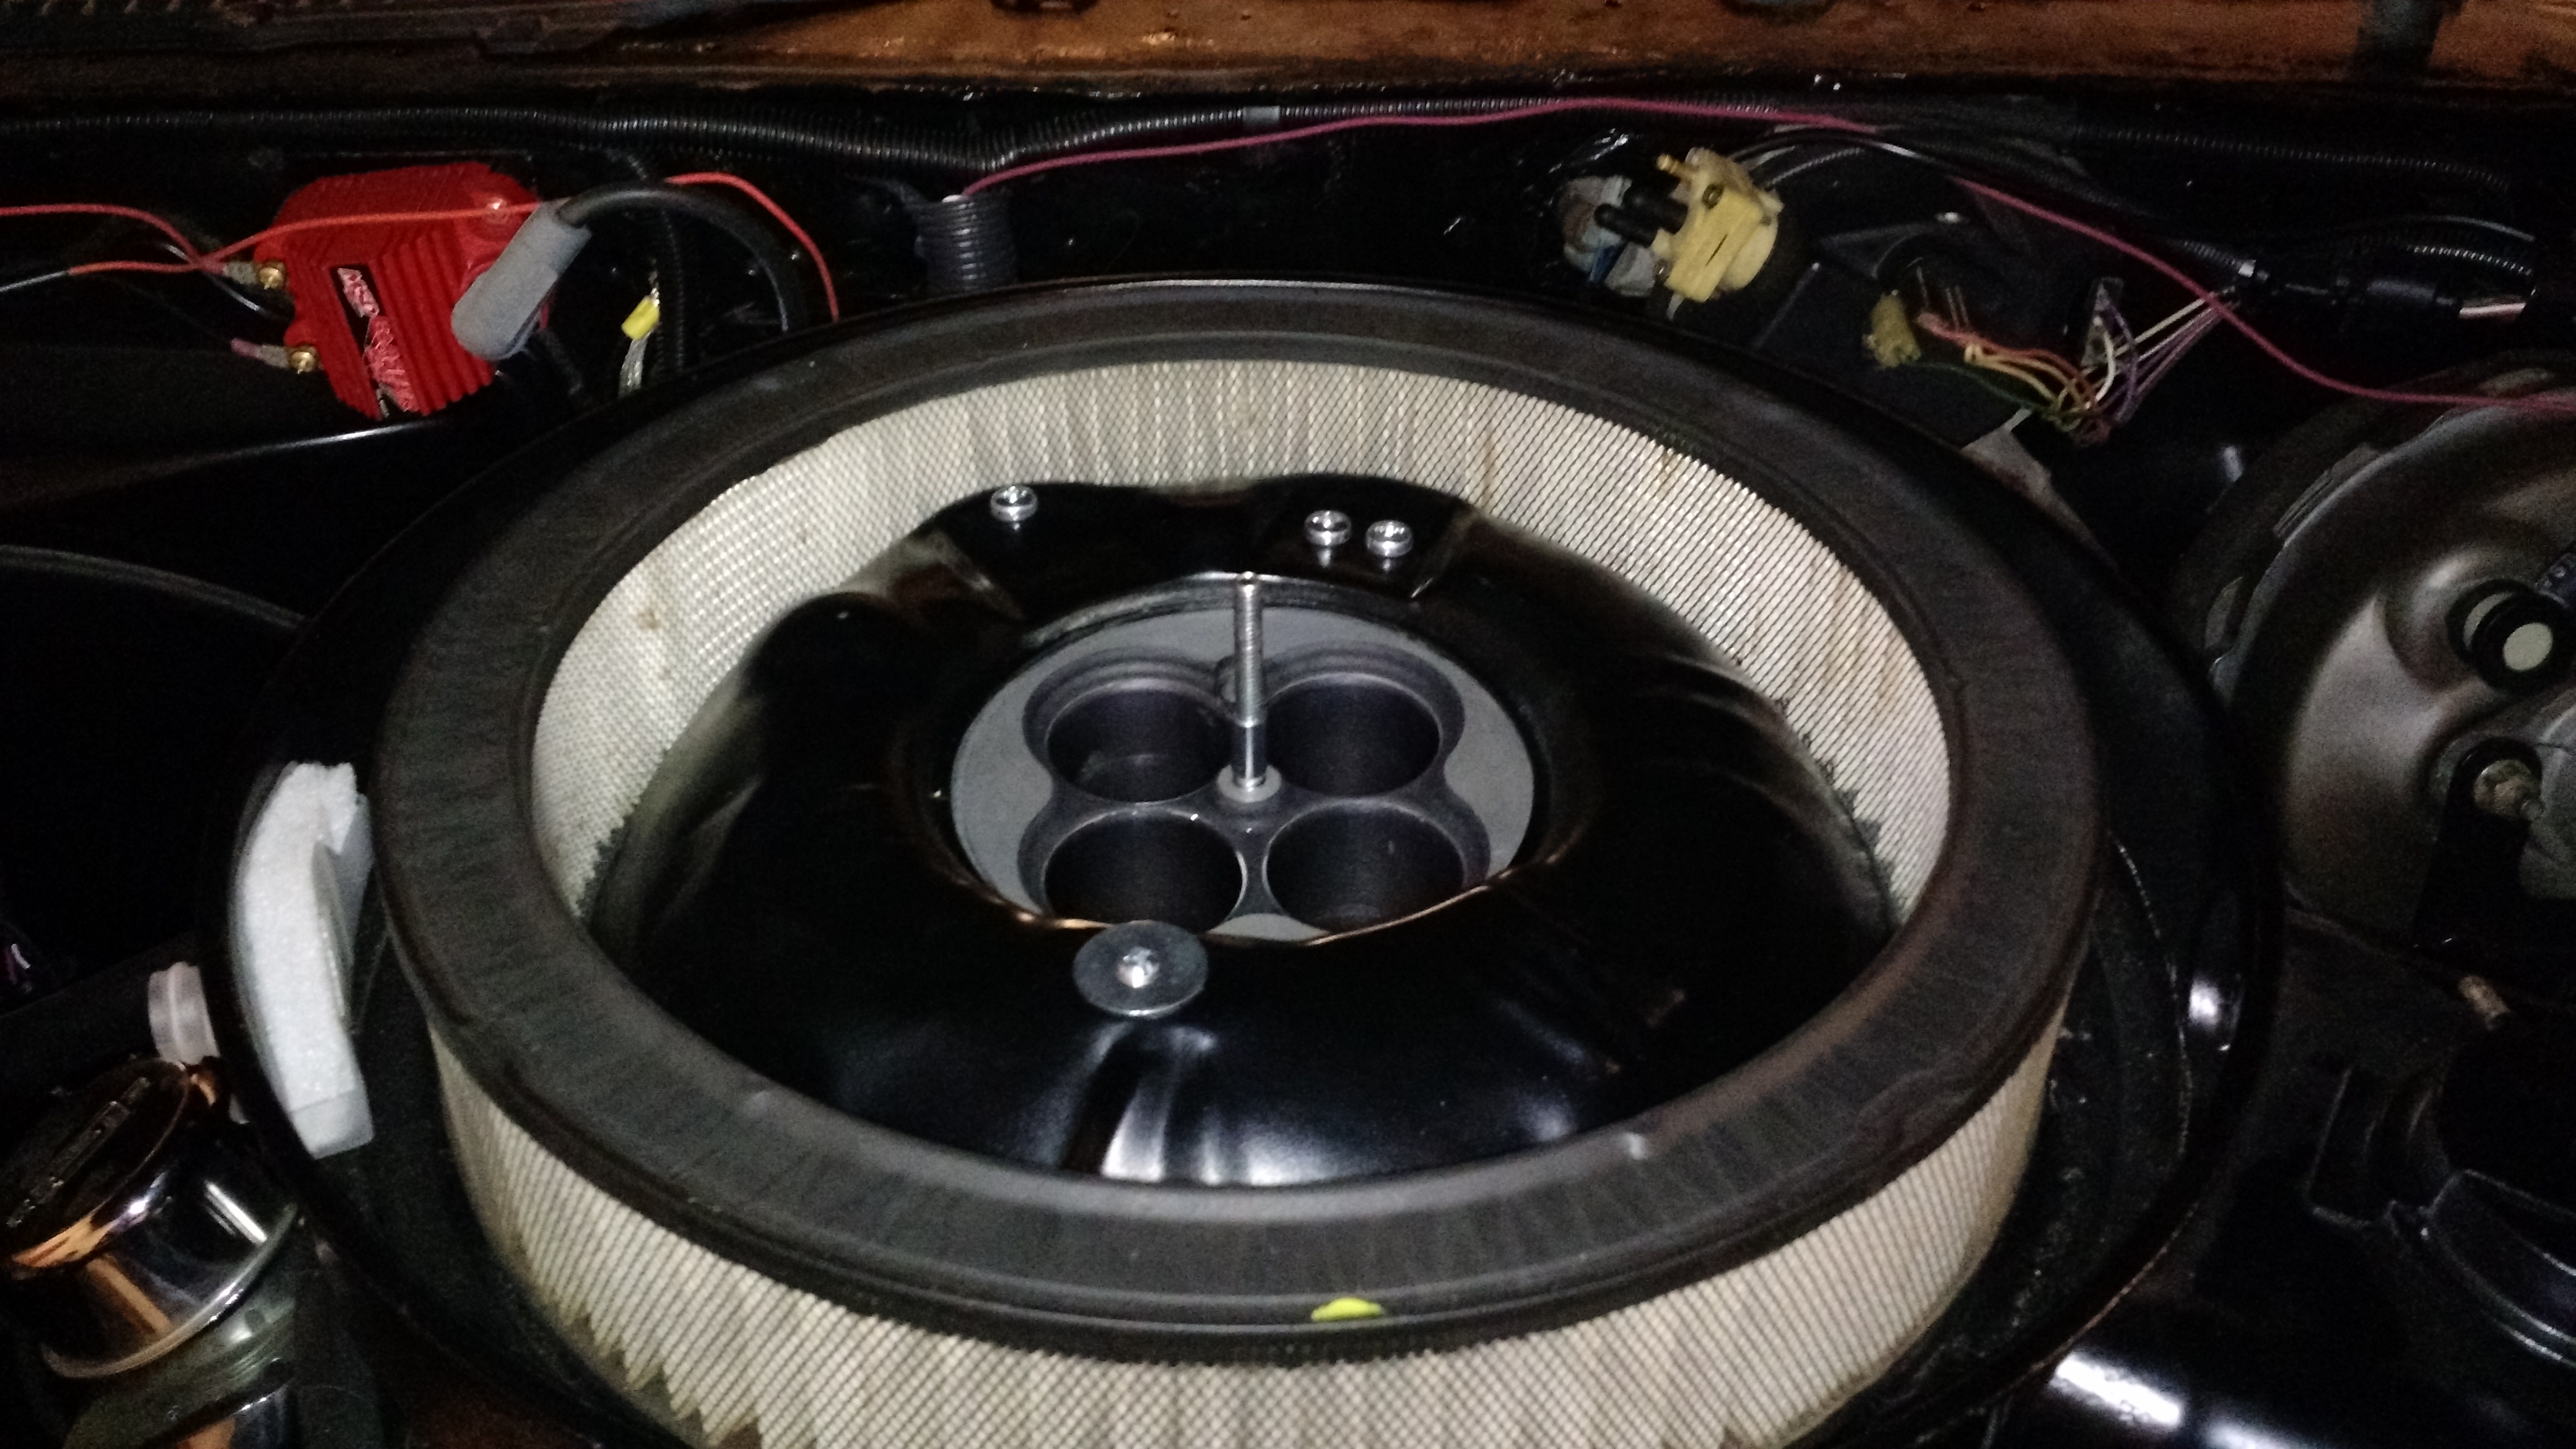
The first thing I did when I got home was test the FiTech with my 78 shaker air cleaner. As you can see in the pictures I did not undo the wiring around the throttle body until after the test fit. Luckily it clears, but just. See the video, you can see I can just pass a sheet of paper between the drop base and the side of the FiTech where I believe the fuel return system is housed. This test was without a gasket between the throttle body and air cleaner, which has given me a touch more space since I took these pictures.


Video: Test fit of FiTech in W72 air cleaner
Note: FiTech throttle body clears when using a 90 degree AN6 fitting for the fuel inlet and the return line is capped (you can do this when using their fuel control center). A factory air cleaner drop base (shaker air cleaner) will not clear without modification if a return line is used.
Measurements for aftermarket drop bases
I took some measurements from center to send to the Pro Touring F Body and Blocker’s Performance to see if their drop bases will clear.
So far I got a response (in less than 4 hours) from Pro Touring F body. They recommend going with their 1-1/2″ drop base, then adding a 1/2″ carb to air cleaner spacer. Doing so will provide over 3 inches of space (A) between the air cleaner ring and the outer drop edge. (see image with line markings A and B).
I believe the Blocker’s drop base will also clear. I will update this post when I get confirmation.
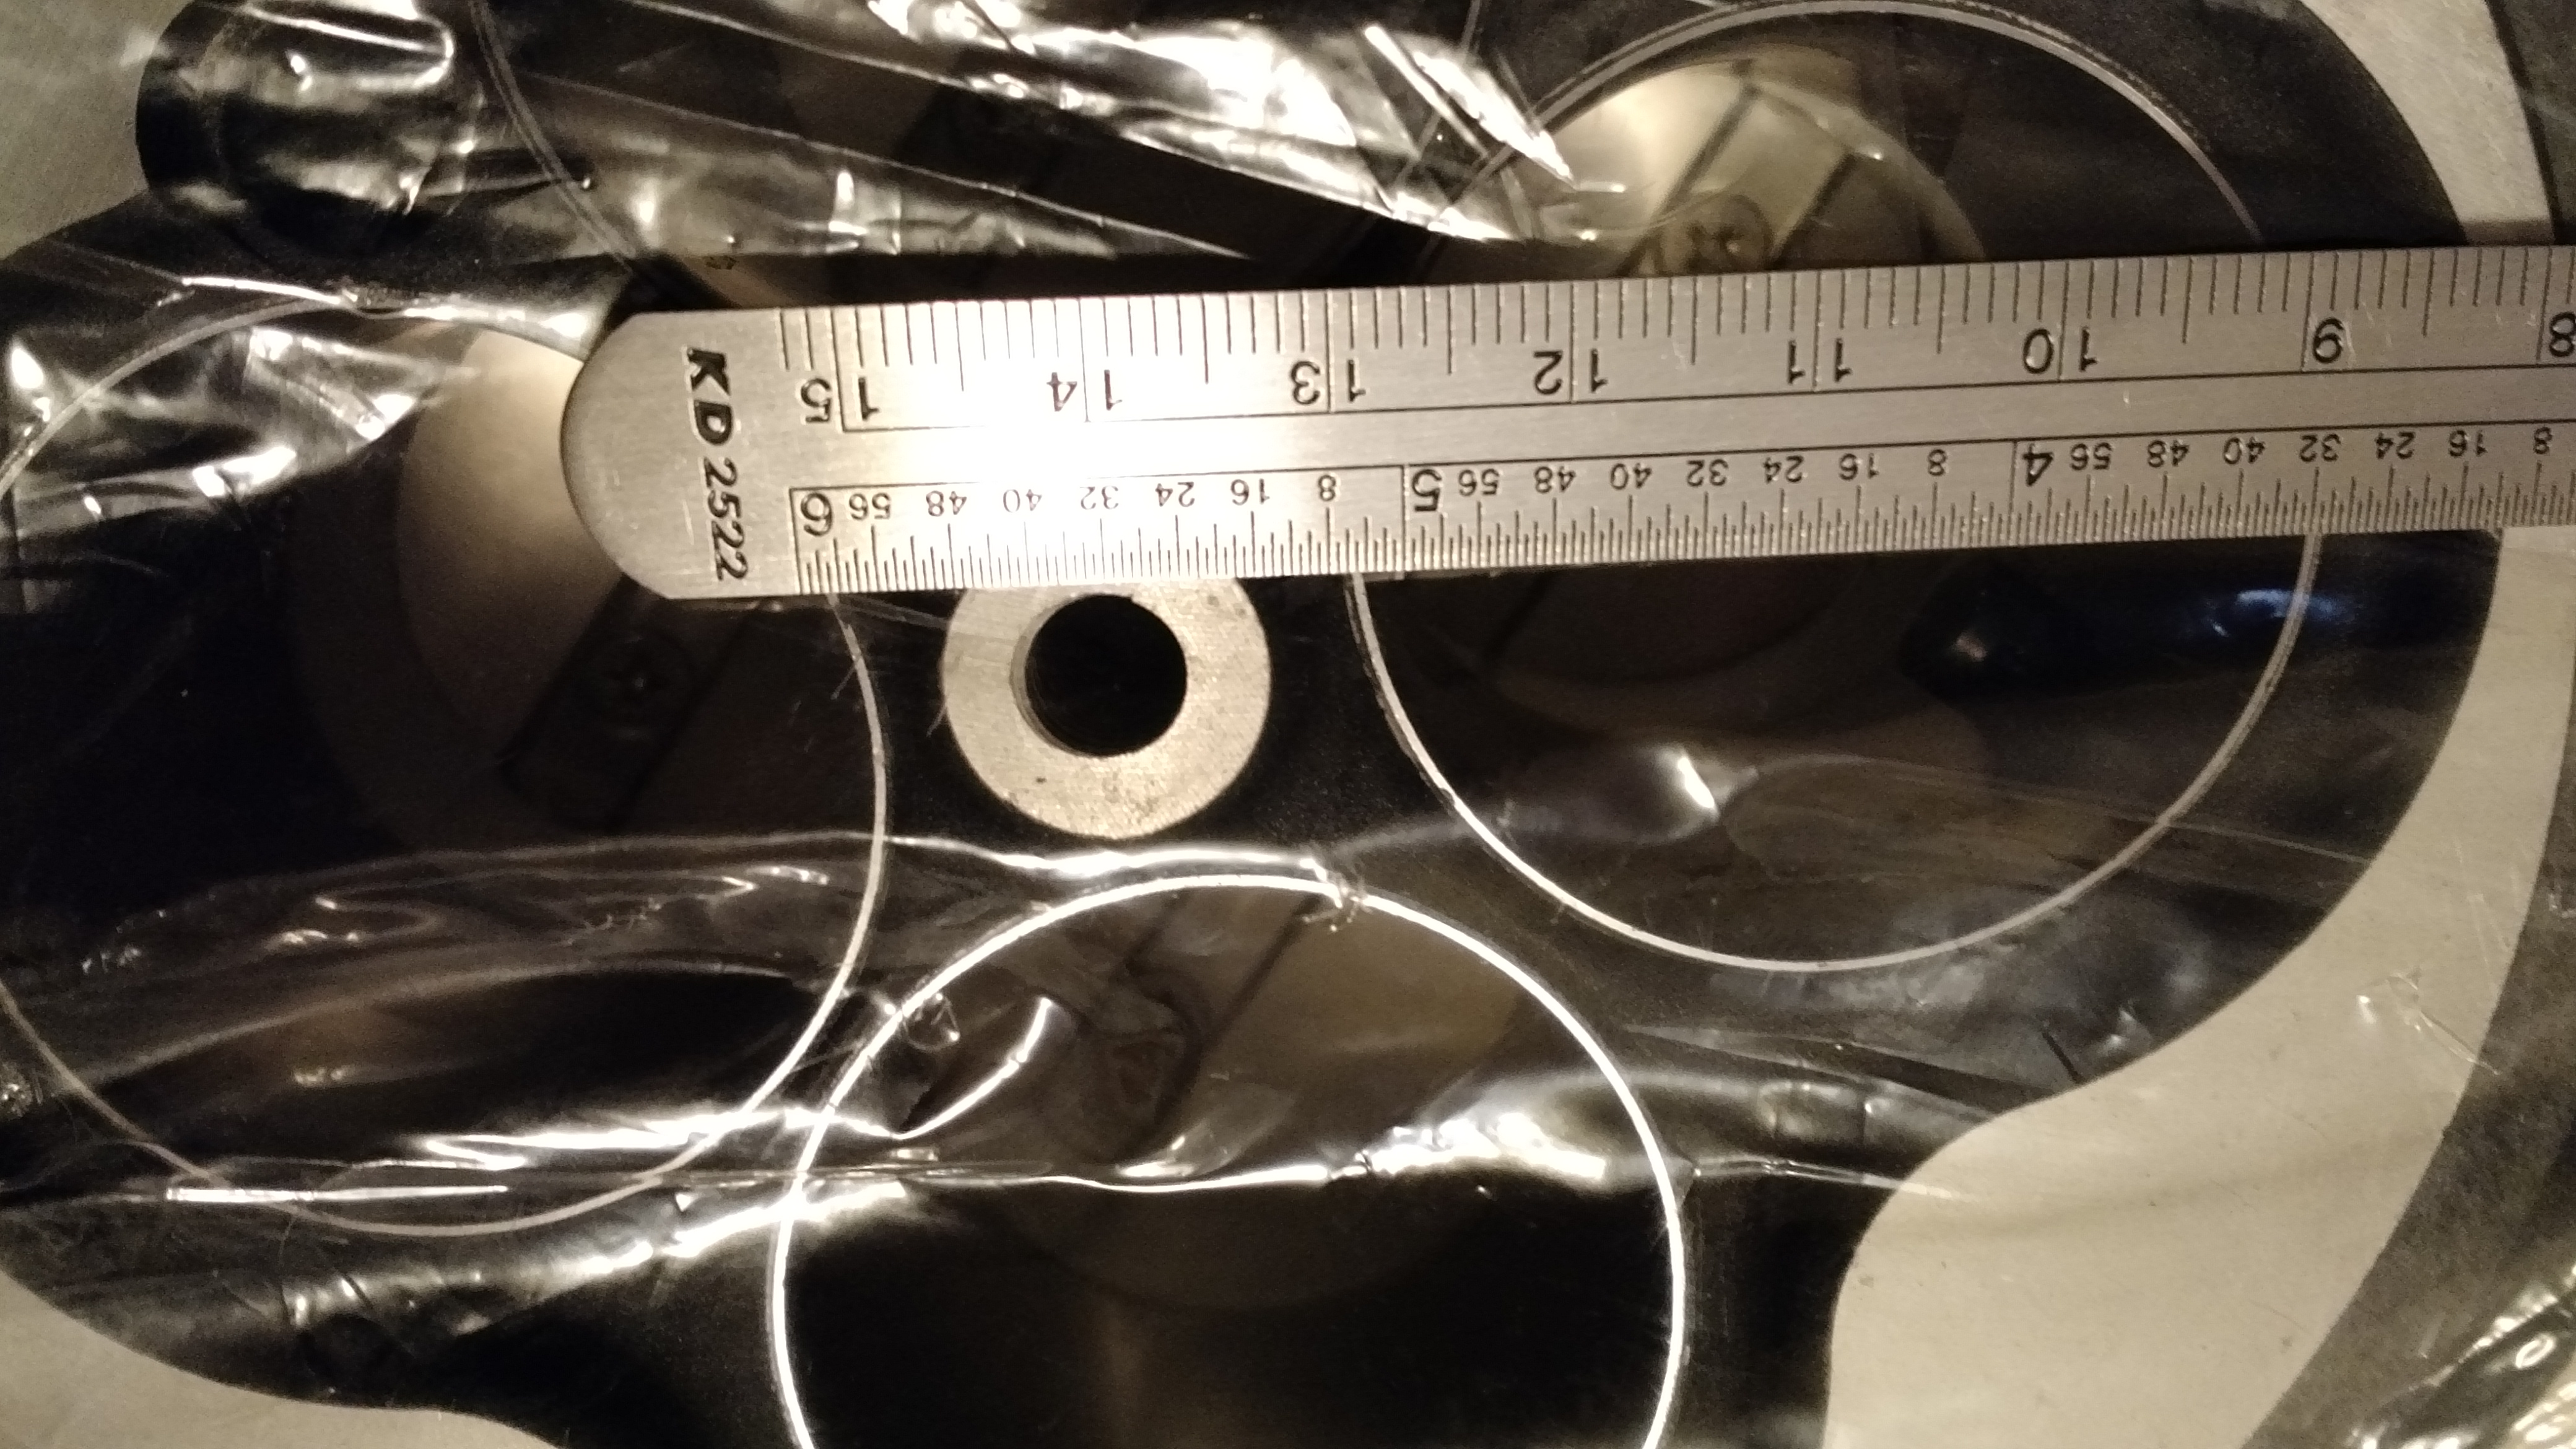
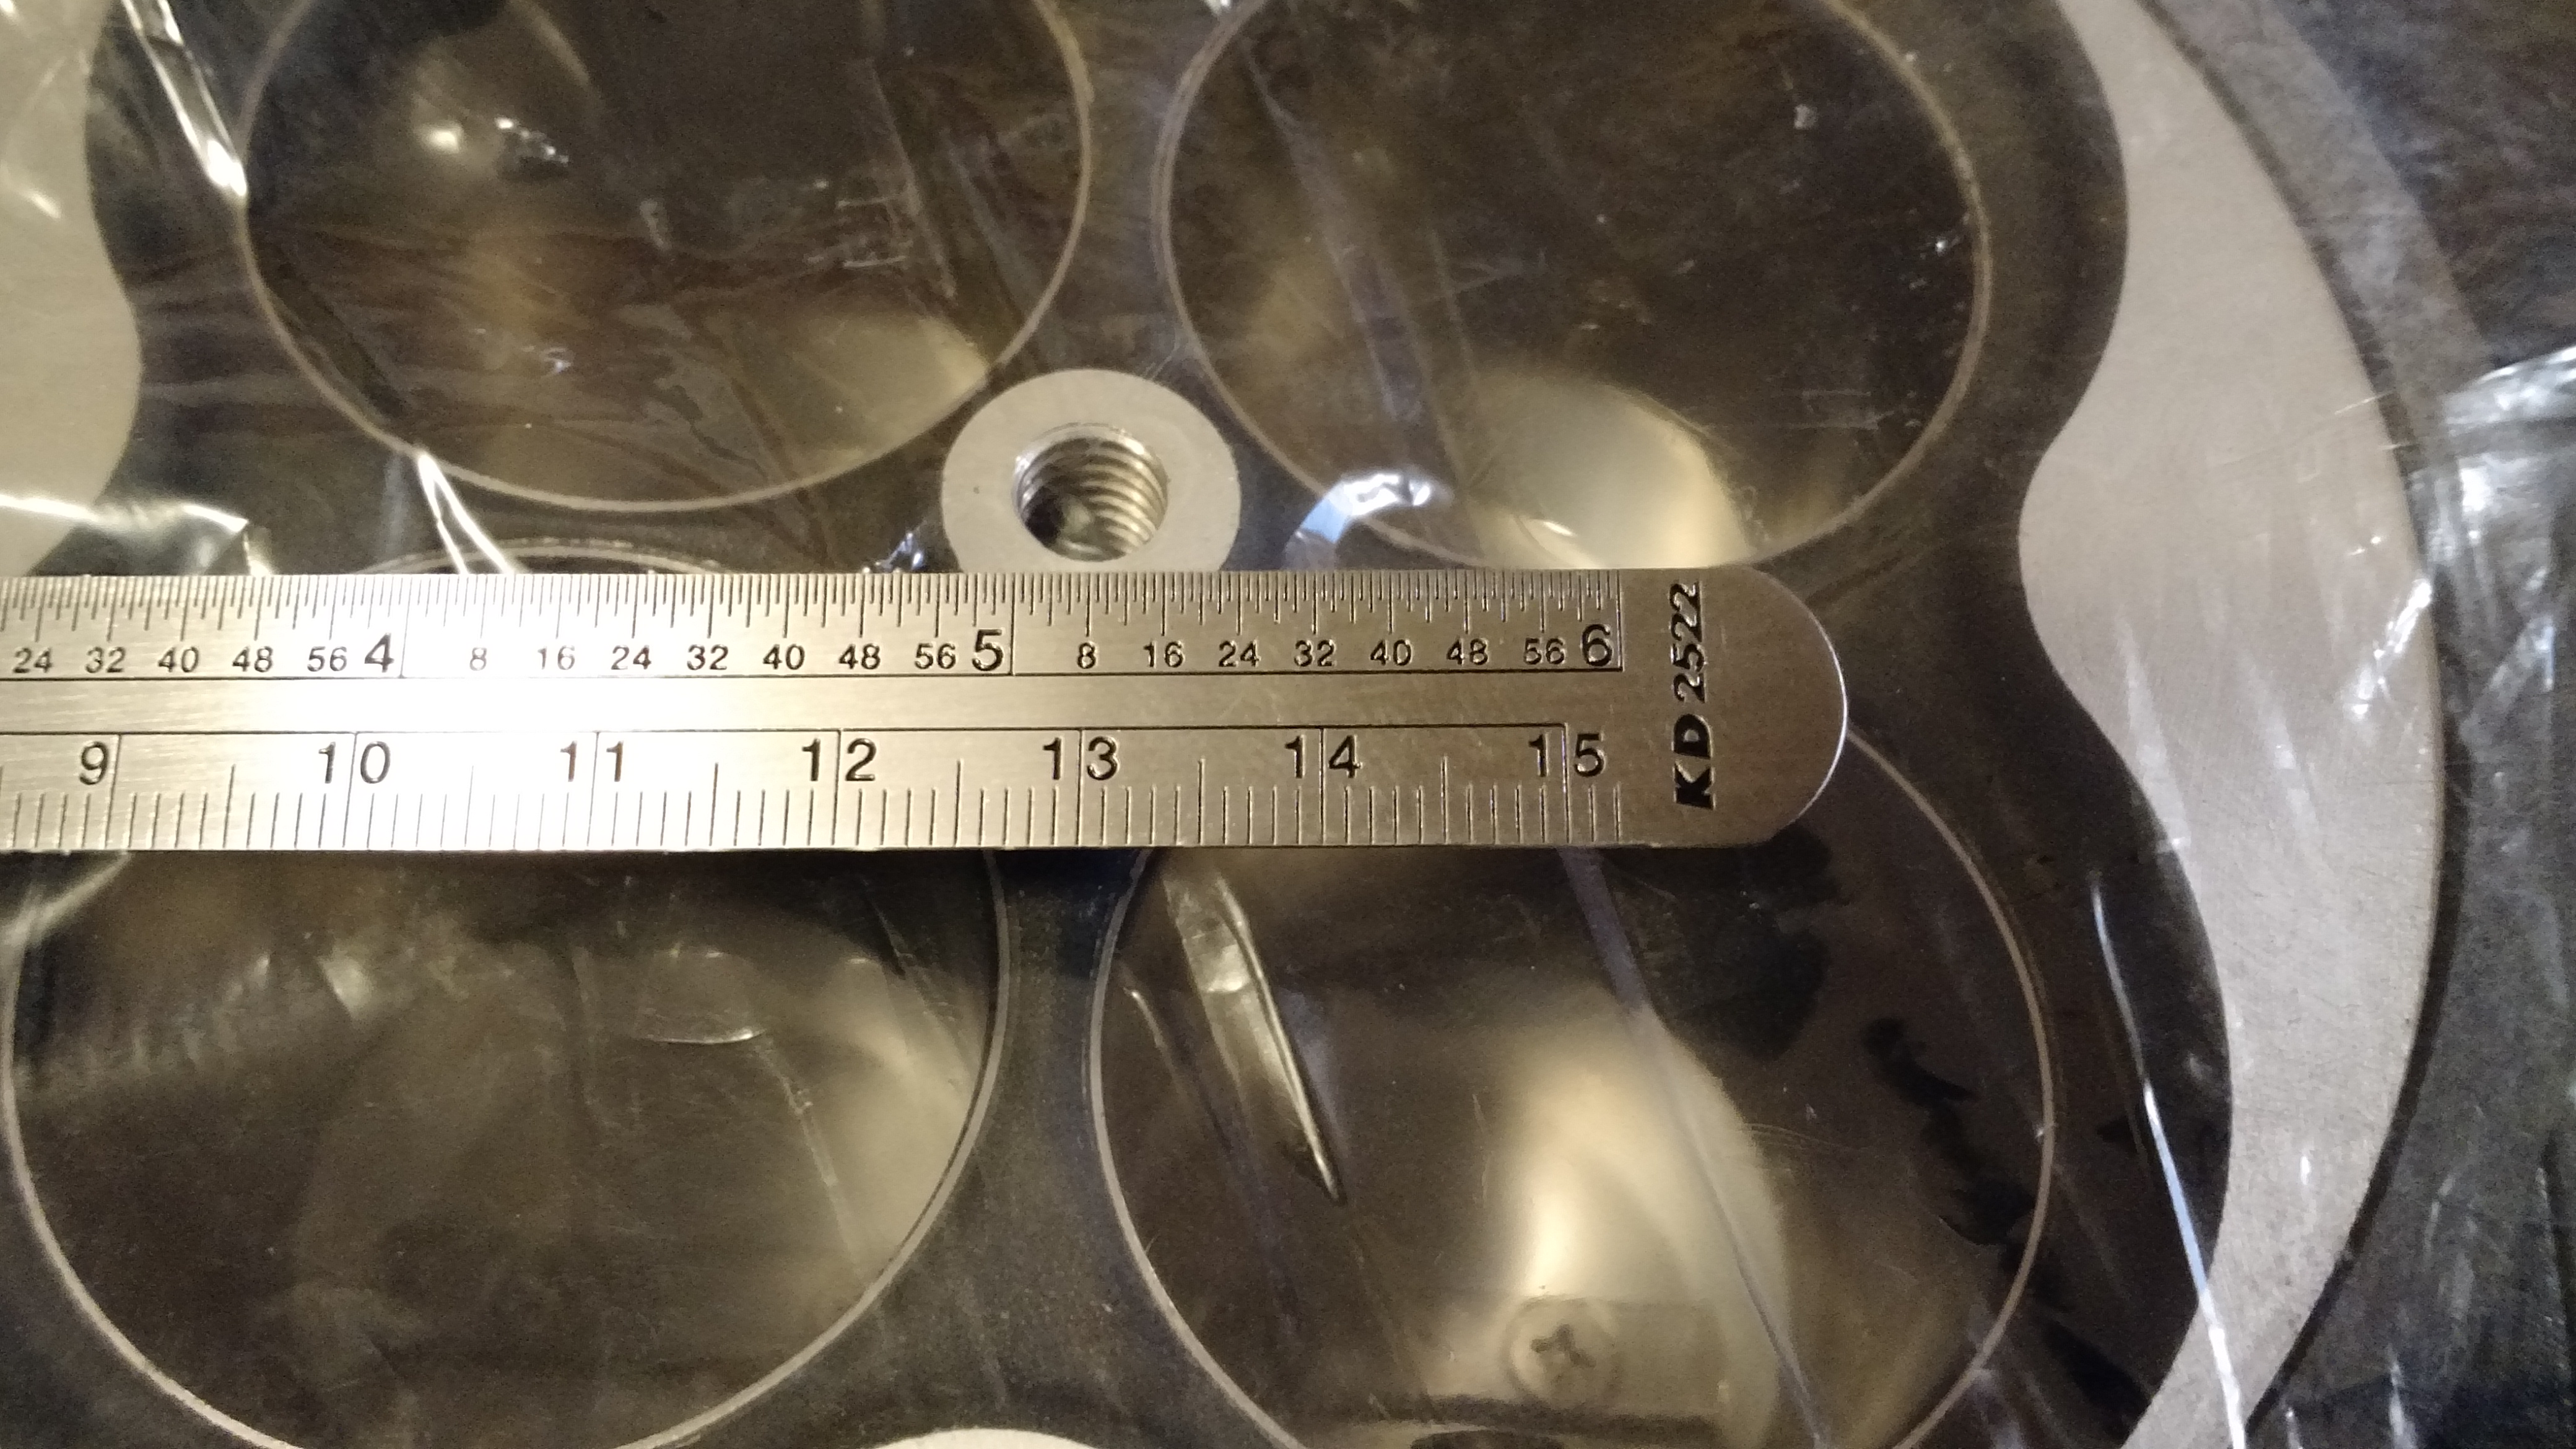
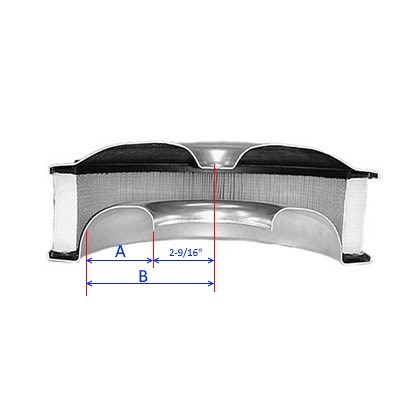 The tightest point is the very edge of the side with the return line bulge, it’s exactly 5-1/8″ from center. The height at this point is 5/16″ higher than the air cleaner mounting ring. This is the only area where the FiTech is higher than the air cleaner mounting ring.
The maximum width from center is 5-1/2″, which is at the same height as the air cleaner mounting ring.
See the FiTech Throttle Body dimensions PDF
Any Drop base designed to fit under a Pontiac Quadrajet (which has an external vent hole at front) will easily clear this 5/16″ height above the air cleaner mounting ring. As long as measurement A is 3″ you should clear with no issues.
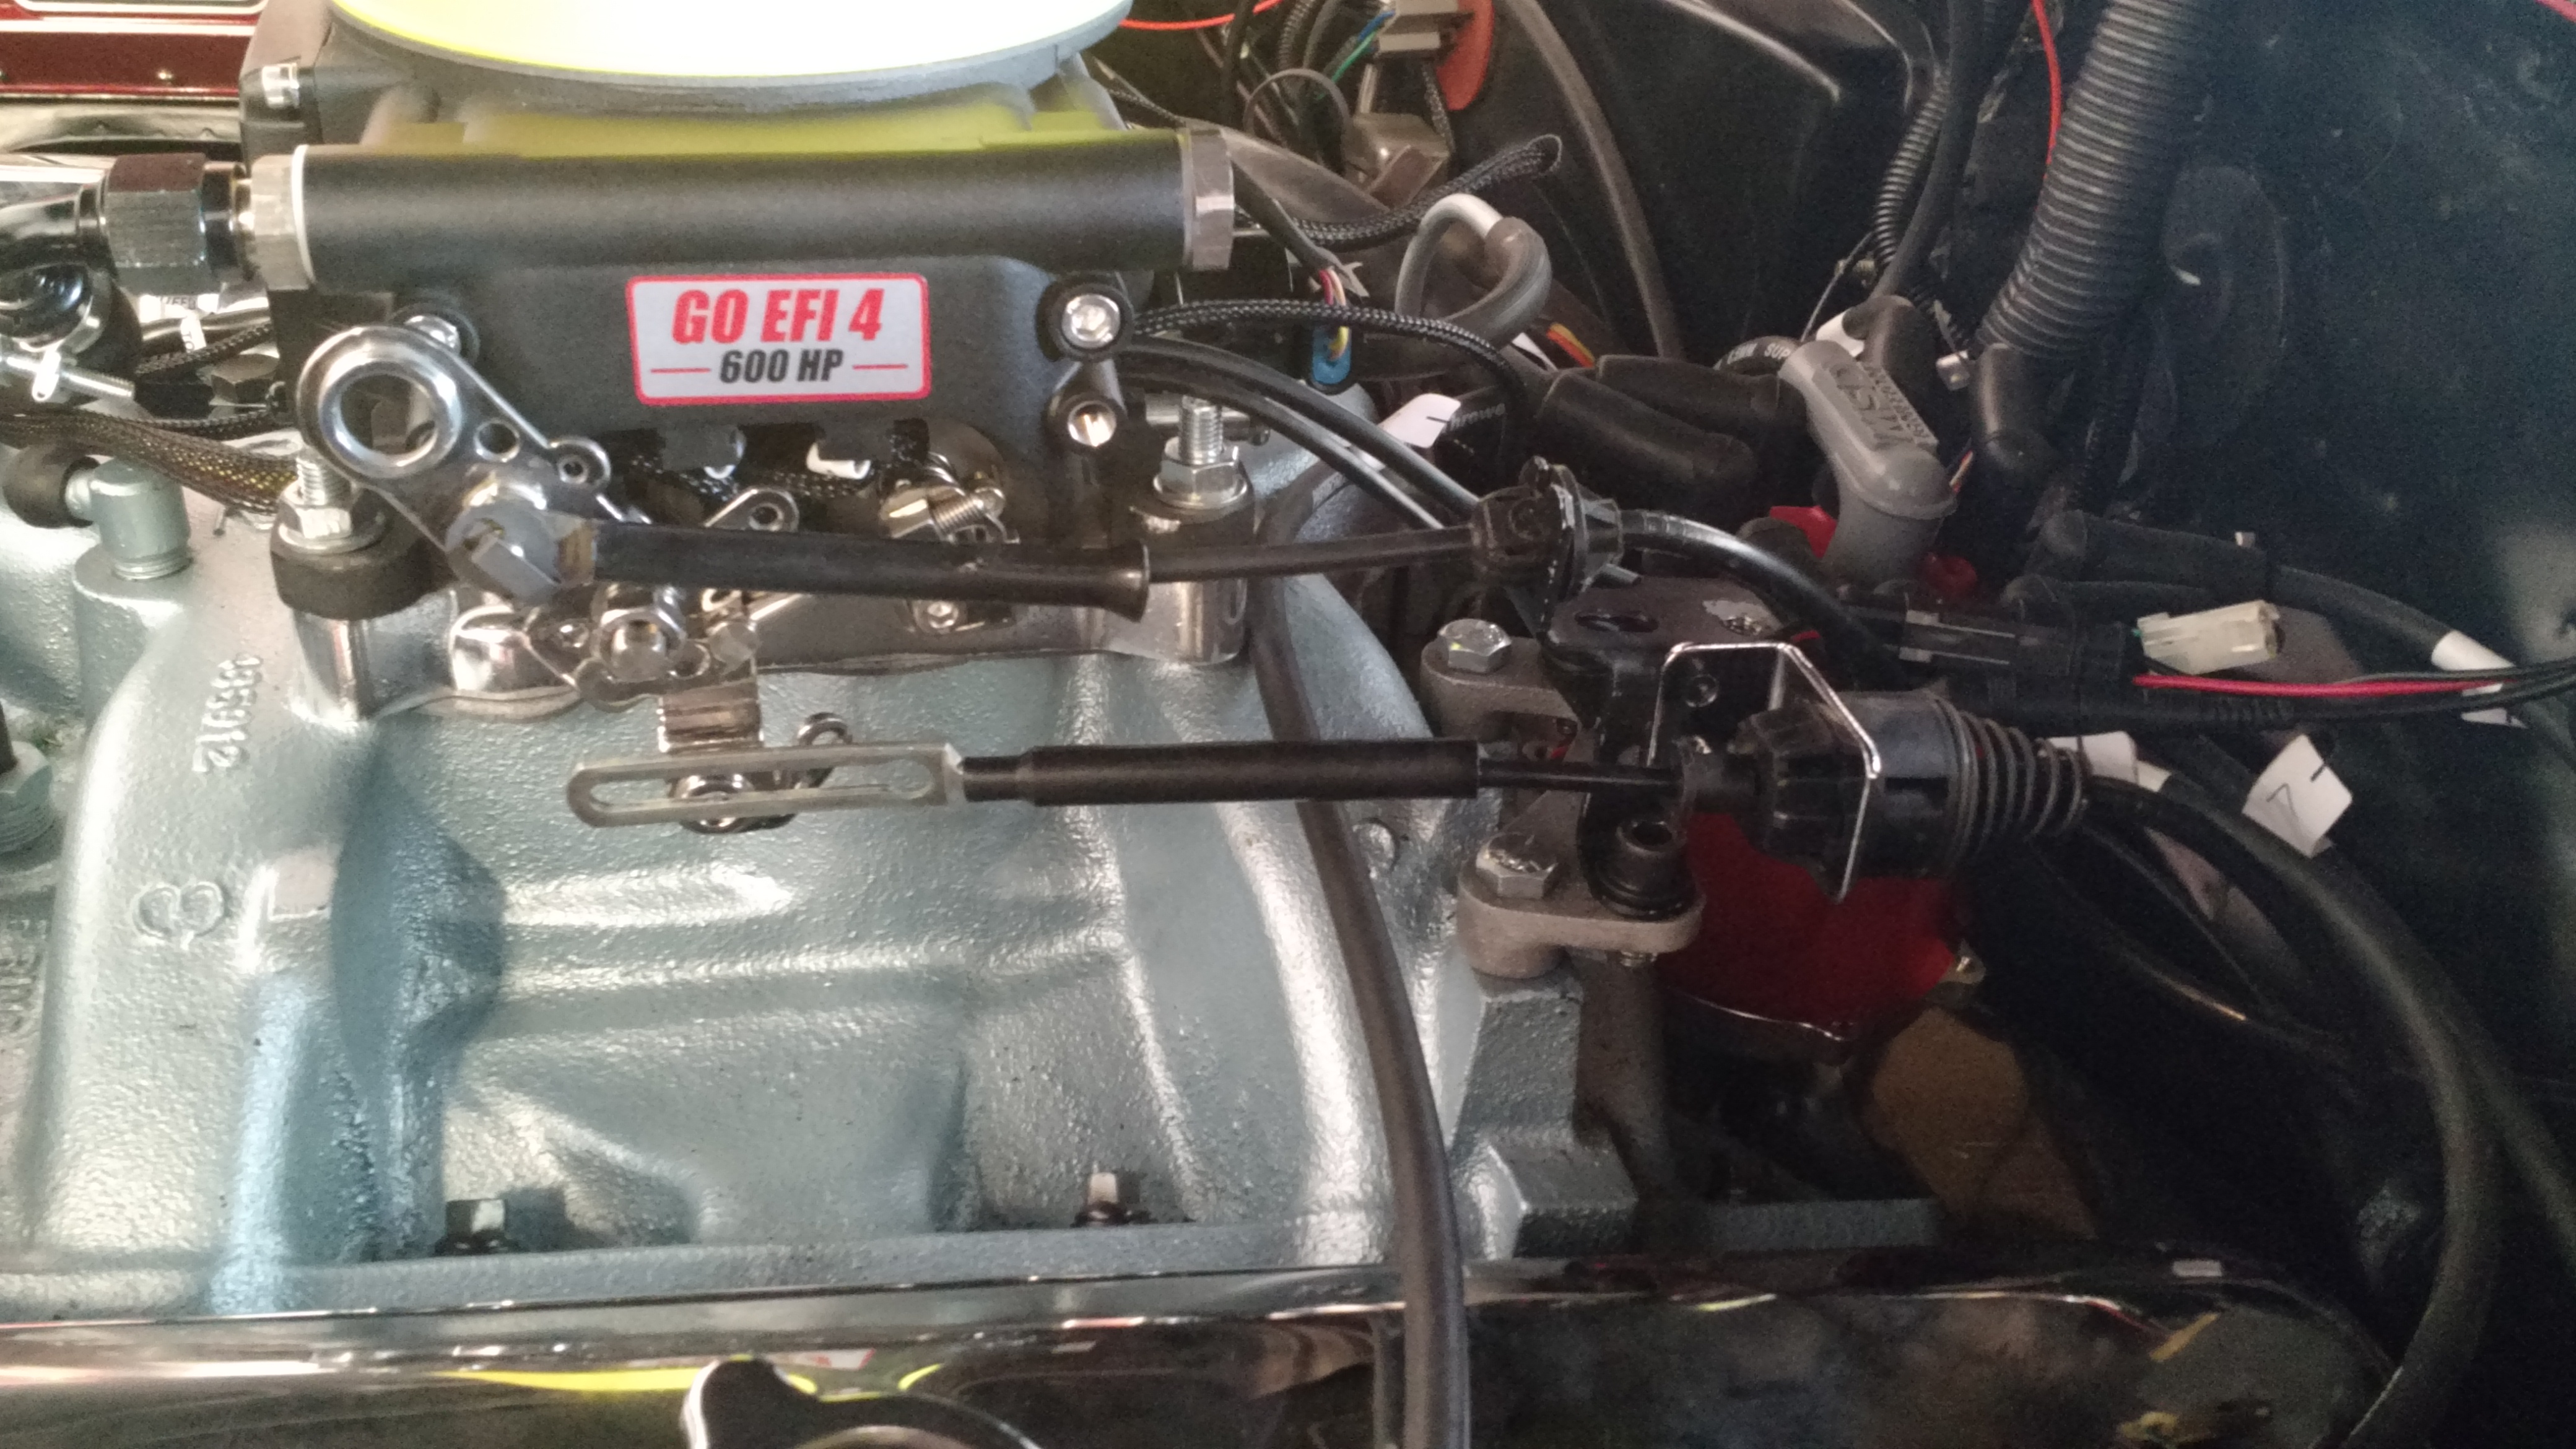
Mounting the FiTech to a spread bore intake
For now I took the simple approach of using an Edelbrock 2696 Square-Bore to Spread-Bore adapter. The quadrajet gasket it came with did not line up properly so I used a thin Mr Gasket quadrajet gasket to get the job done on the intake side.

I am thinking about taking the factory intake off and grinding away the quadrajet holes to allow the square bore holes to feed the factory intake directly. The FiTech comes with both square and spread bore mounting holes, so it is possible to mount it directly once the intake is modified. If I do this, then I would only need an Edelbrock 2732 1/16″ thick adapter plate. Then I could keep the factory air cleaner and mount the shaker directly to it. It may also give me slightly better performance, though I am doubtful. The primary holes of a spread bore are slightly smaller than the throttle body square bore holes, which may be costing me some horse power.
If I don’t modify the intake, when I switch my hood over to a shaker hood I will have to run an aftermarket drop base. I think I decided to go this route, at least for the next year.
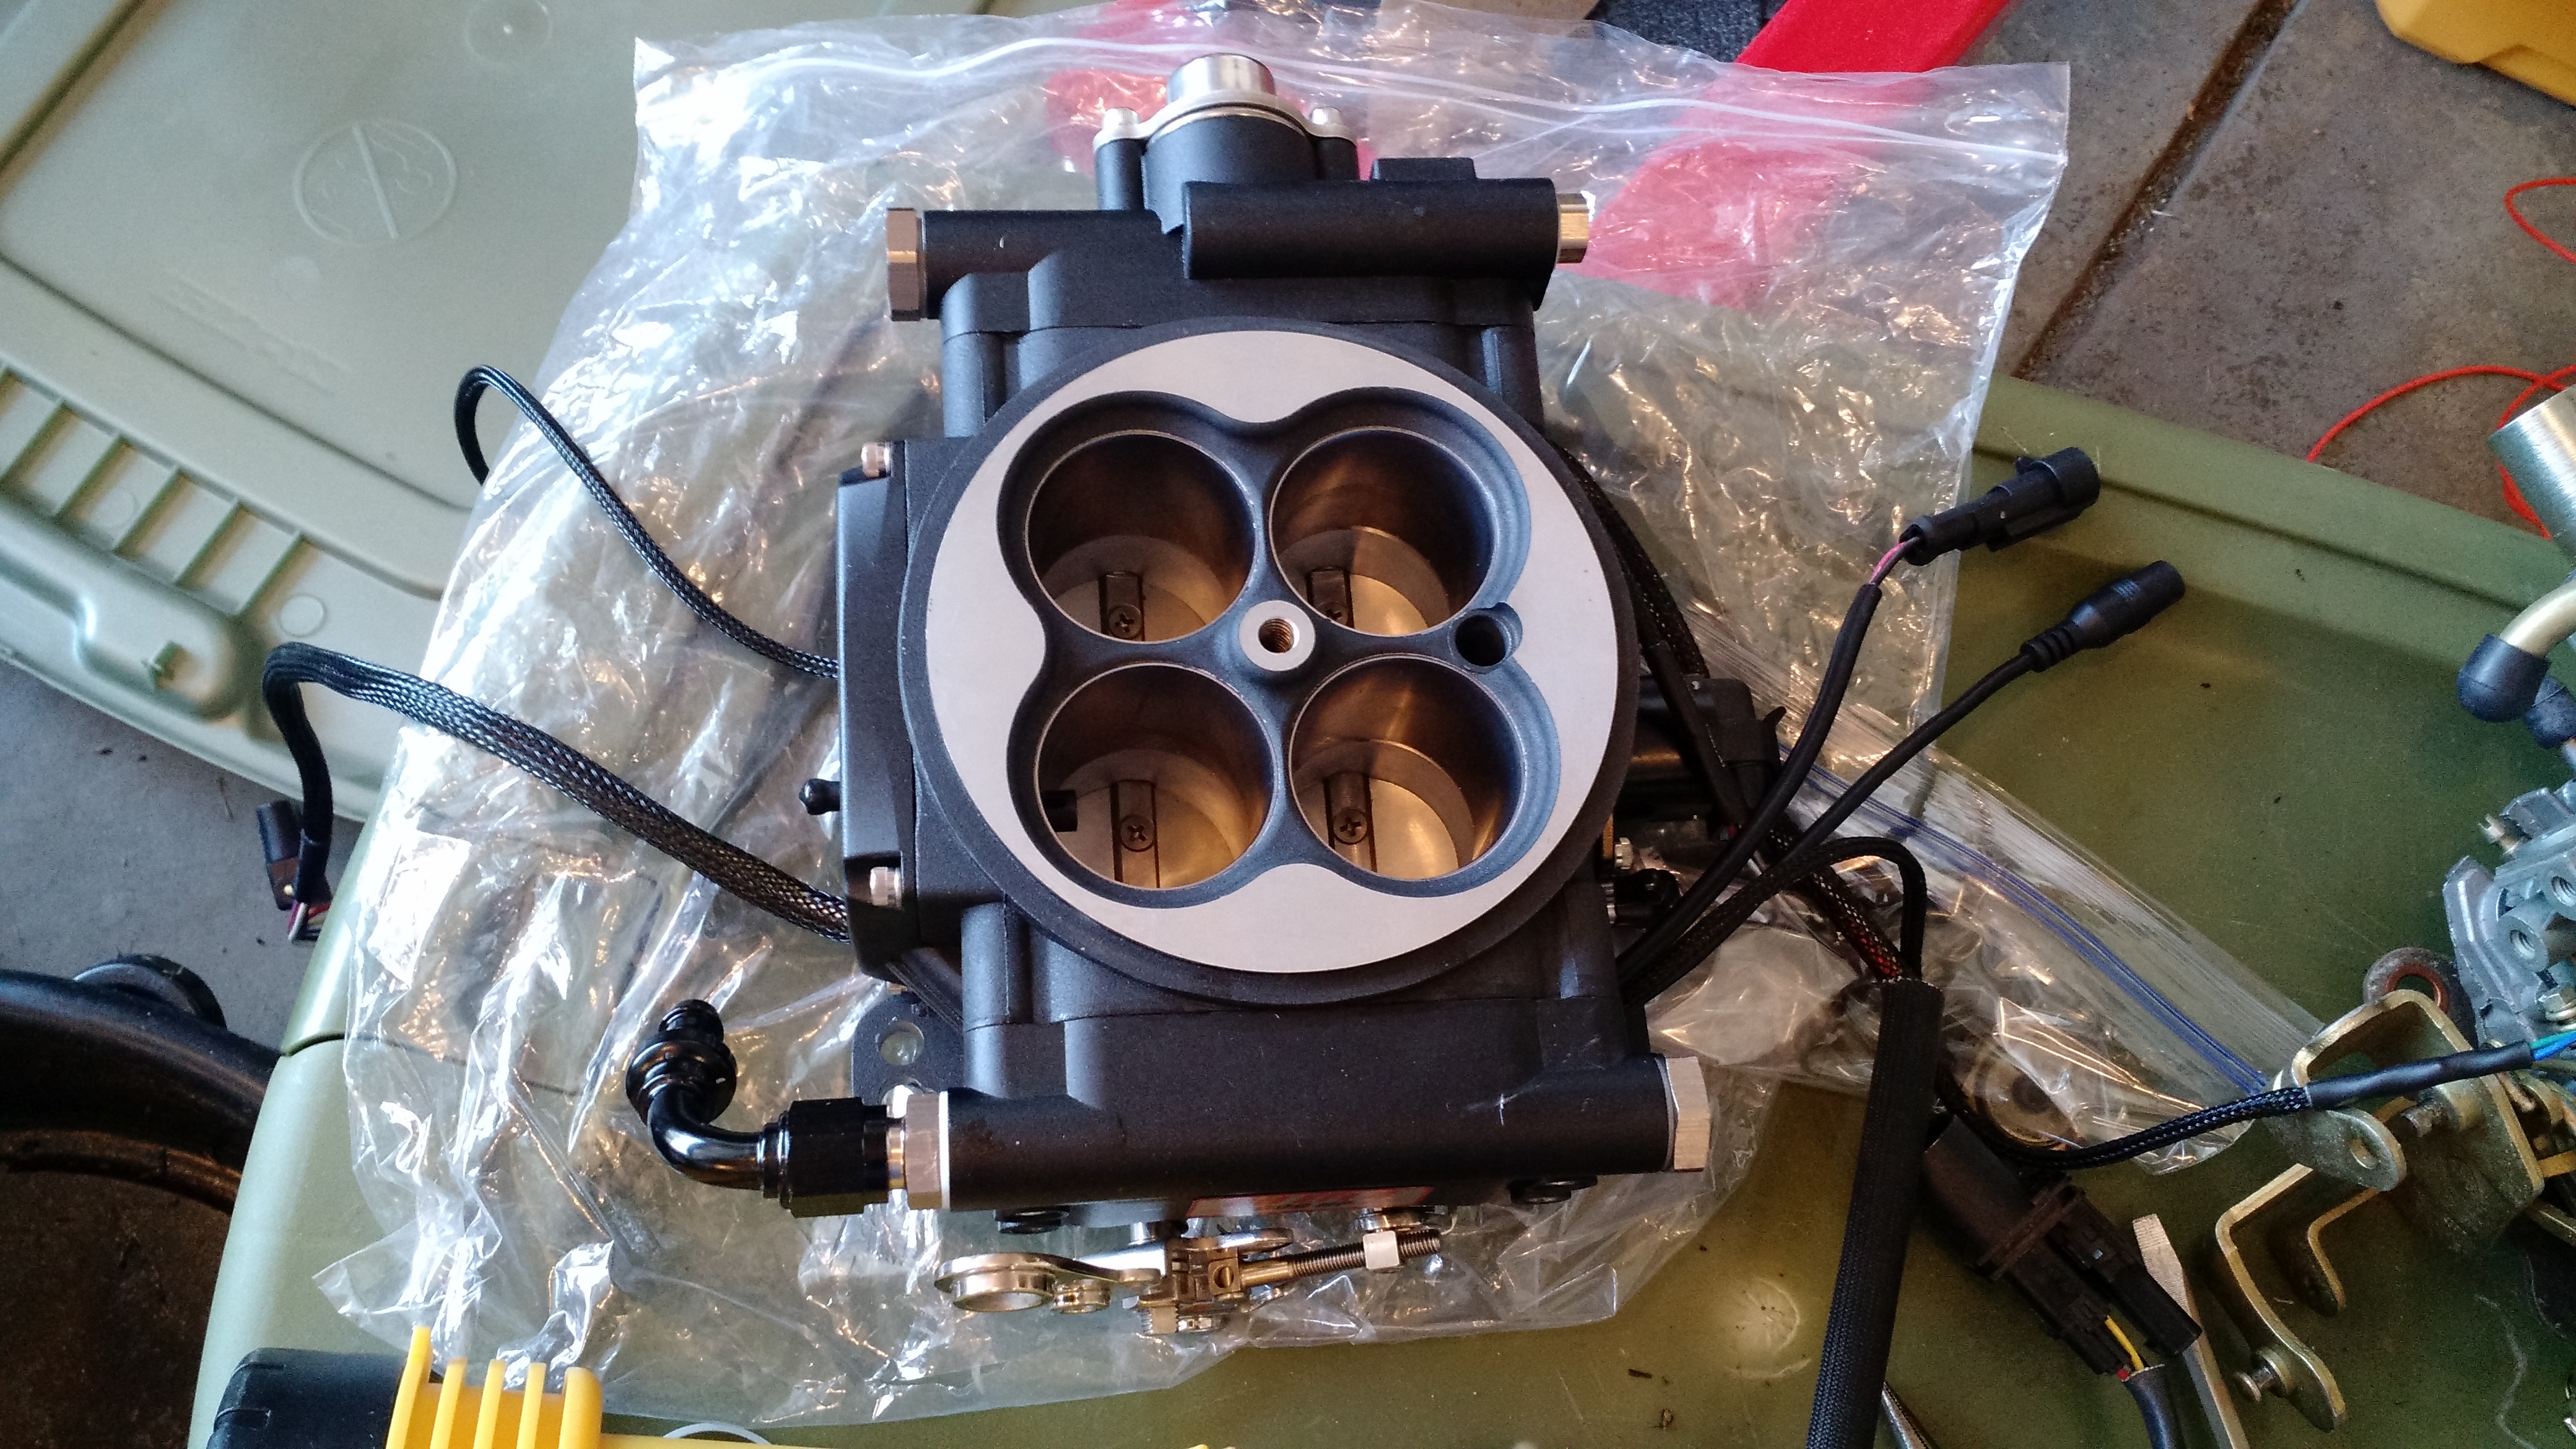
FiTech Go EFI 4 and Fuel Command Center
Here are pictures of the Throttle body and mounting hardware just before I installed them. I wanted to point out the quality of the materials used. The throttle body is heavy and has a very nice finish. The brackets for the fuel center are very thick and feature the FiTech wording cut into the brackets. In my case, you will never see this as I have this tucked within the core support.

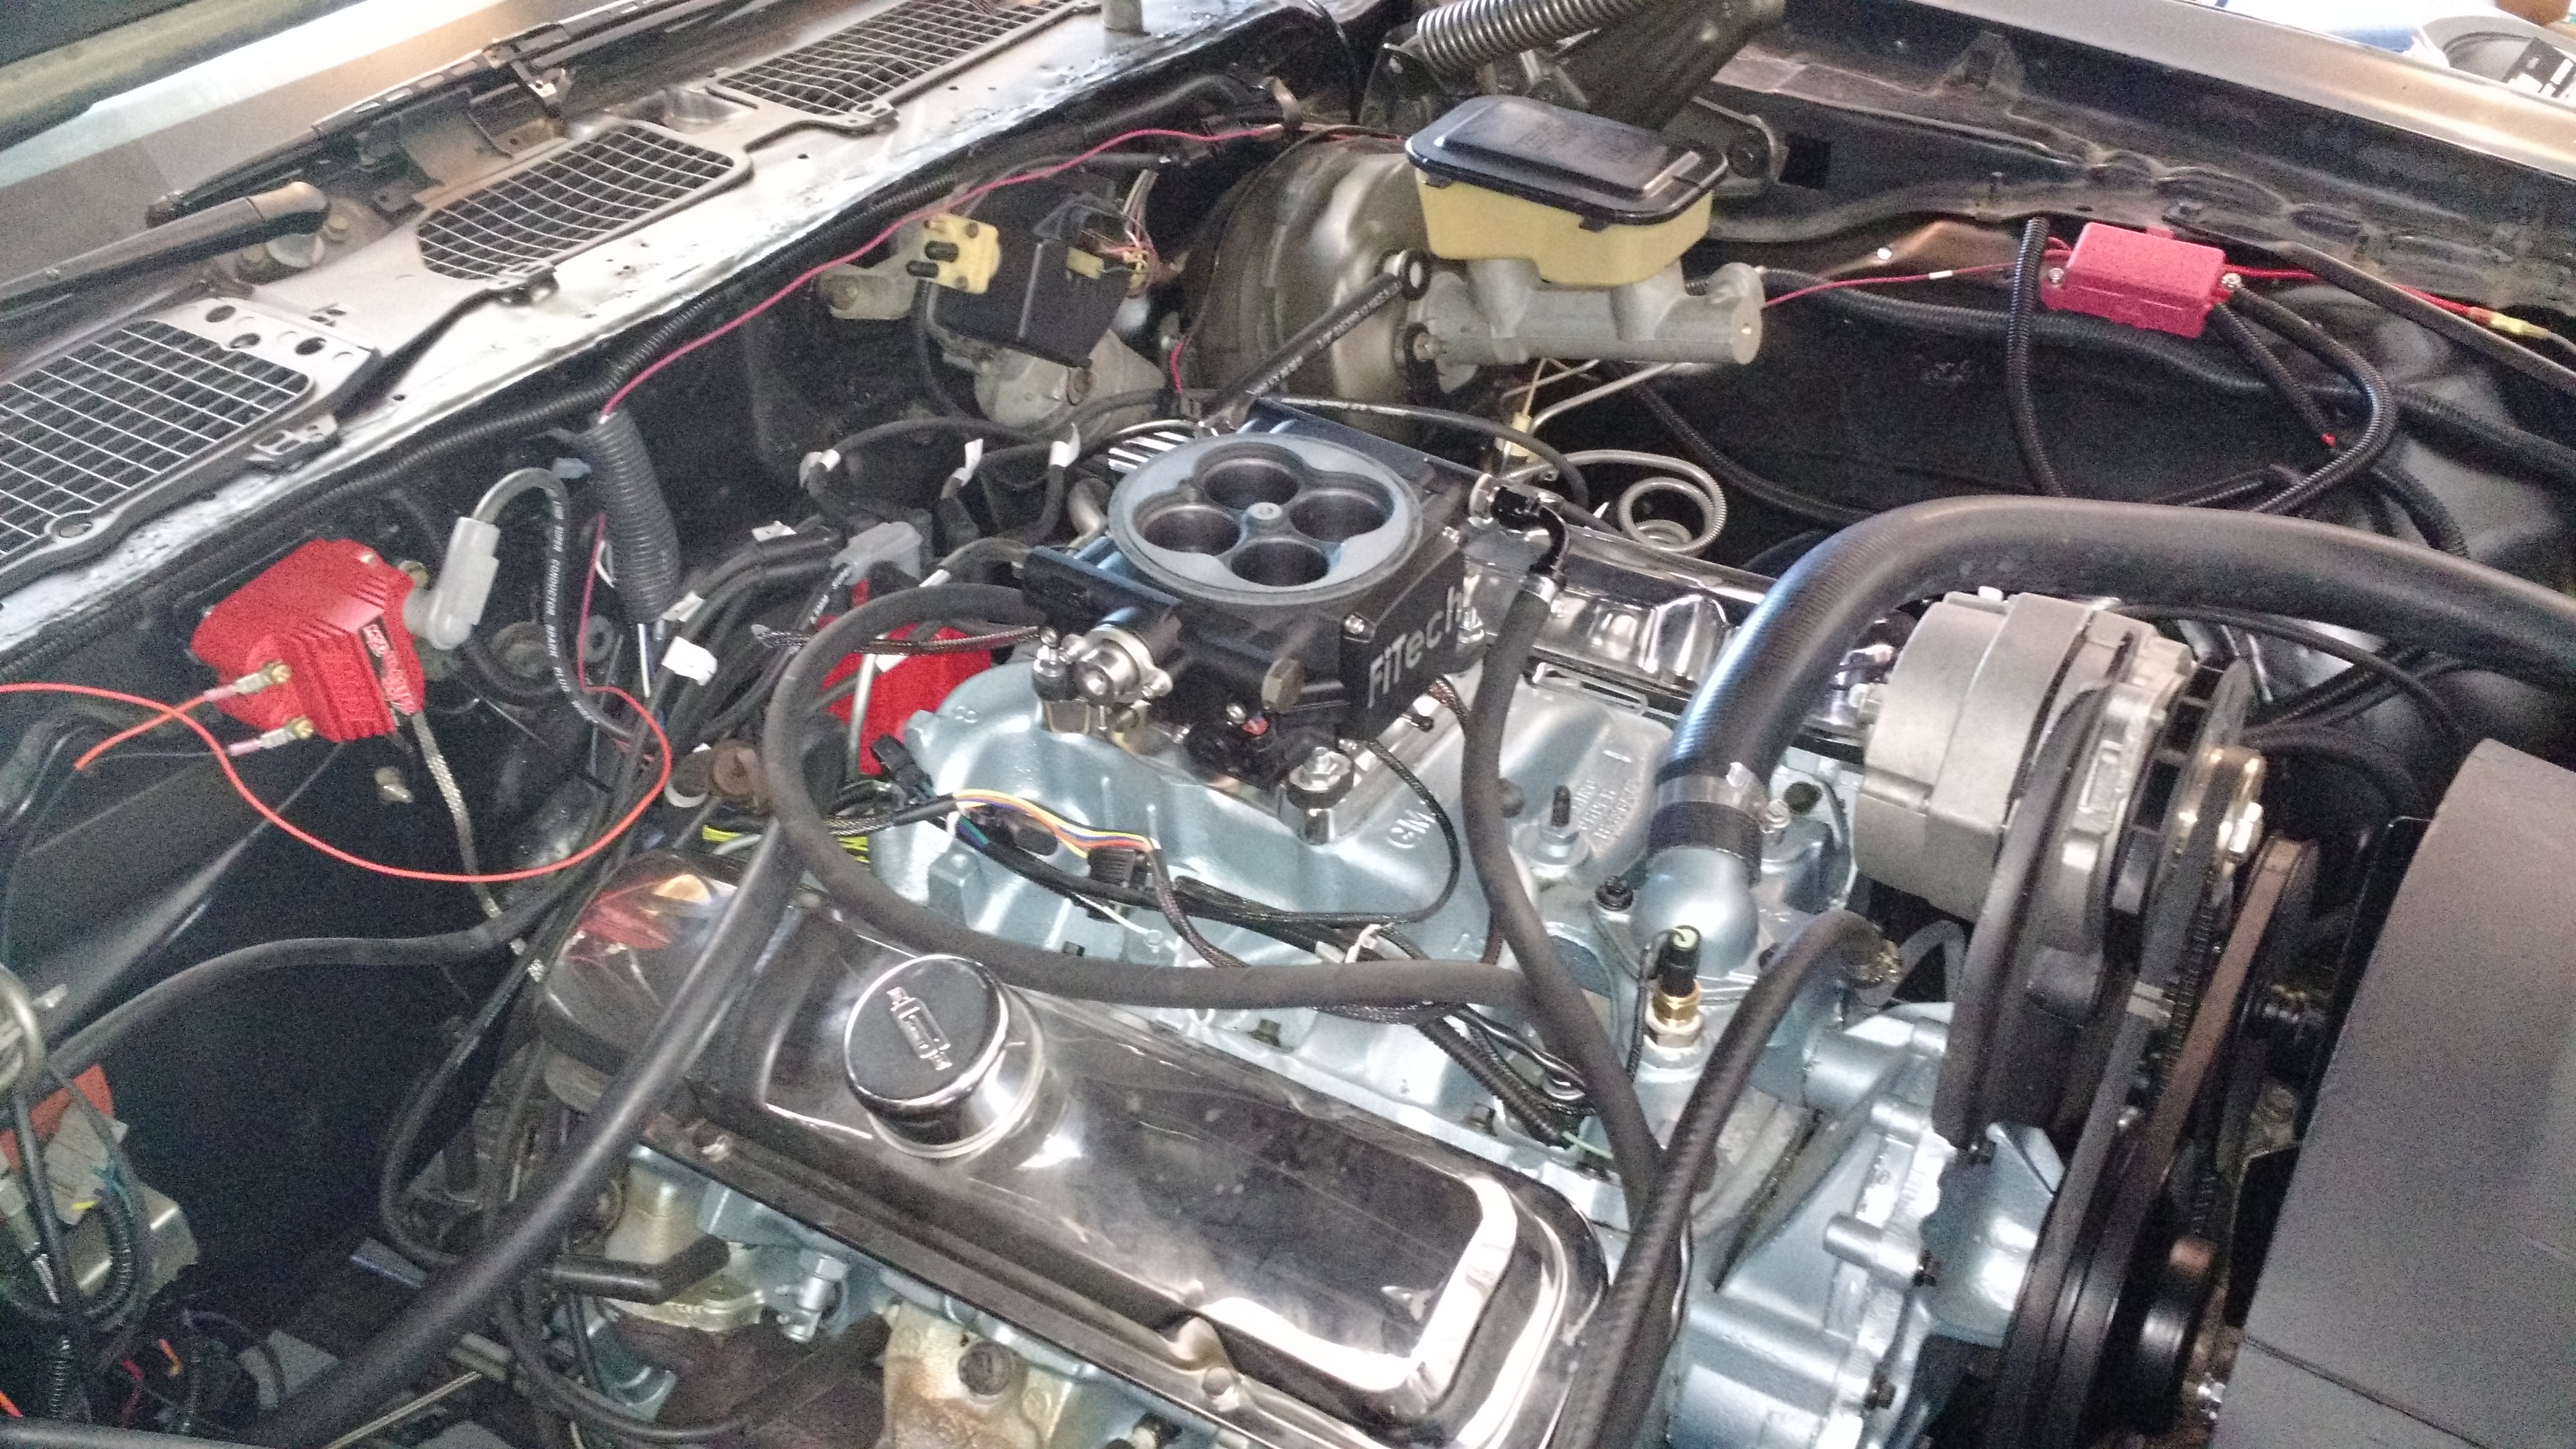
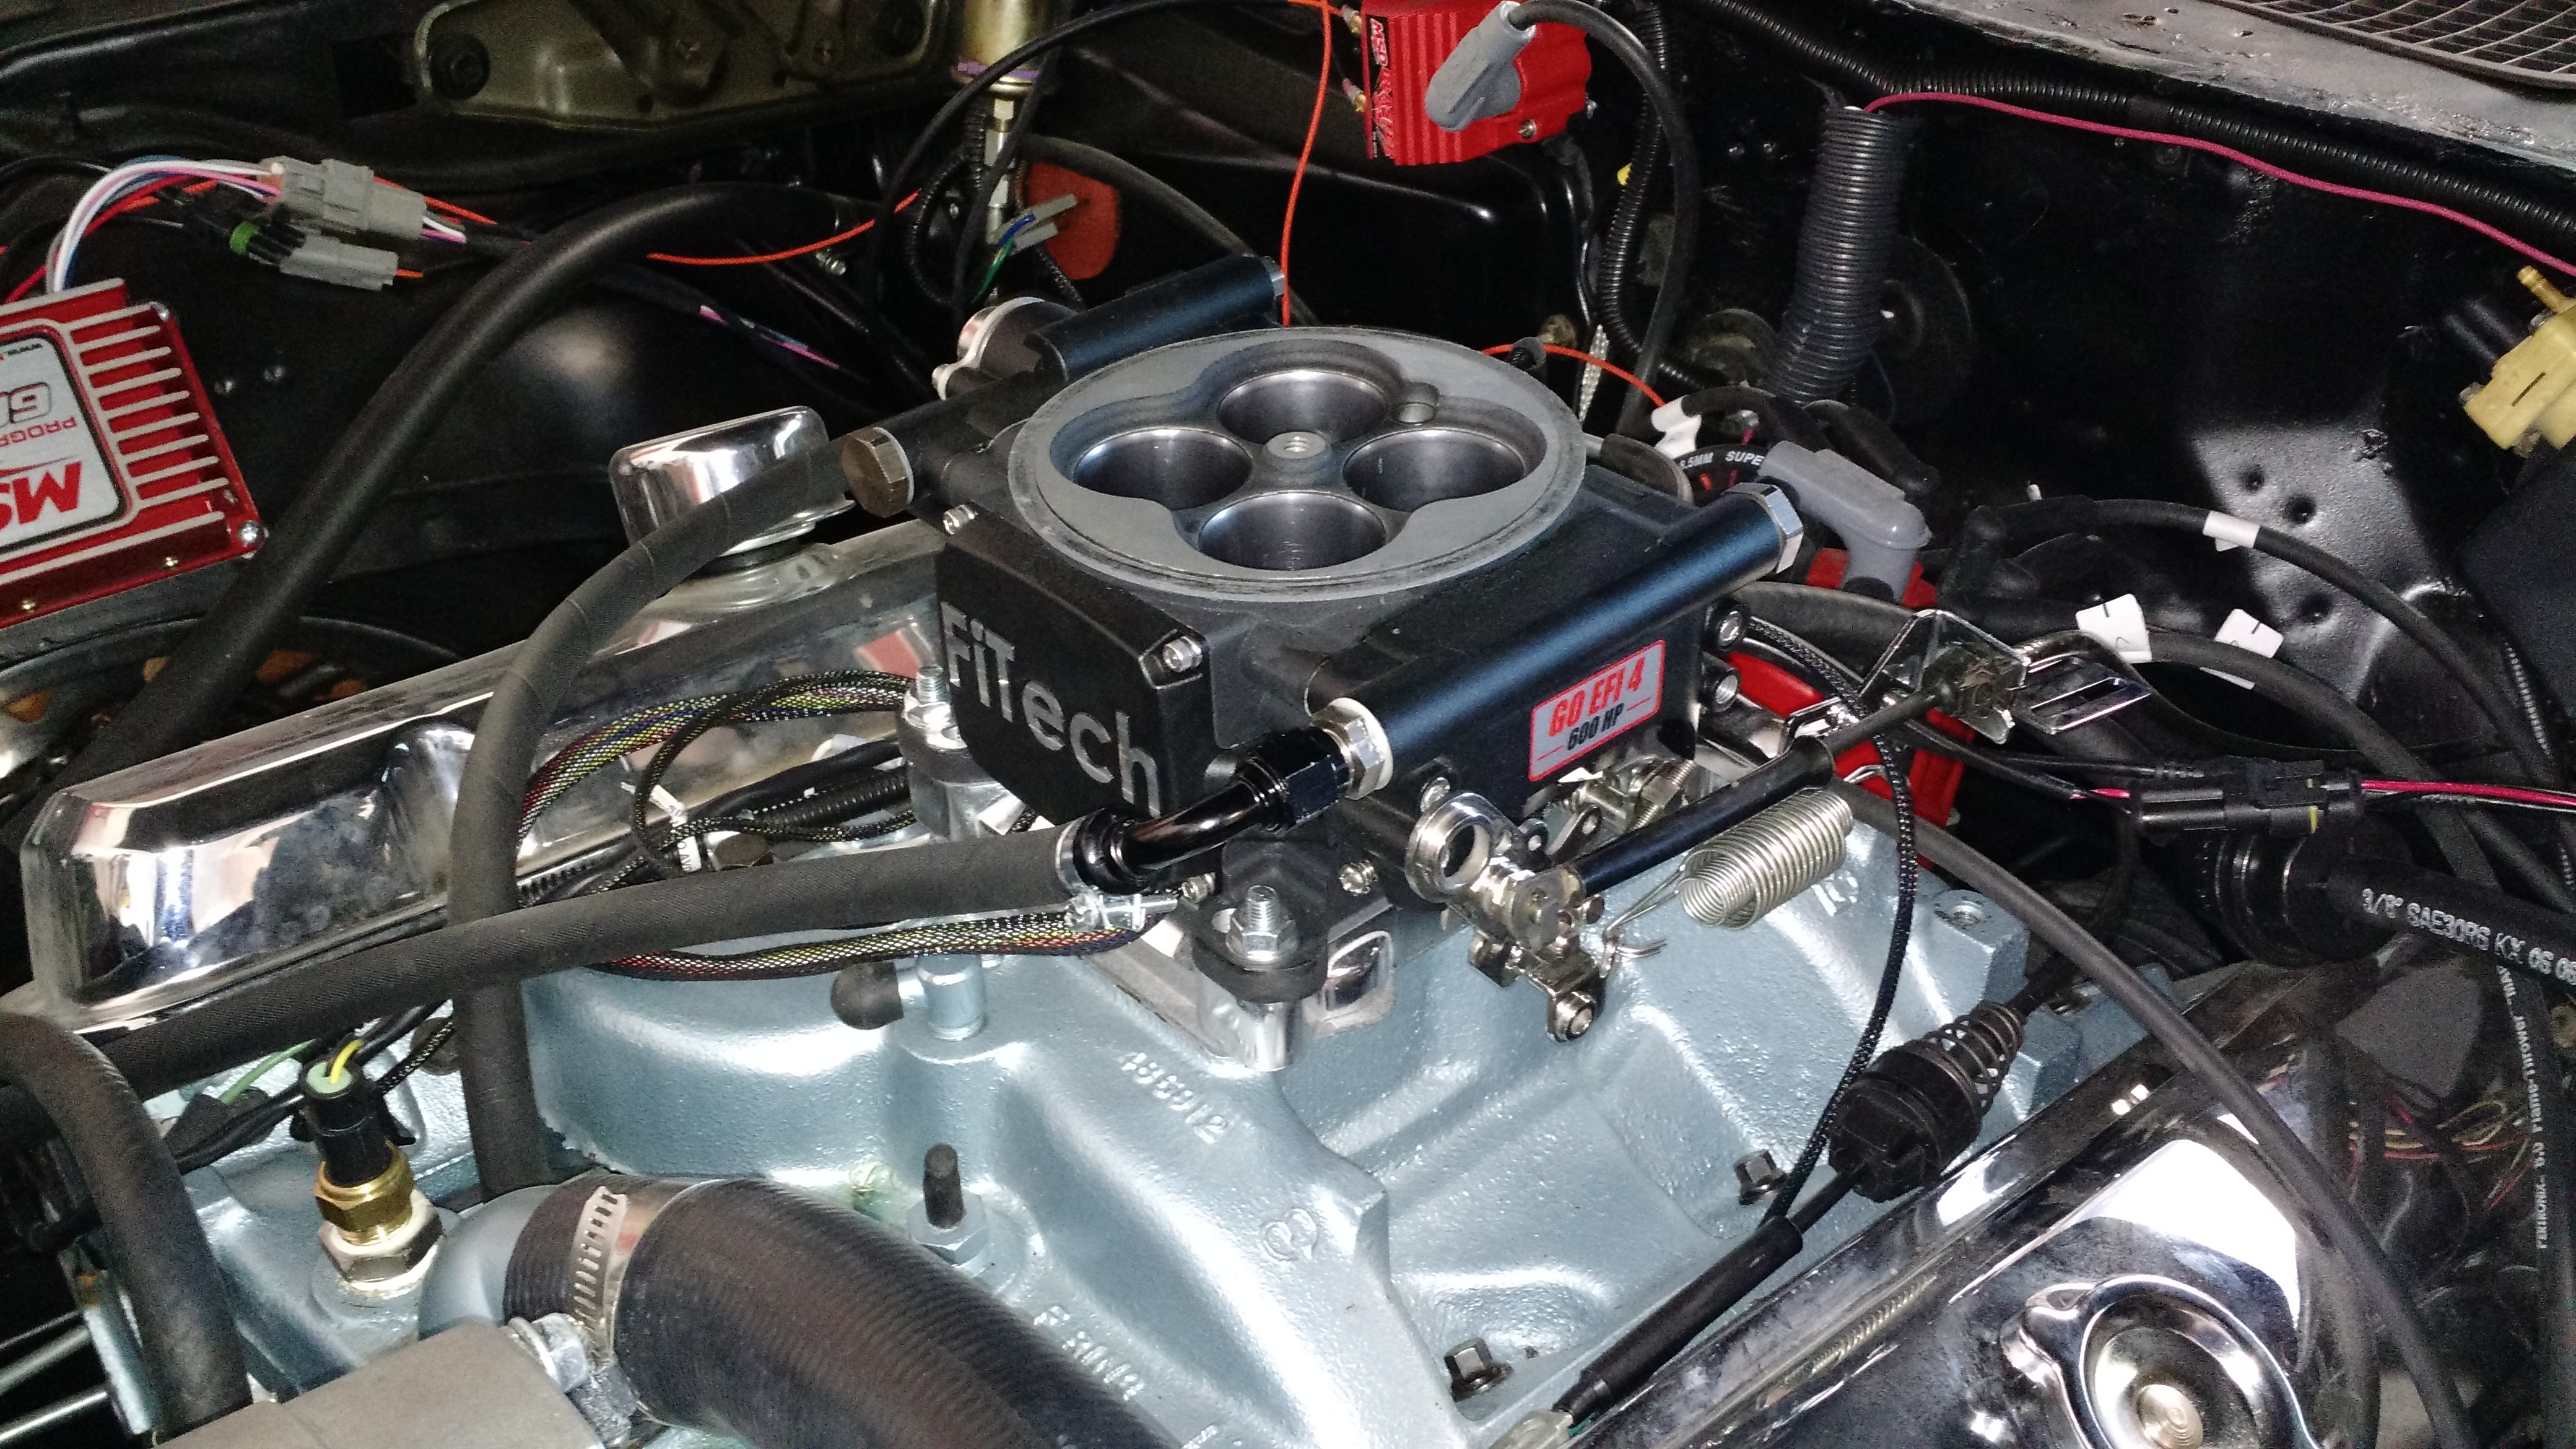
FiTech EFI and Fuel Command Center installed
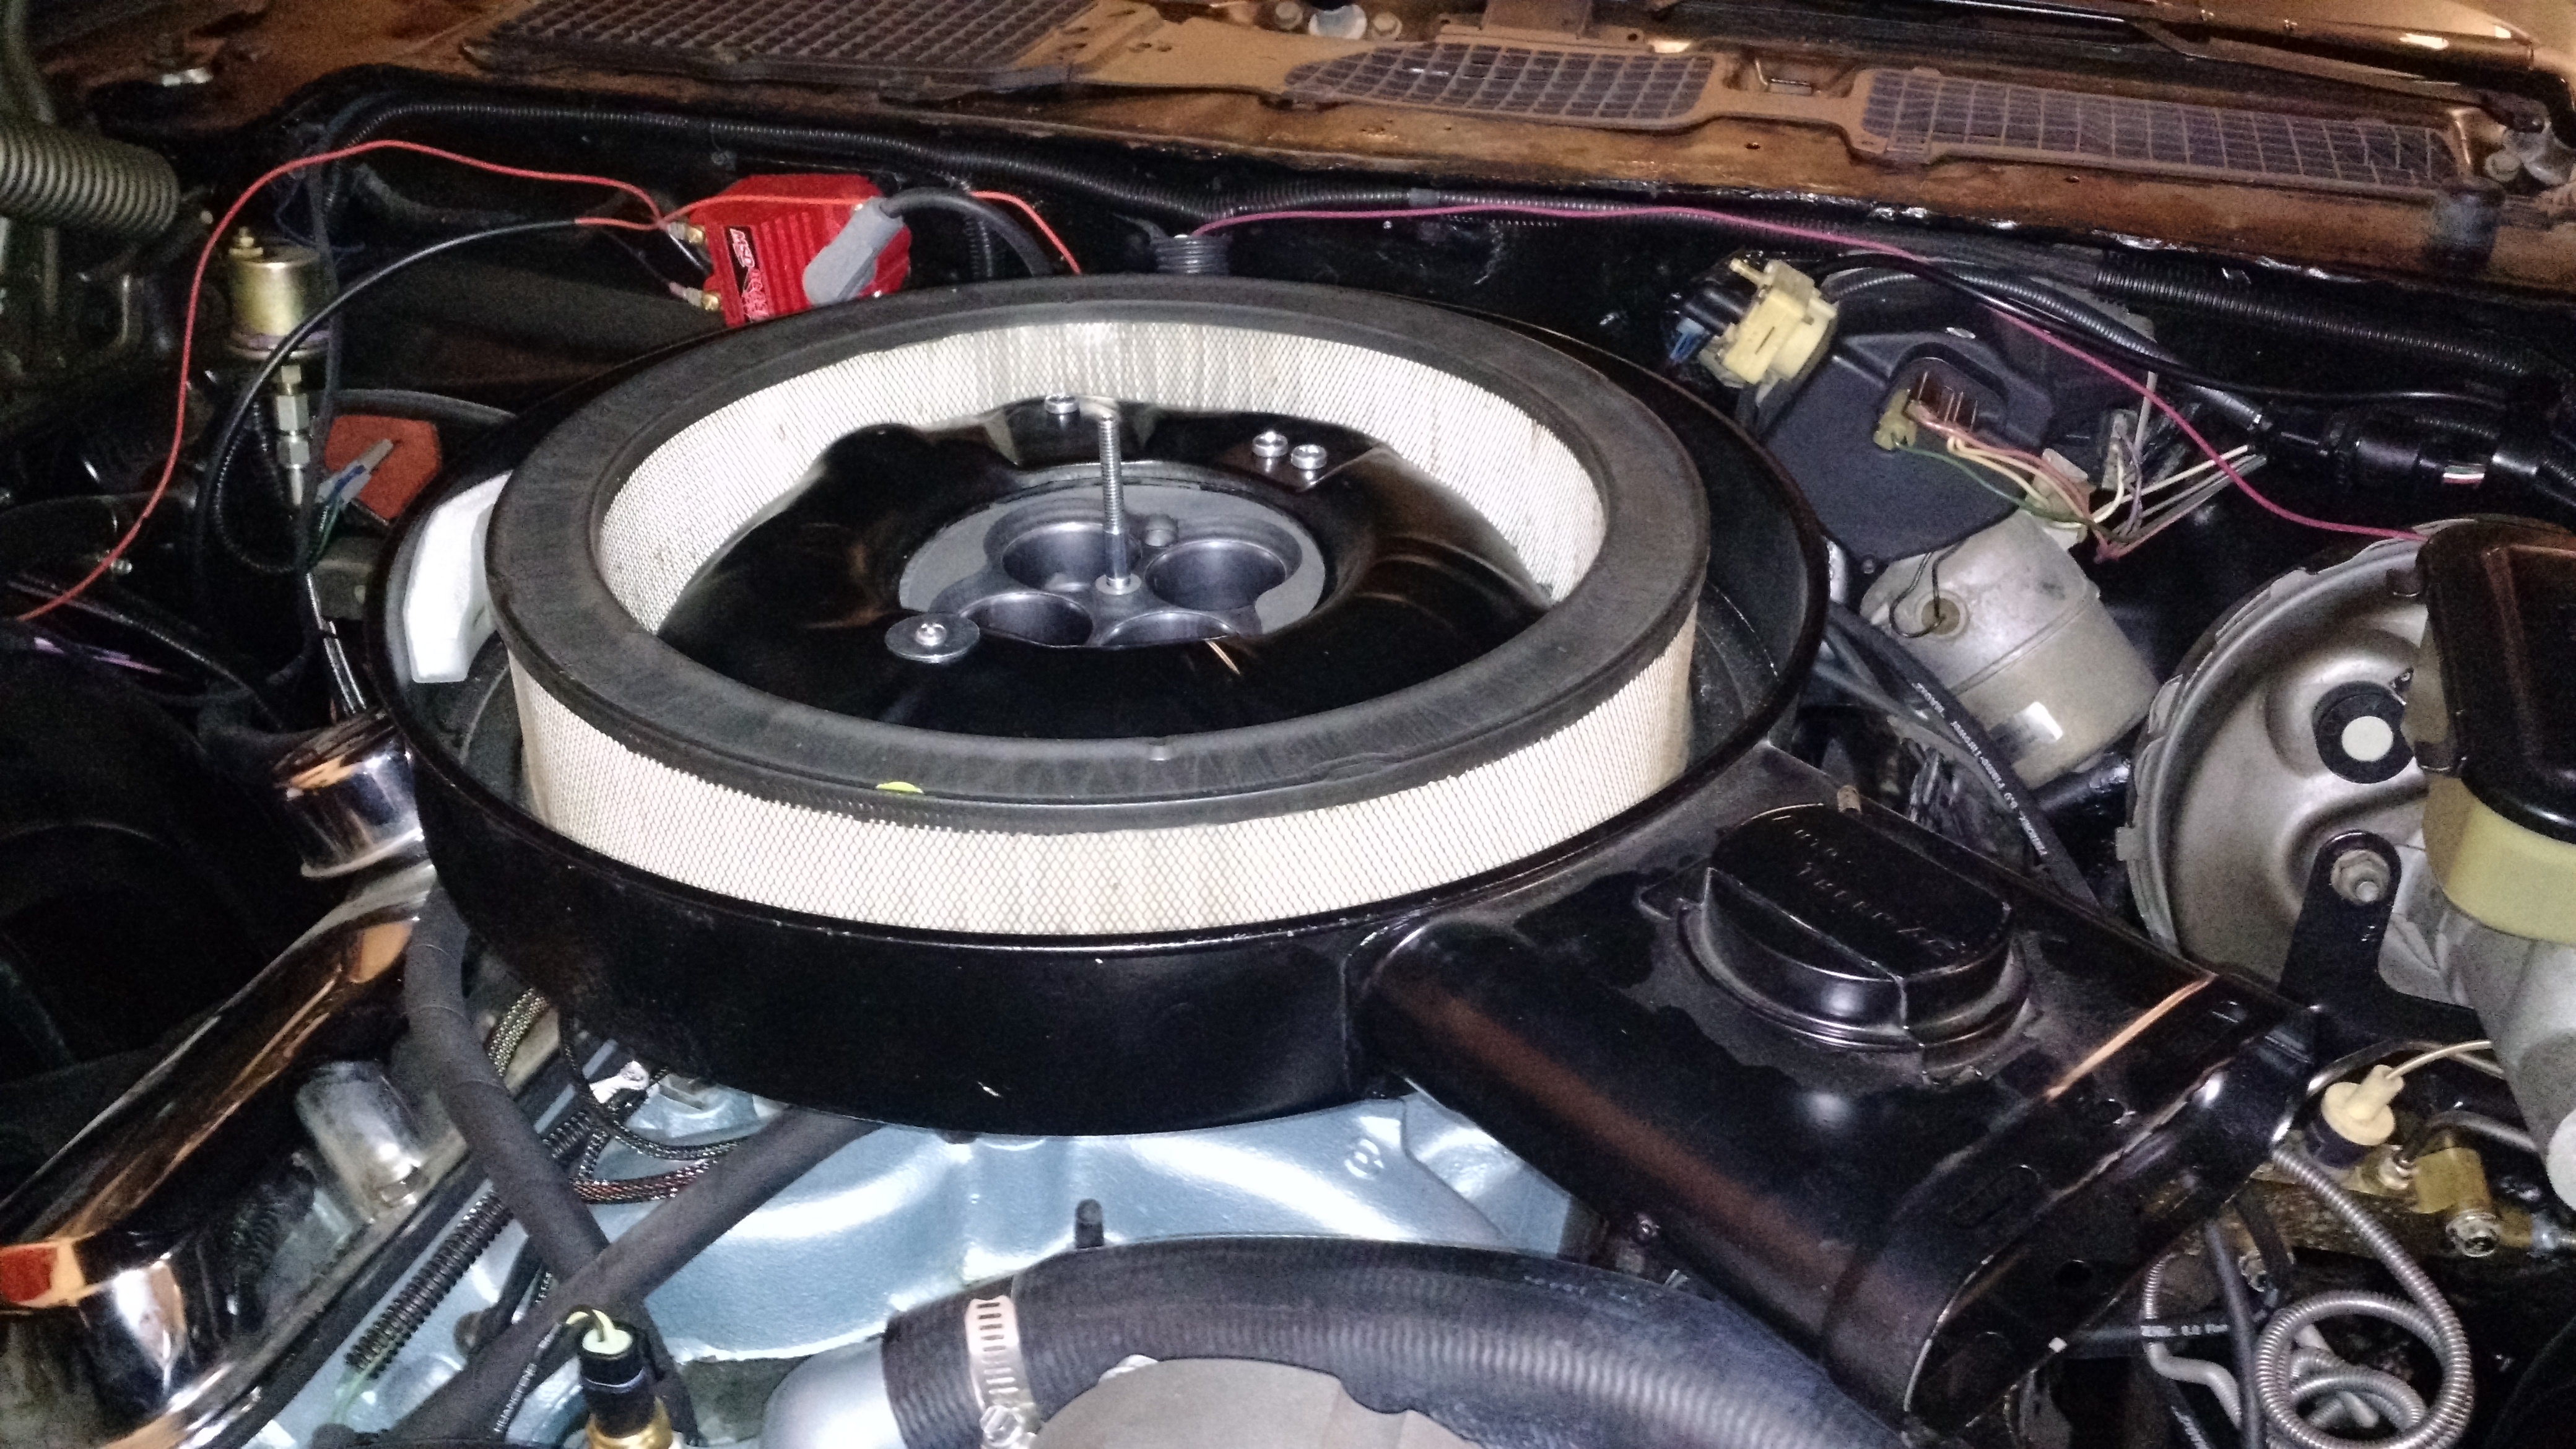
Initial installation took 4 hours. My friend Joel (check out his Firebird) was a big help. Thanks Joel! I have since spent another 4 hours tweaking things such as a better position for the throttle bracket and rerouting the PCV line. At the moment I am using the factory 78′ w72 drop base with a 3″ air filter and a flat air cleaner lid (not ideal). This is currently under a 1981 turbo hood. Everything clears with the flat air cleaner lid.
Video: First run with FiTech EFI system
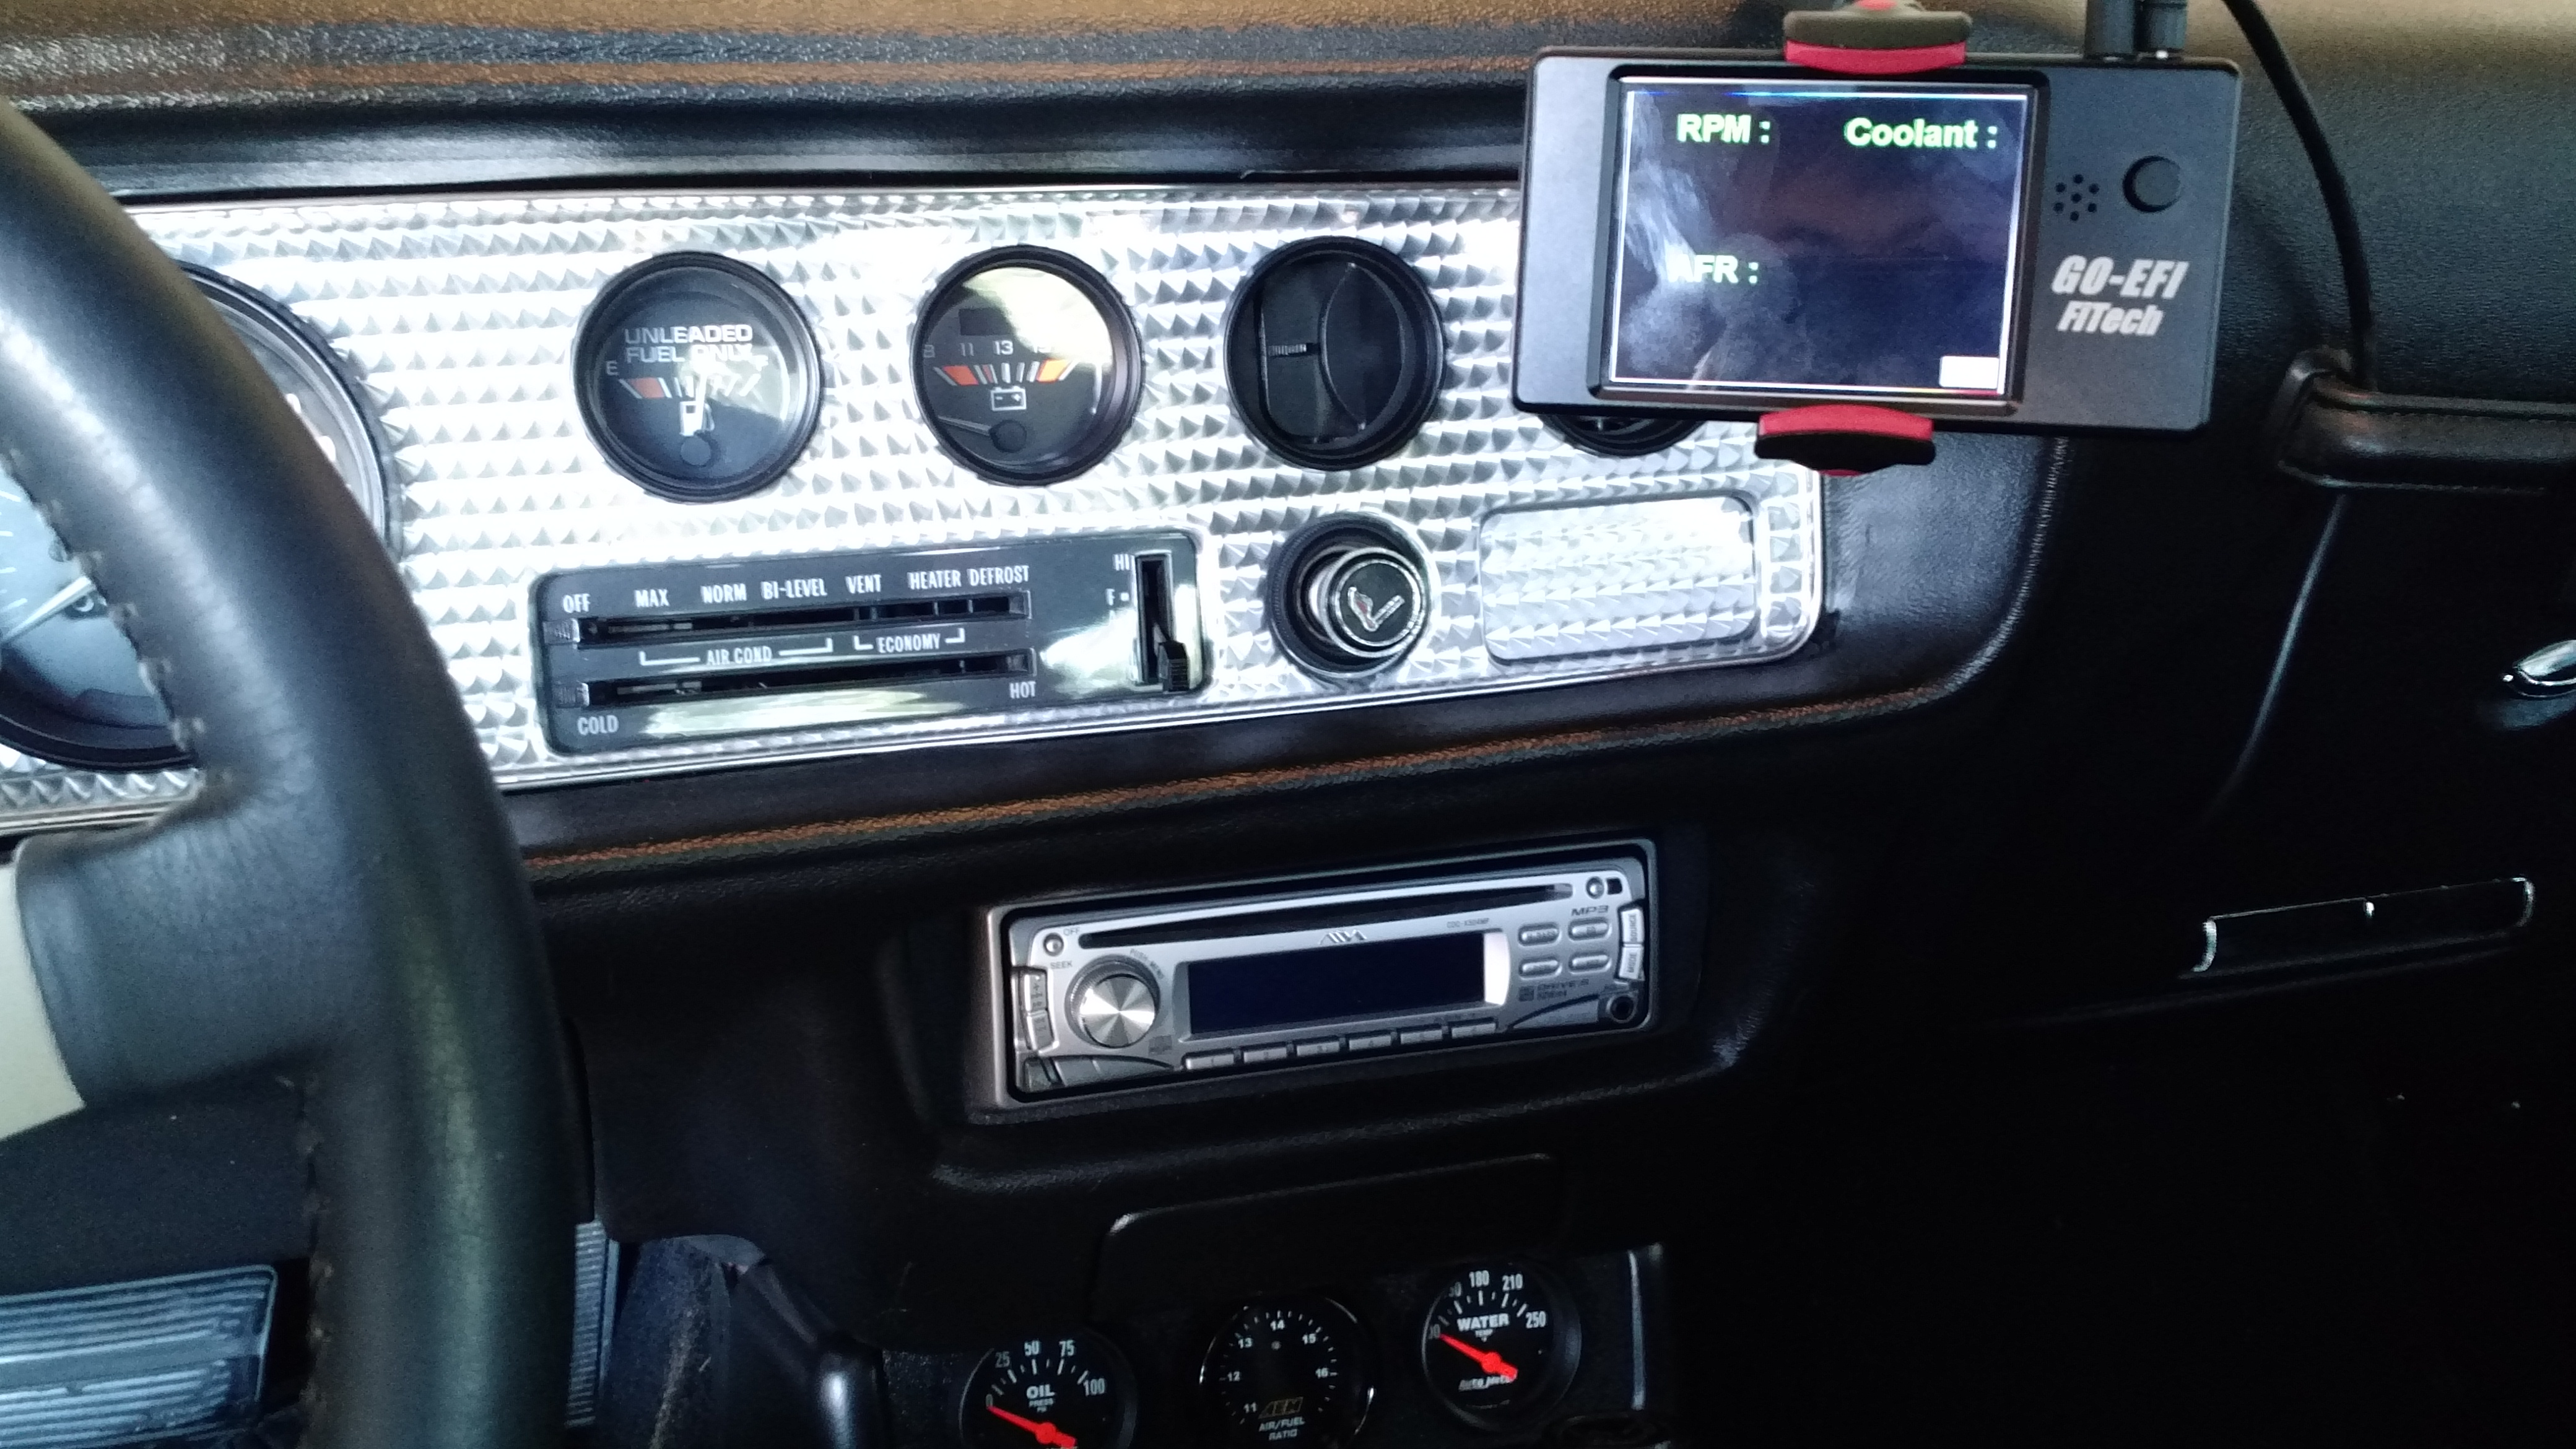
FiTech Handheld Controller with Dashboard
I spent a good hour sitting in my car thinking about how I would permanently mount the FiTech handheld controller. I then went back to the box the system came in and grabbed their mount for the controller. I just mounted it to the window as you see in the pictures and got to thinking. I decided I’m just going to keep it portable, this way I can take it down and hide it in the glove box at times I want to clean up the view in the interior.
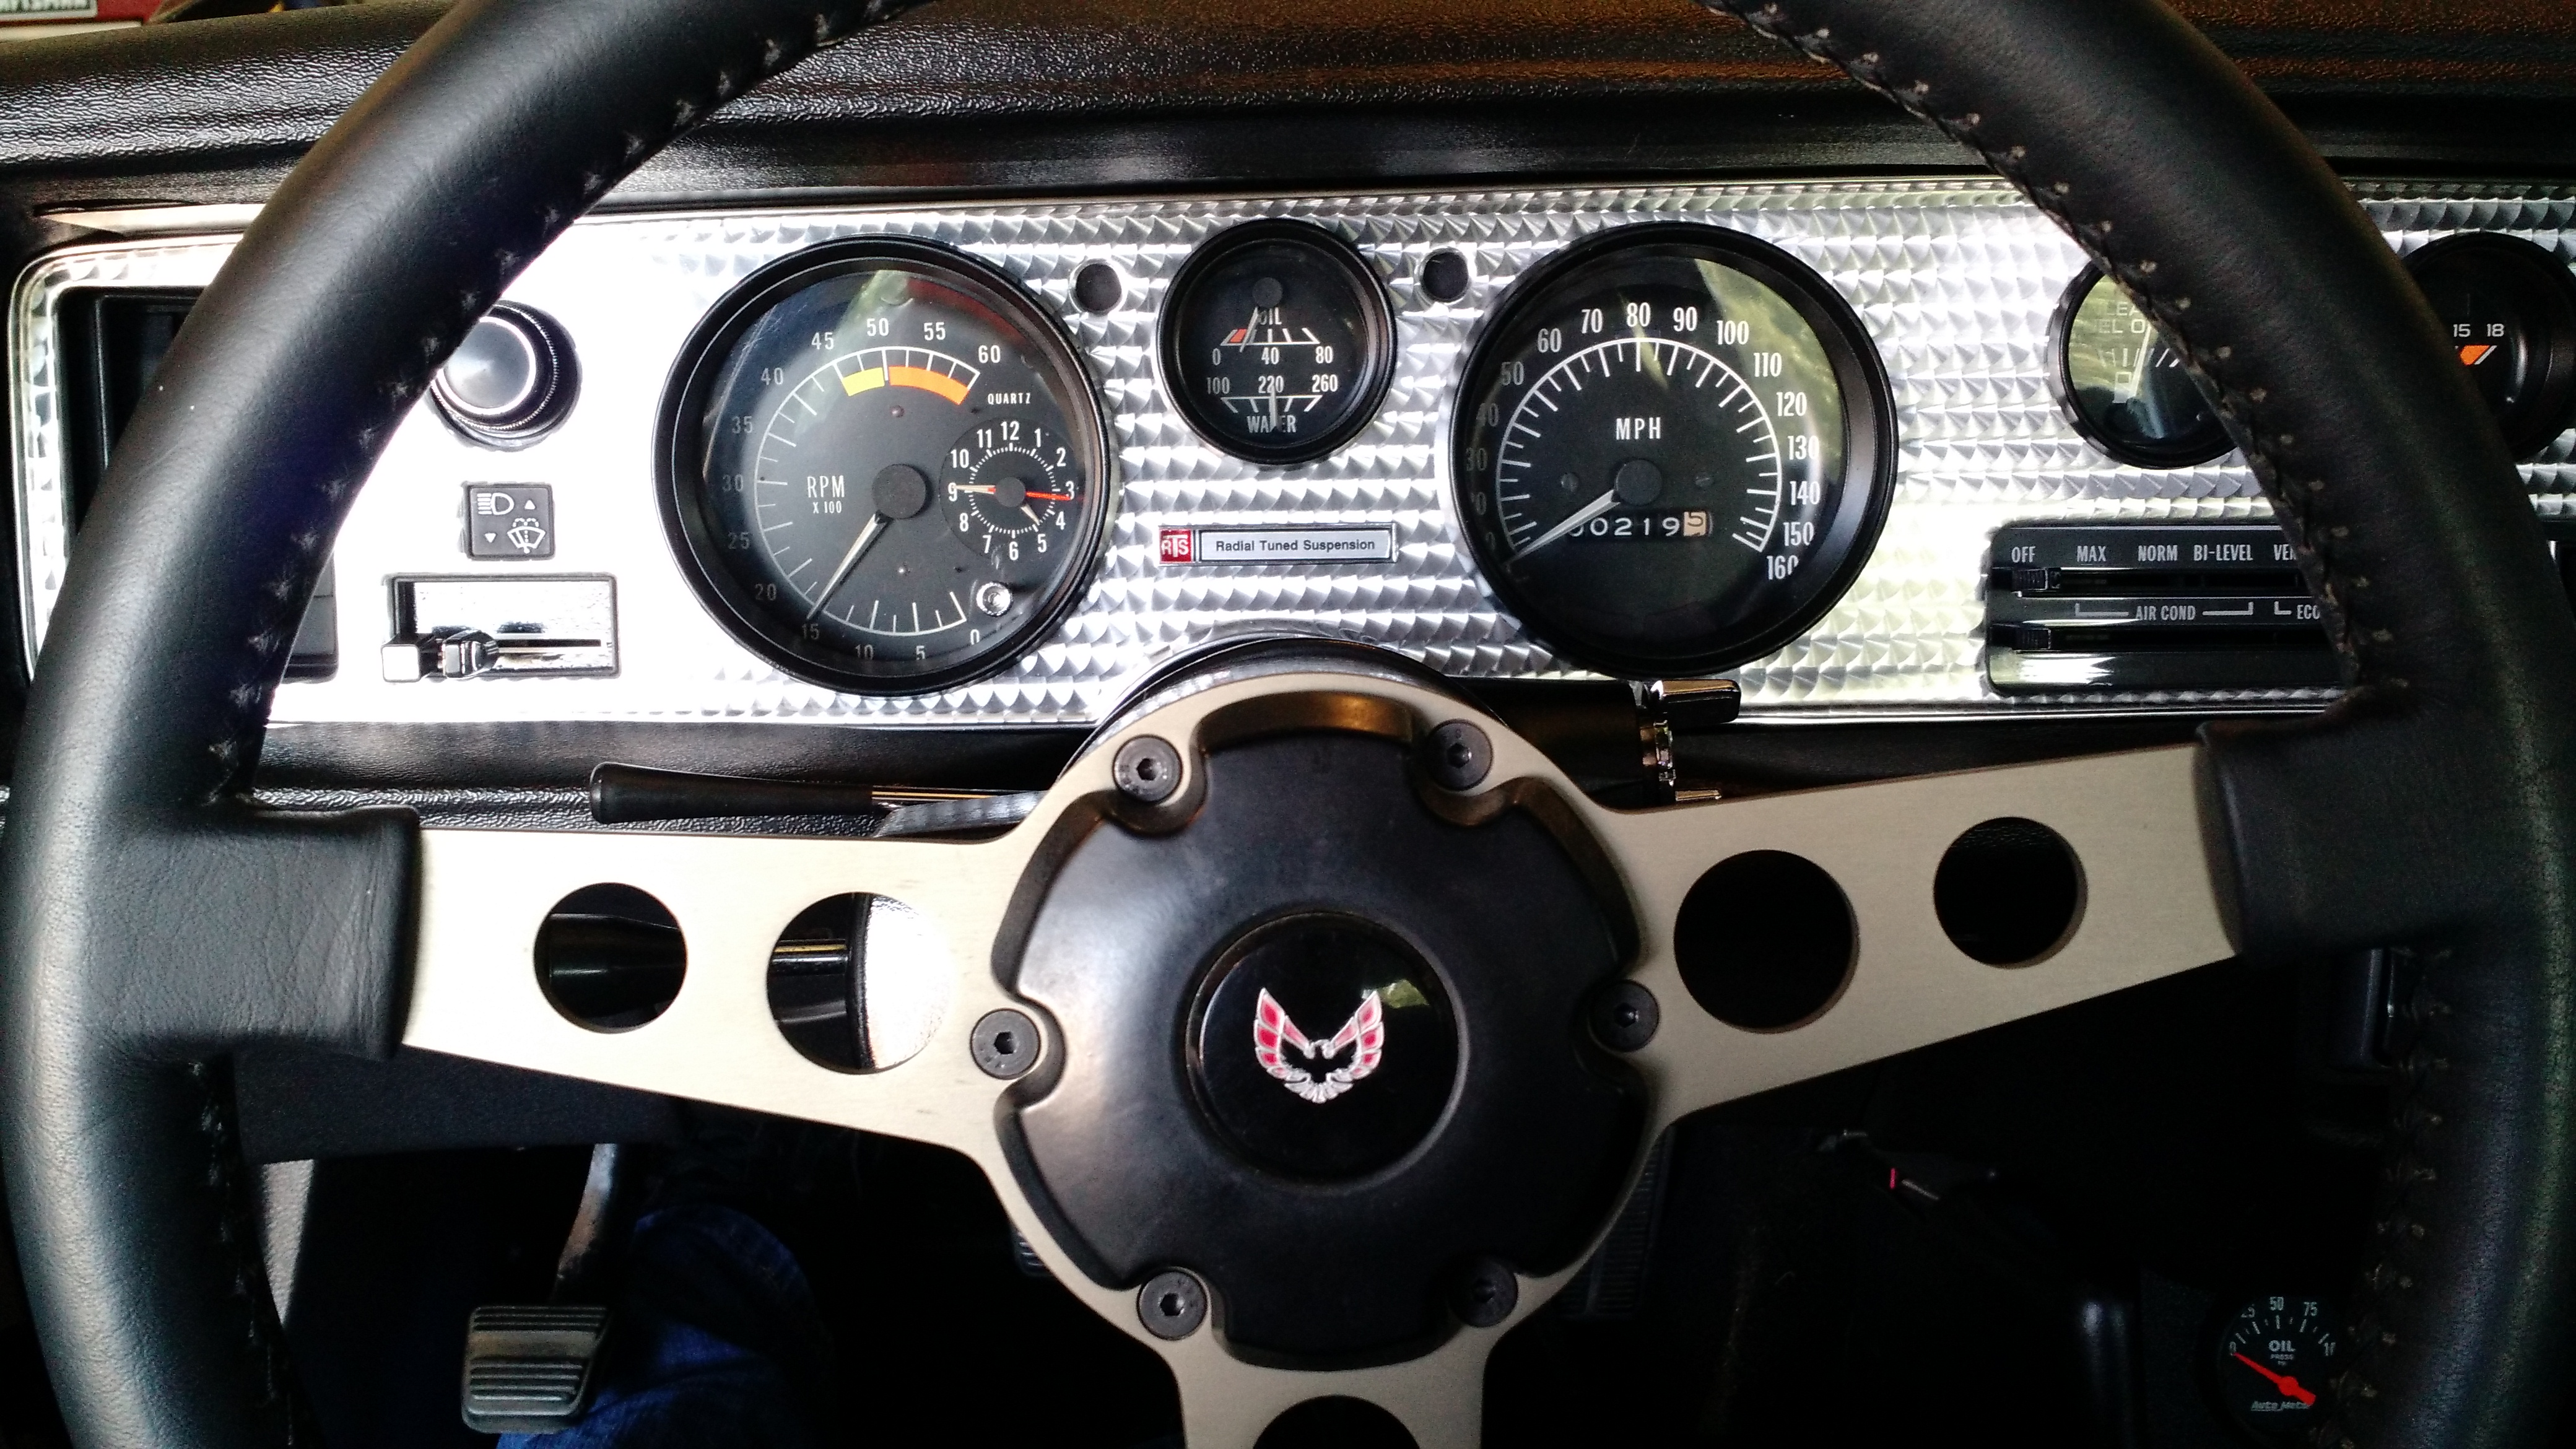
In the map pocket you can see I got Randy’s 3 pod map pocket gauge cluster adapter. At the moment I have AutoMeter electric oil pressure and water temperature gauges as well as an AEM air fuel ratio gauge. At the moment the temperature gauge is not hooked up because the temp sender for the FiTech took it’s place on the intake manifold. I’m on the fence on hooking this back up. I still have the temp gauge in the factory cluster as well, though it is not accurate it is at least consistently inaccurate (laugh out loud). Now I know why most modern cars with temp gauges just show a sweep without temperature numbers. As long as the FiTech can give me the engine temperature I may just remove the AutoMeter temp gauge.
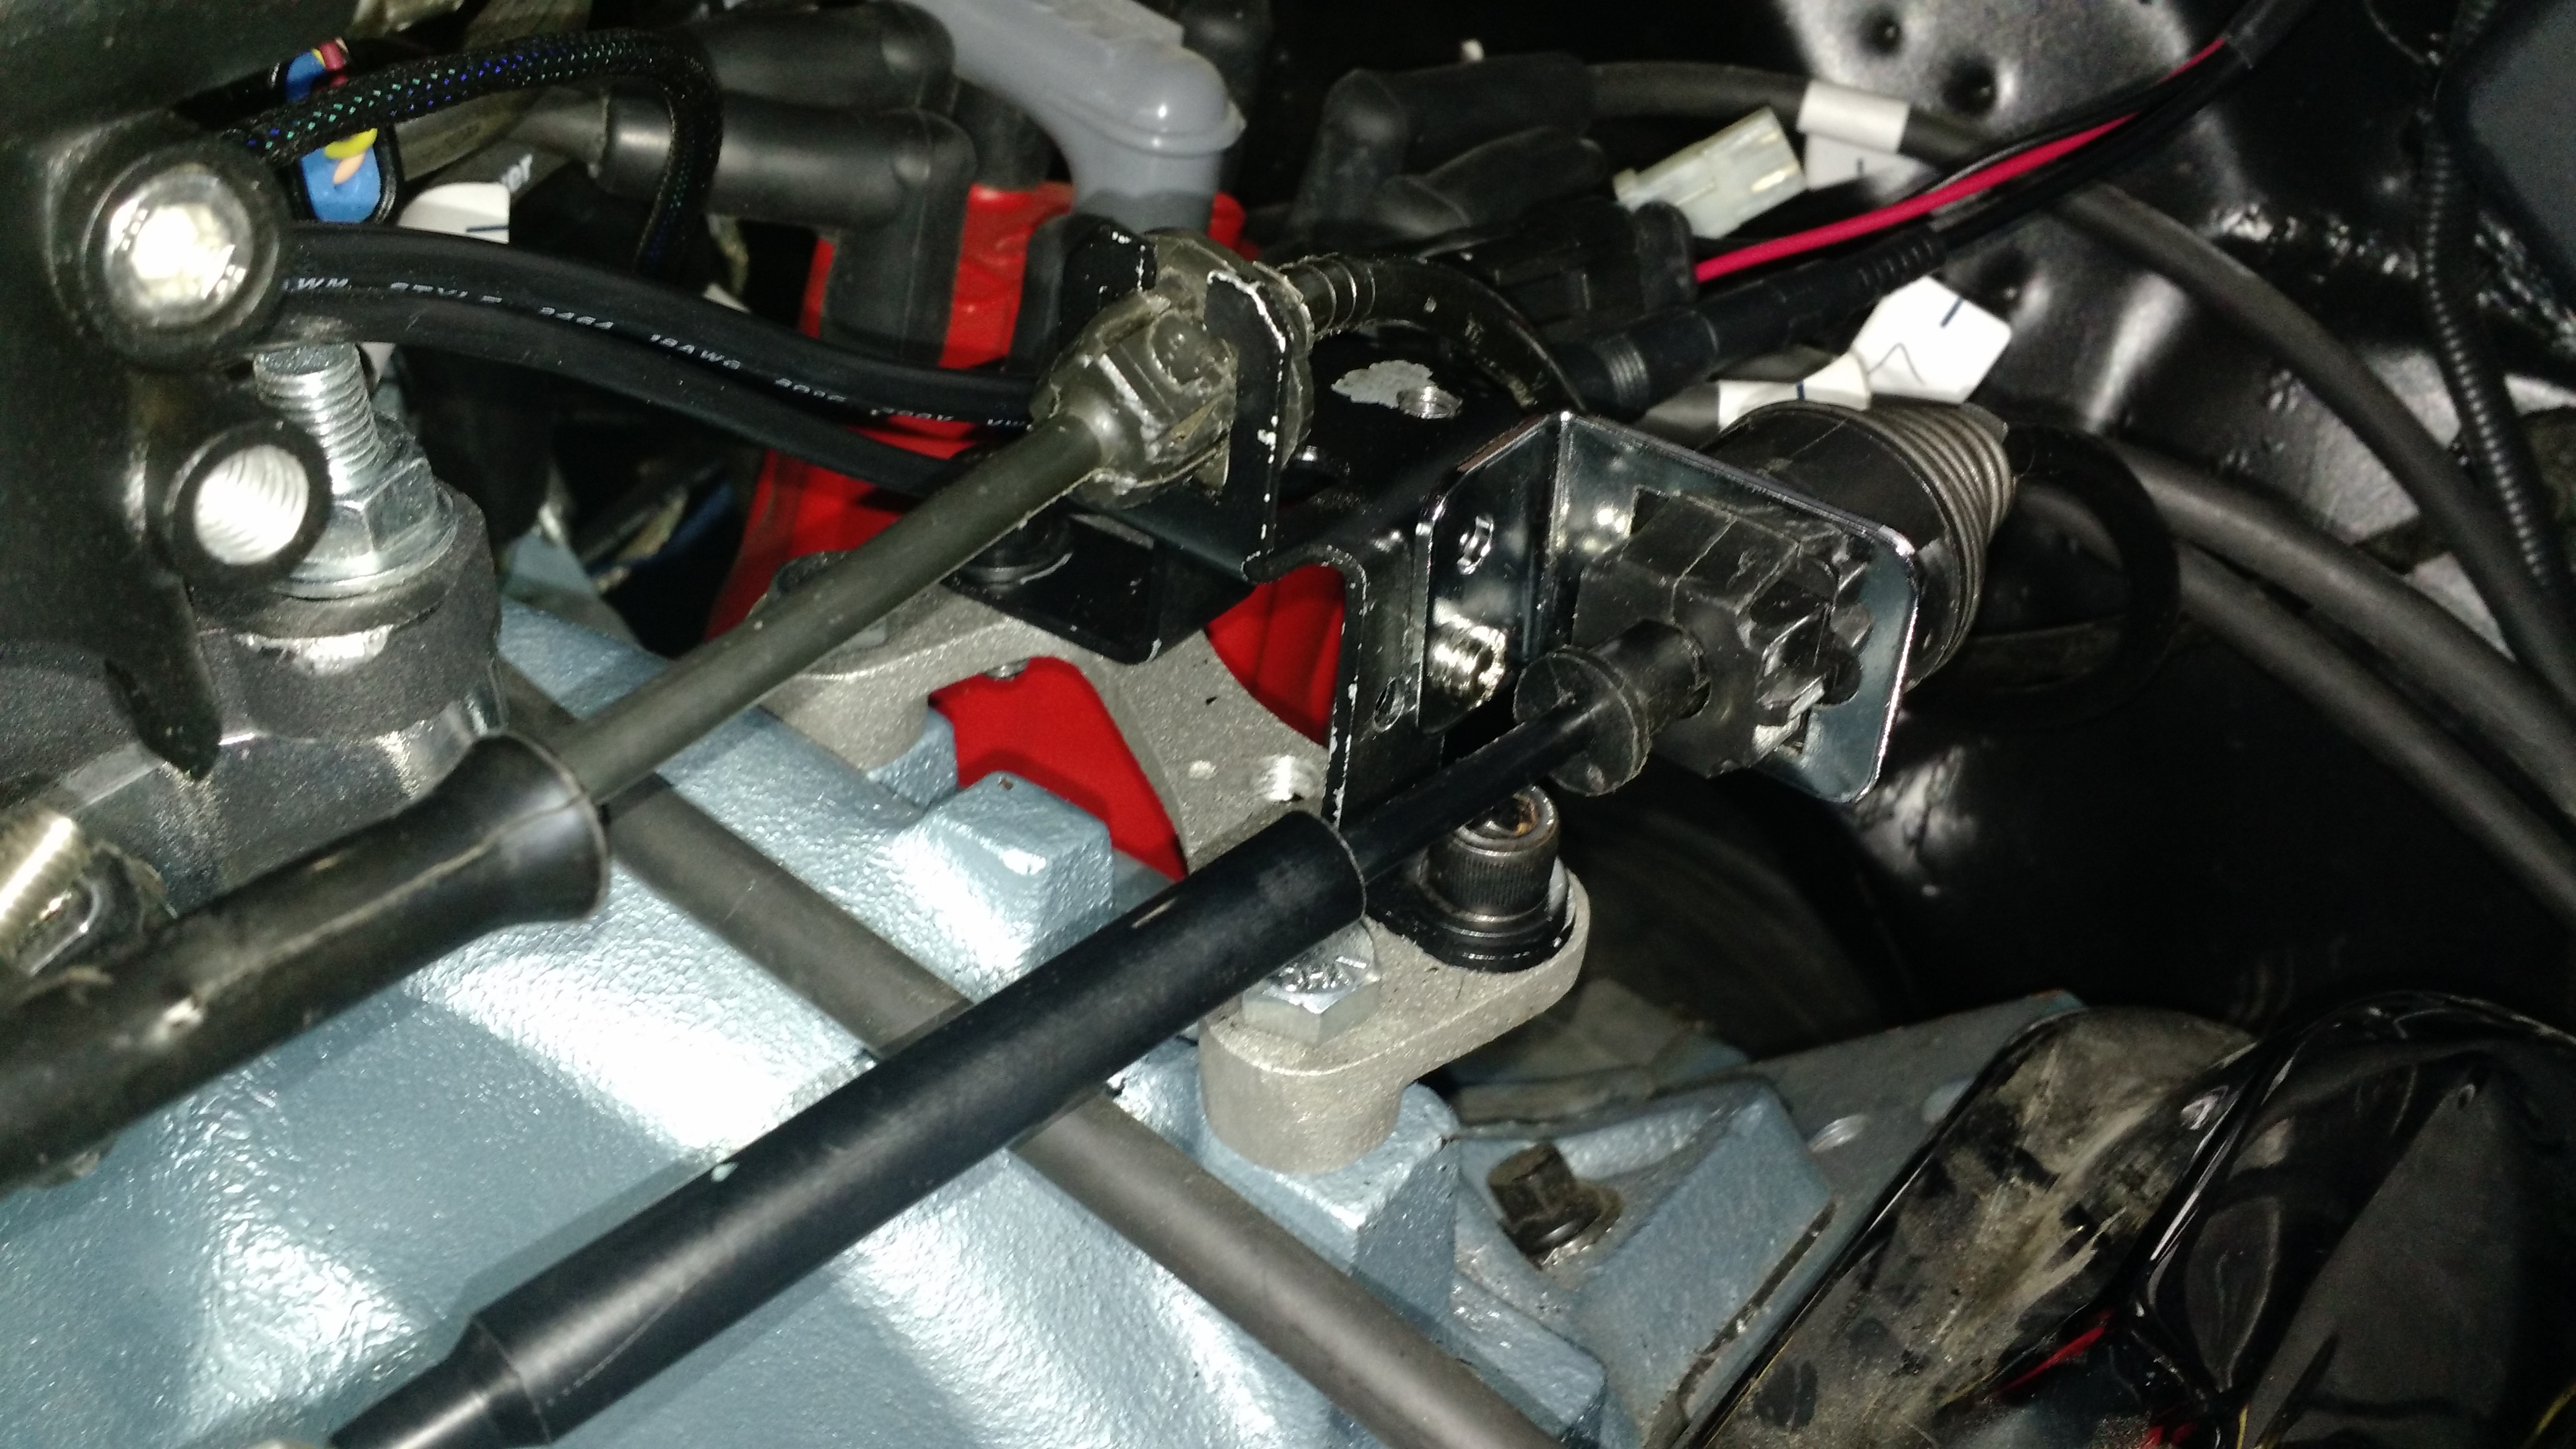
Linkage and air cleaner stud tweaks
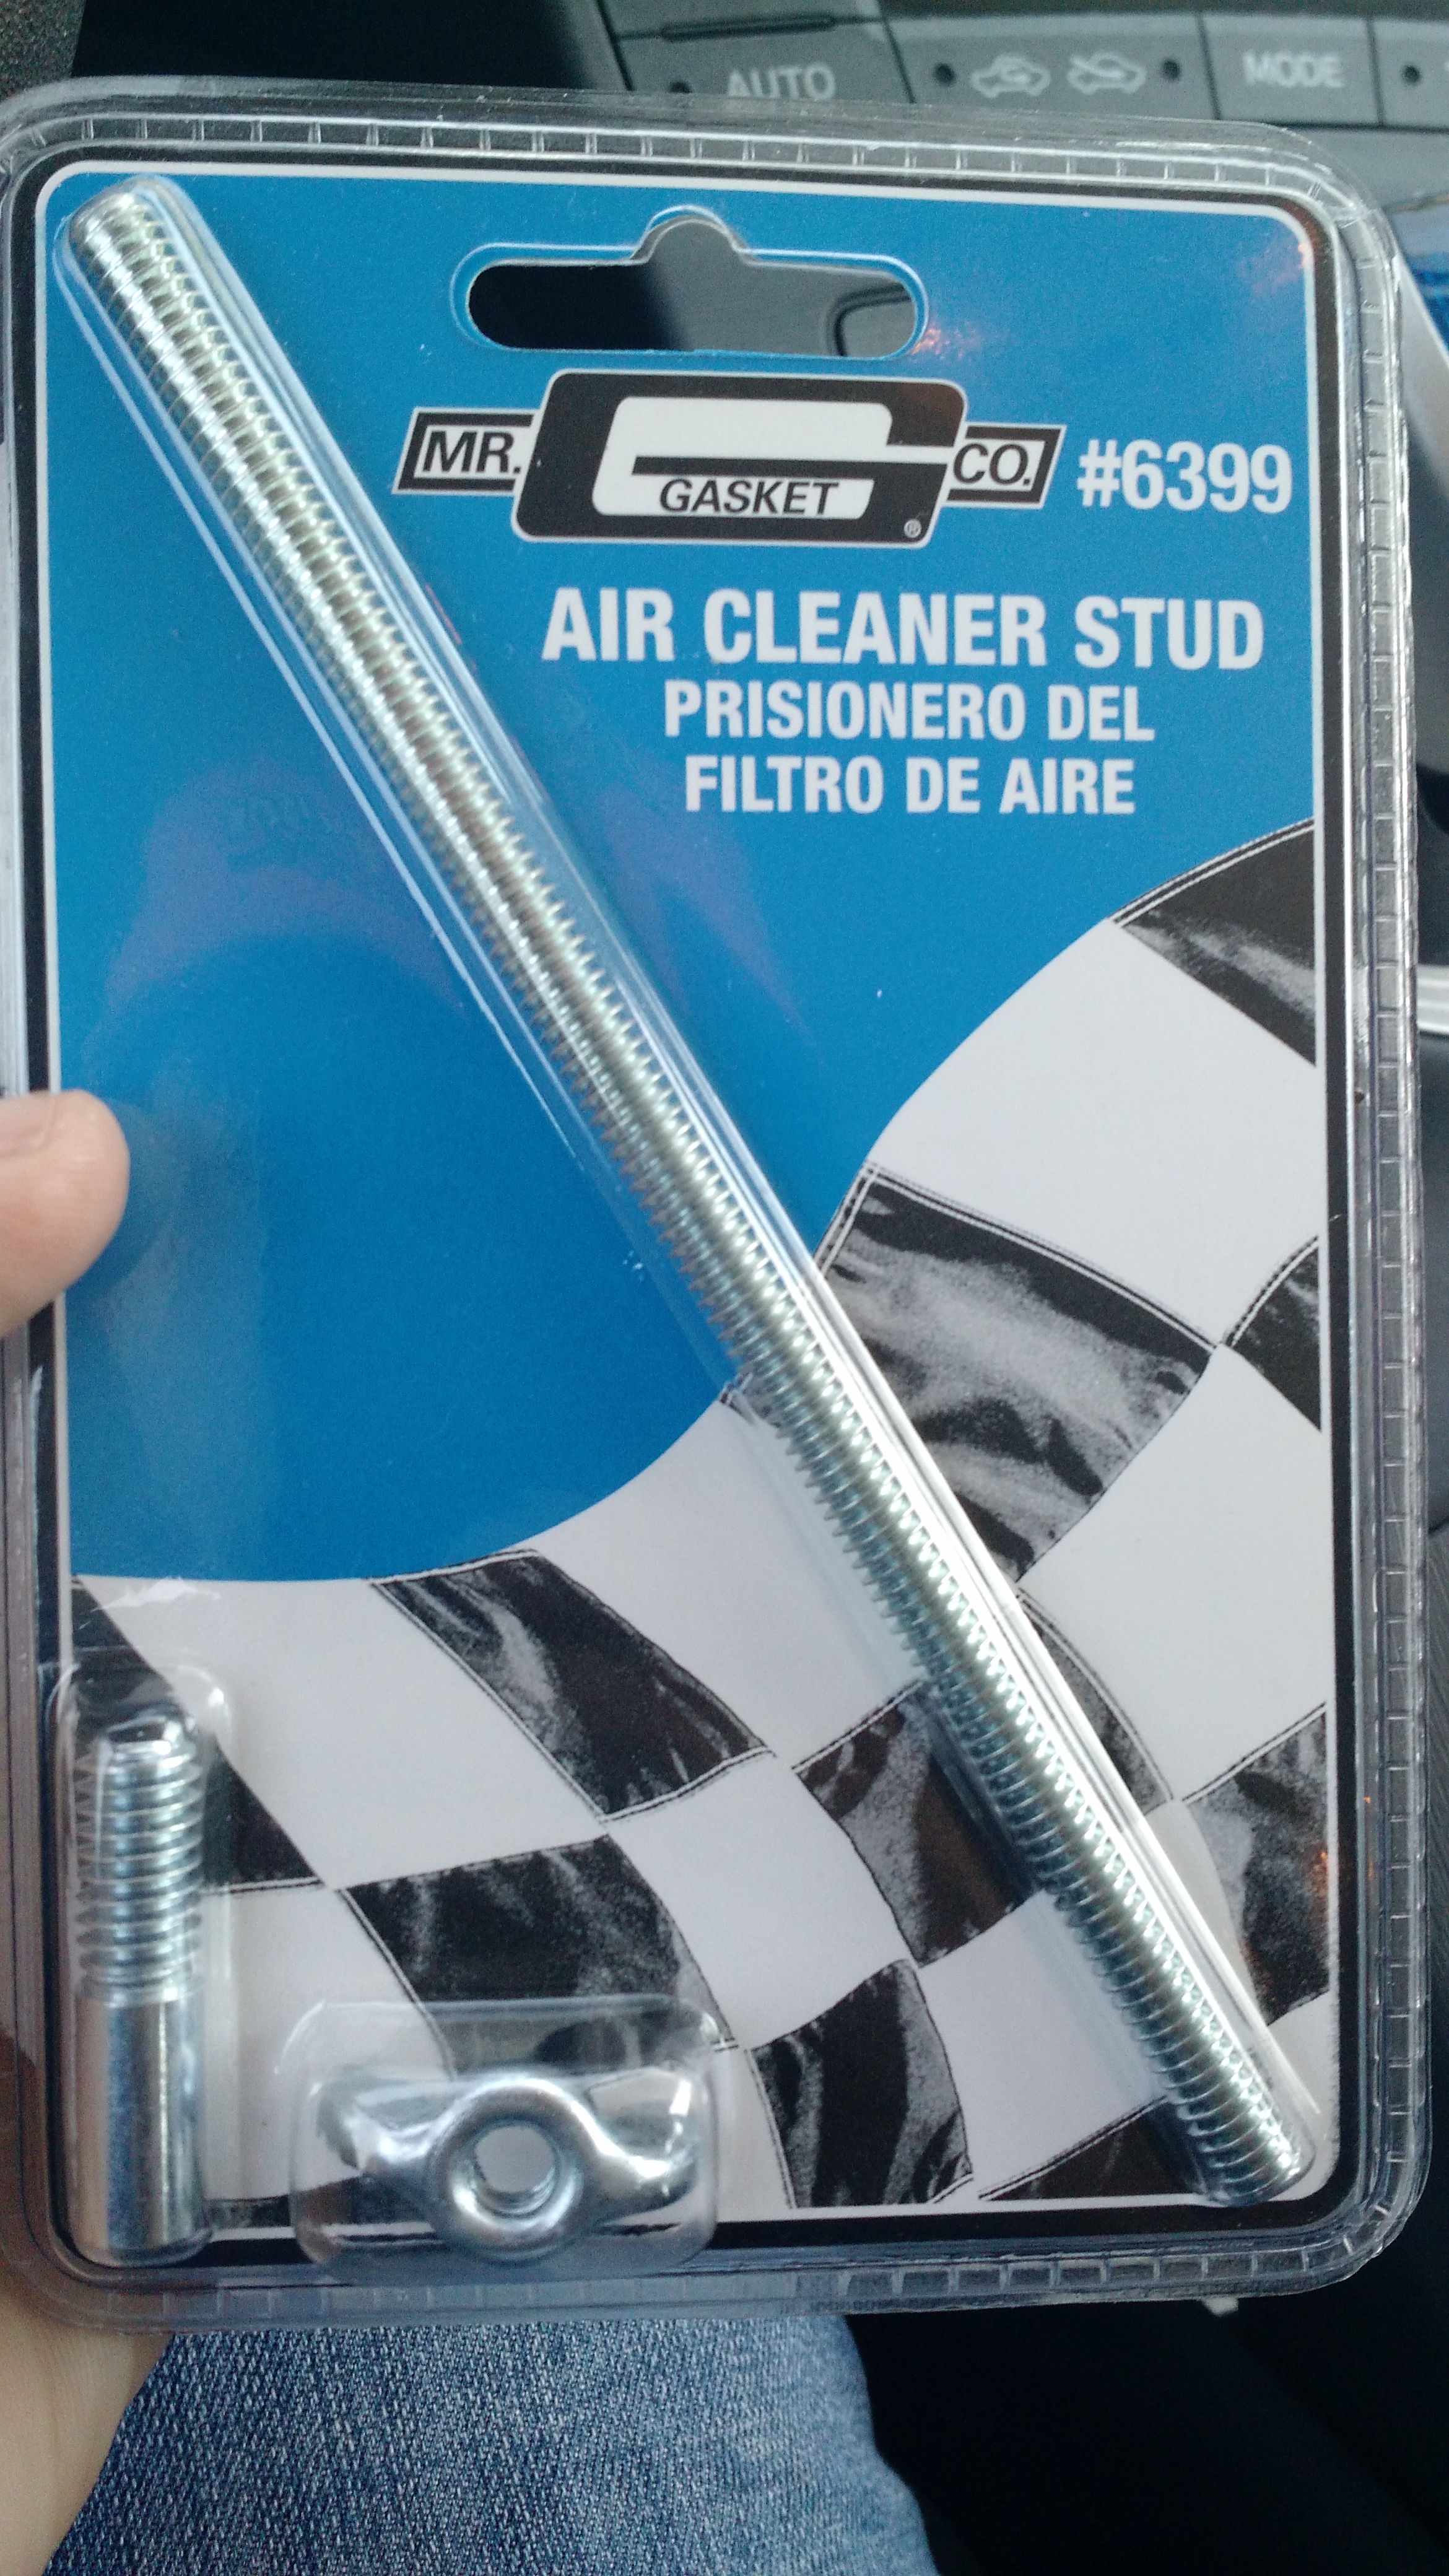
The first day I got the FiTech installed, I ended up using a two inch 5/16″ bolt to hold down the air cleaner to get the job done and go cruising. The next day I did some hunting and found at the local Advance auto parts the part I needed, Mr Gasket 6399.
I have a 1972 factory intake. The 72 throttle bracket worked perfectly with the quadrajet, but now with the FiTech, it appears the throttle cable needs to move back about 1/8″. At first I was considering going to a 75-79 throttle bracket. When I was looking at all my intake parts in the basement I remembered the adapter that the Edelbrock Performer intake came with. That bracket ended up being perfect for 2 reasons. It raised the bracket up enough to better align with the FiTech (acts as a spacer for the throttle bracket) and it brought the 72 throttle bracket back about 1/4″.
For the transmission I used a kick down bracket from one of those cheap universal throttle cable kits and mounted it on the center of the 3 holes on the factory throttle bracket. Only thing left is to put a 1″ spacer of some sort from the throttle to mount the kick down stud to (that way the kick down clears the return spring, not installed in this picture). I am going to Jegs at lunch today to get that sorted.
Update 1: A kick down stud is on order, should be arriving in 24 hours (Jegs had to ship it from their warehouse).
Clearance with 81 Trans Am Turbo hood
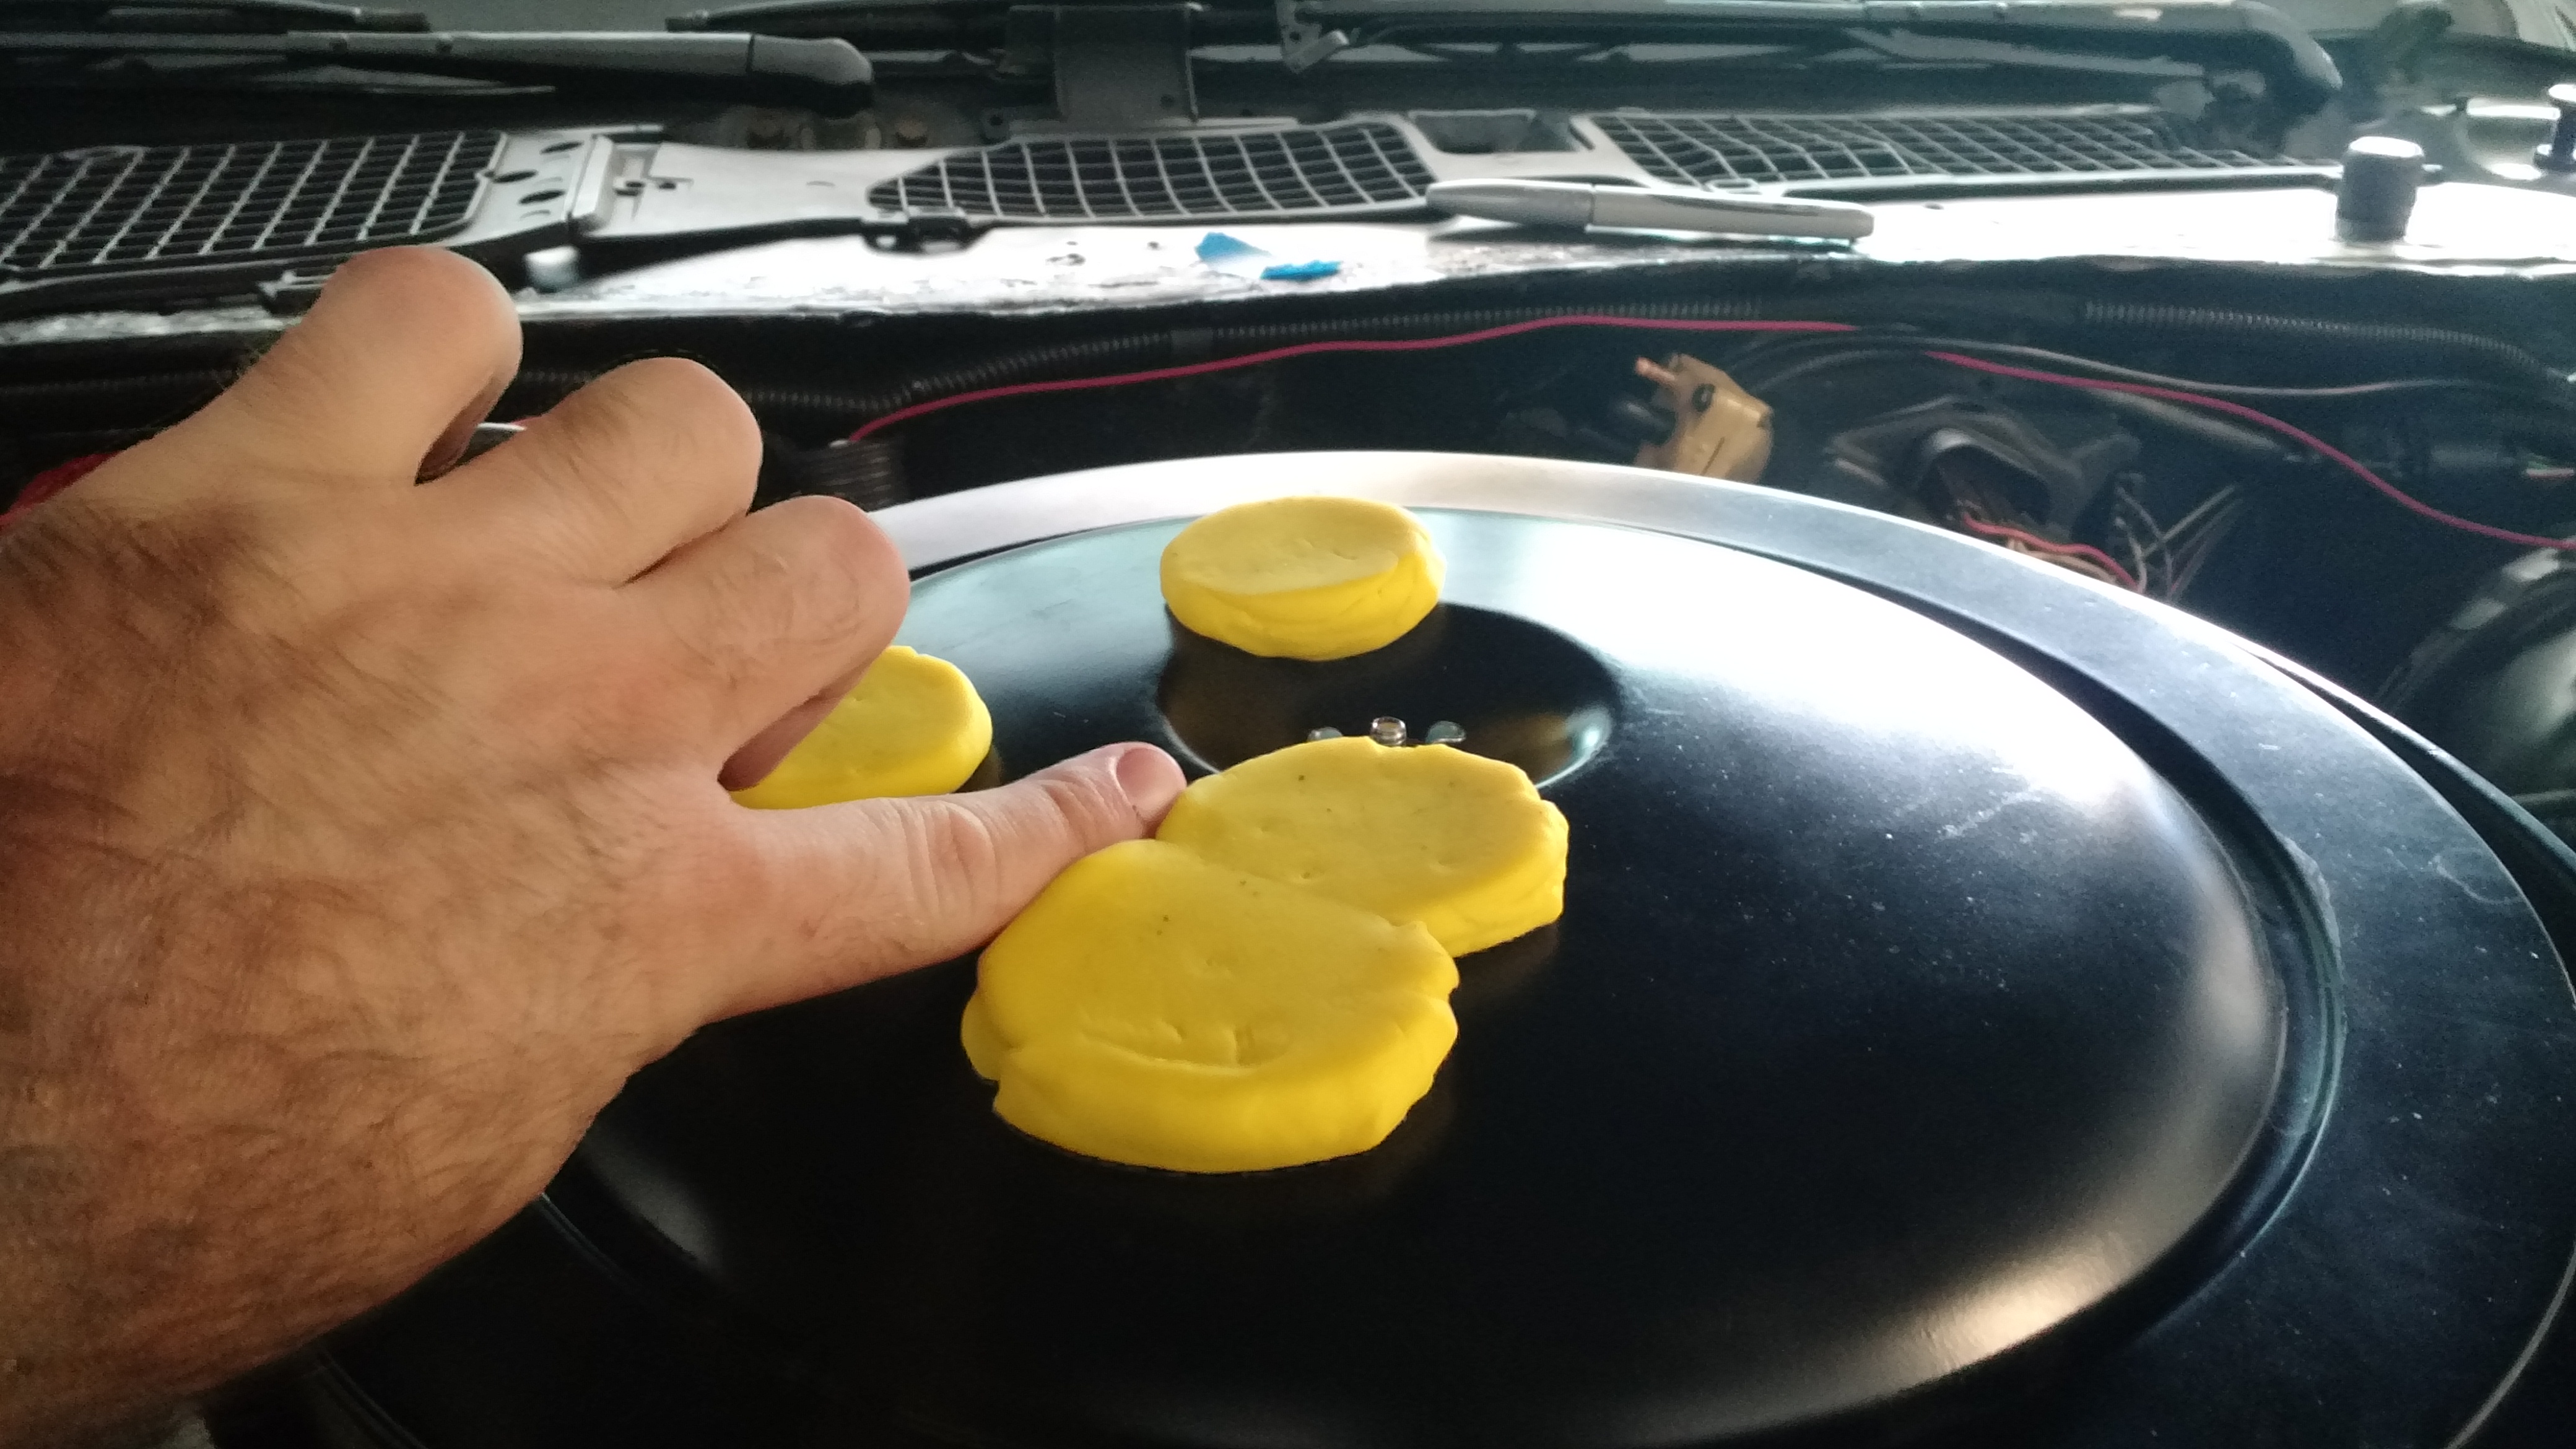
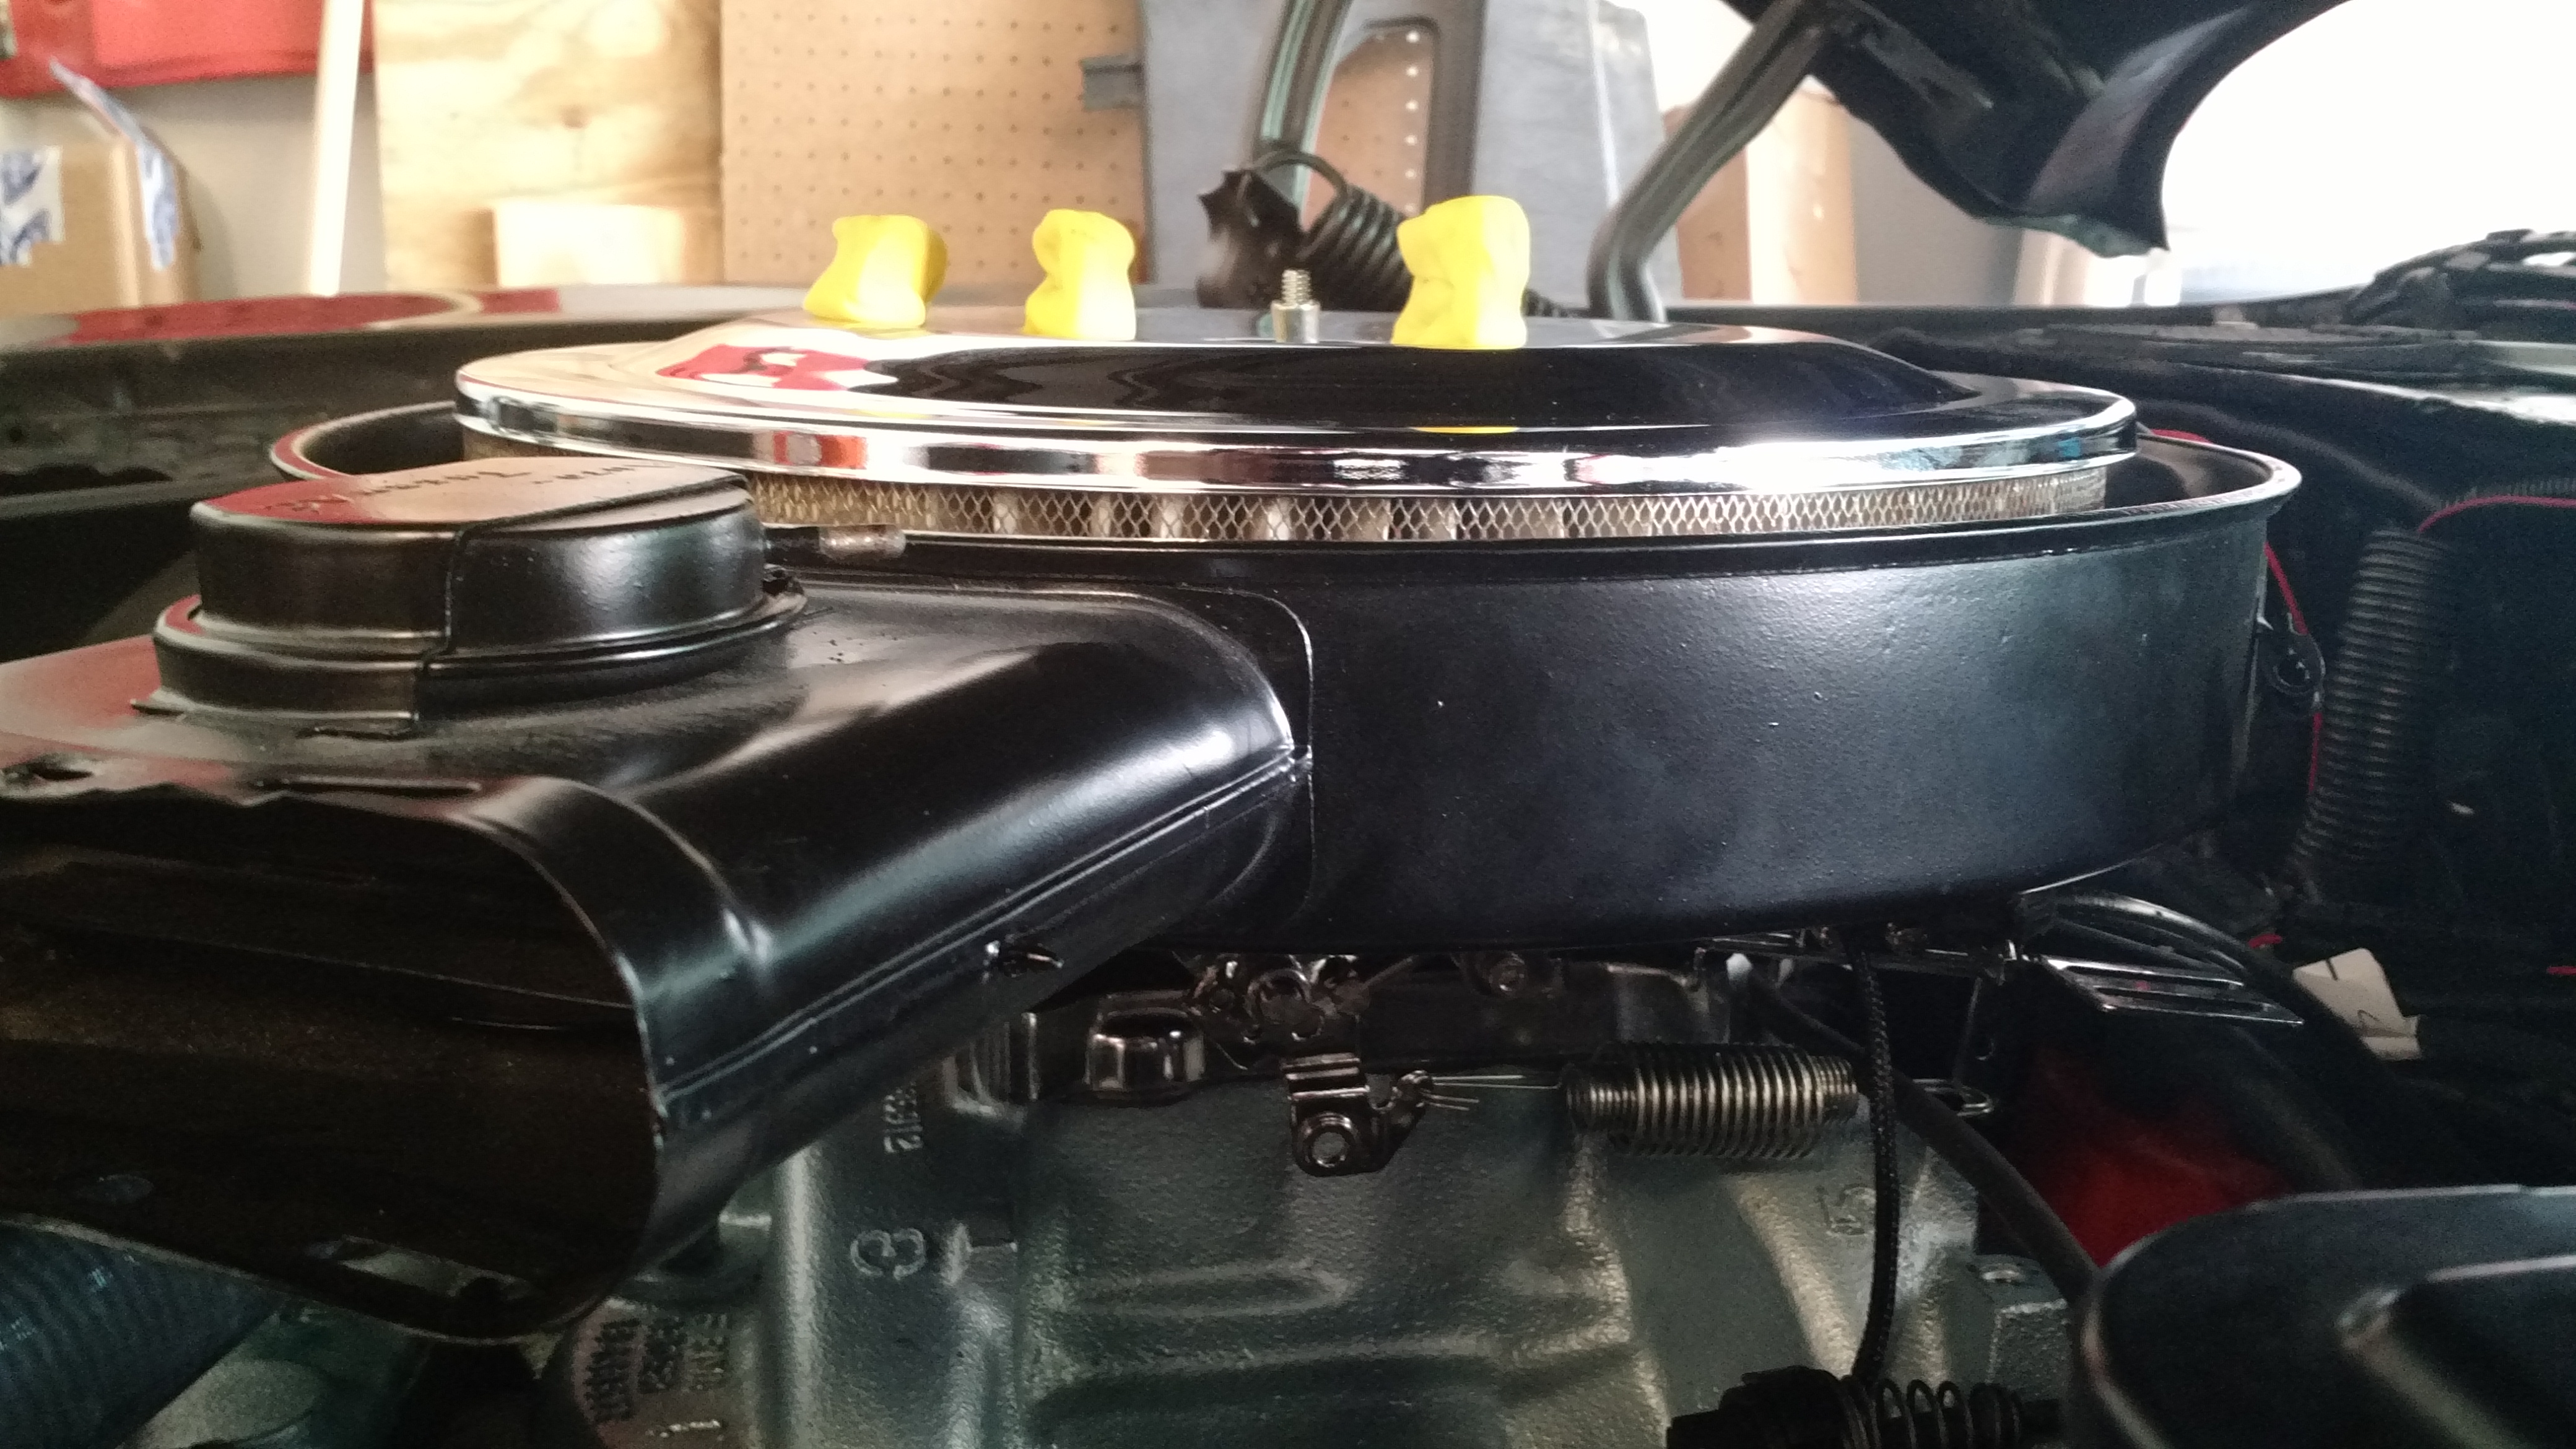
I tested the clearance with the factory lid with the kid’s play-doh. The air cleaner lid I am using is not ideal, but for now I am running a flatter air cleaner lid to give myself about 3/4″ clearance with the hood. The factory air cleaner lid only provided about 5/16″ of clearance, which I am not comfortable with.
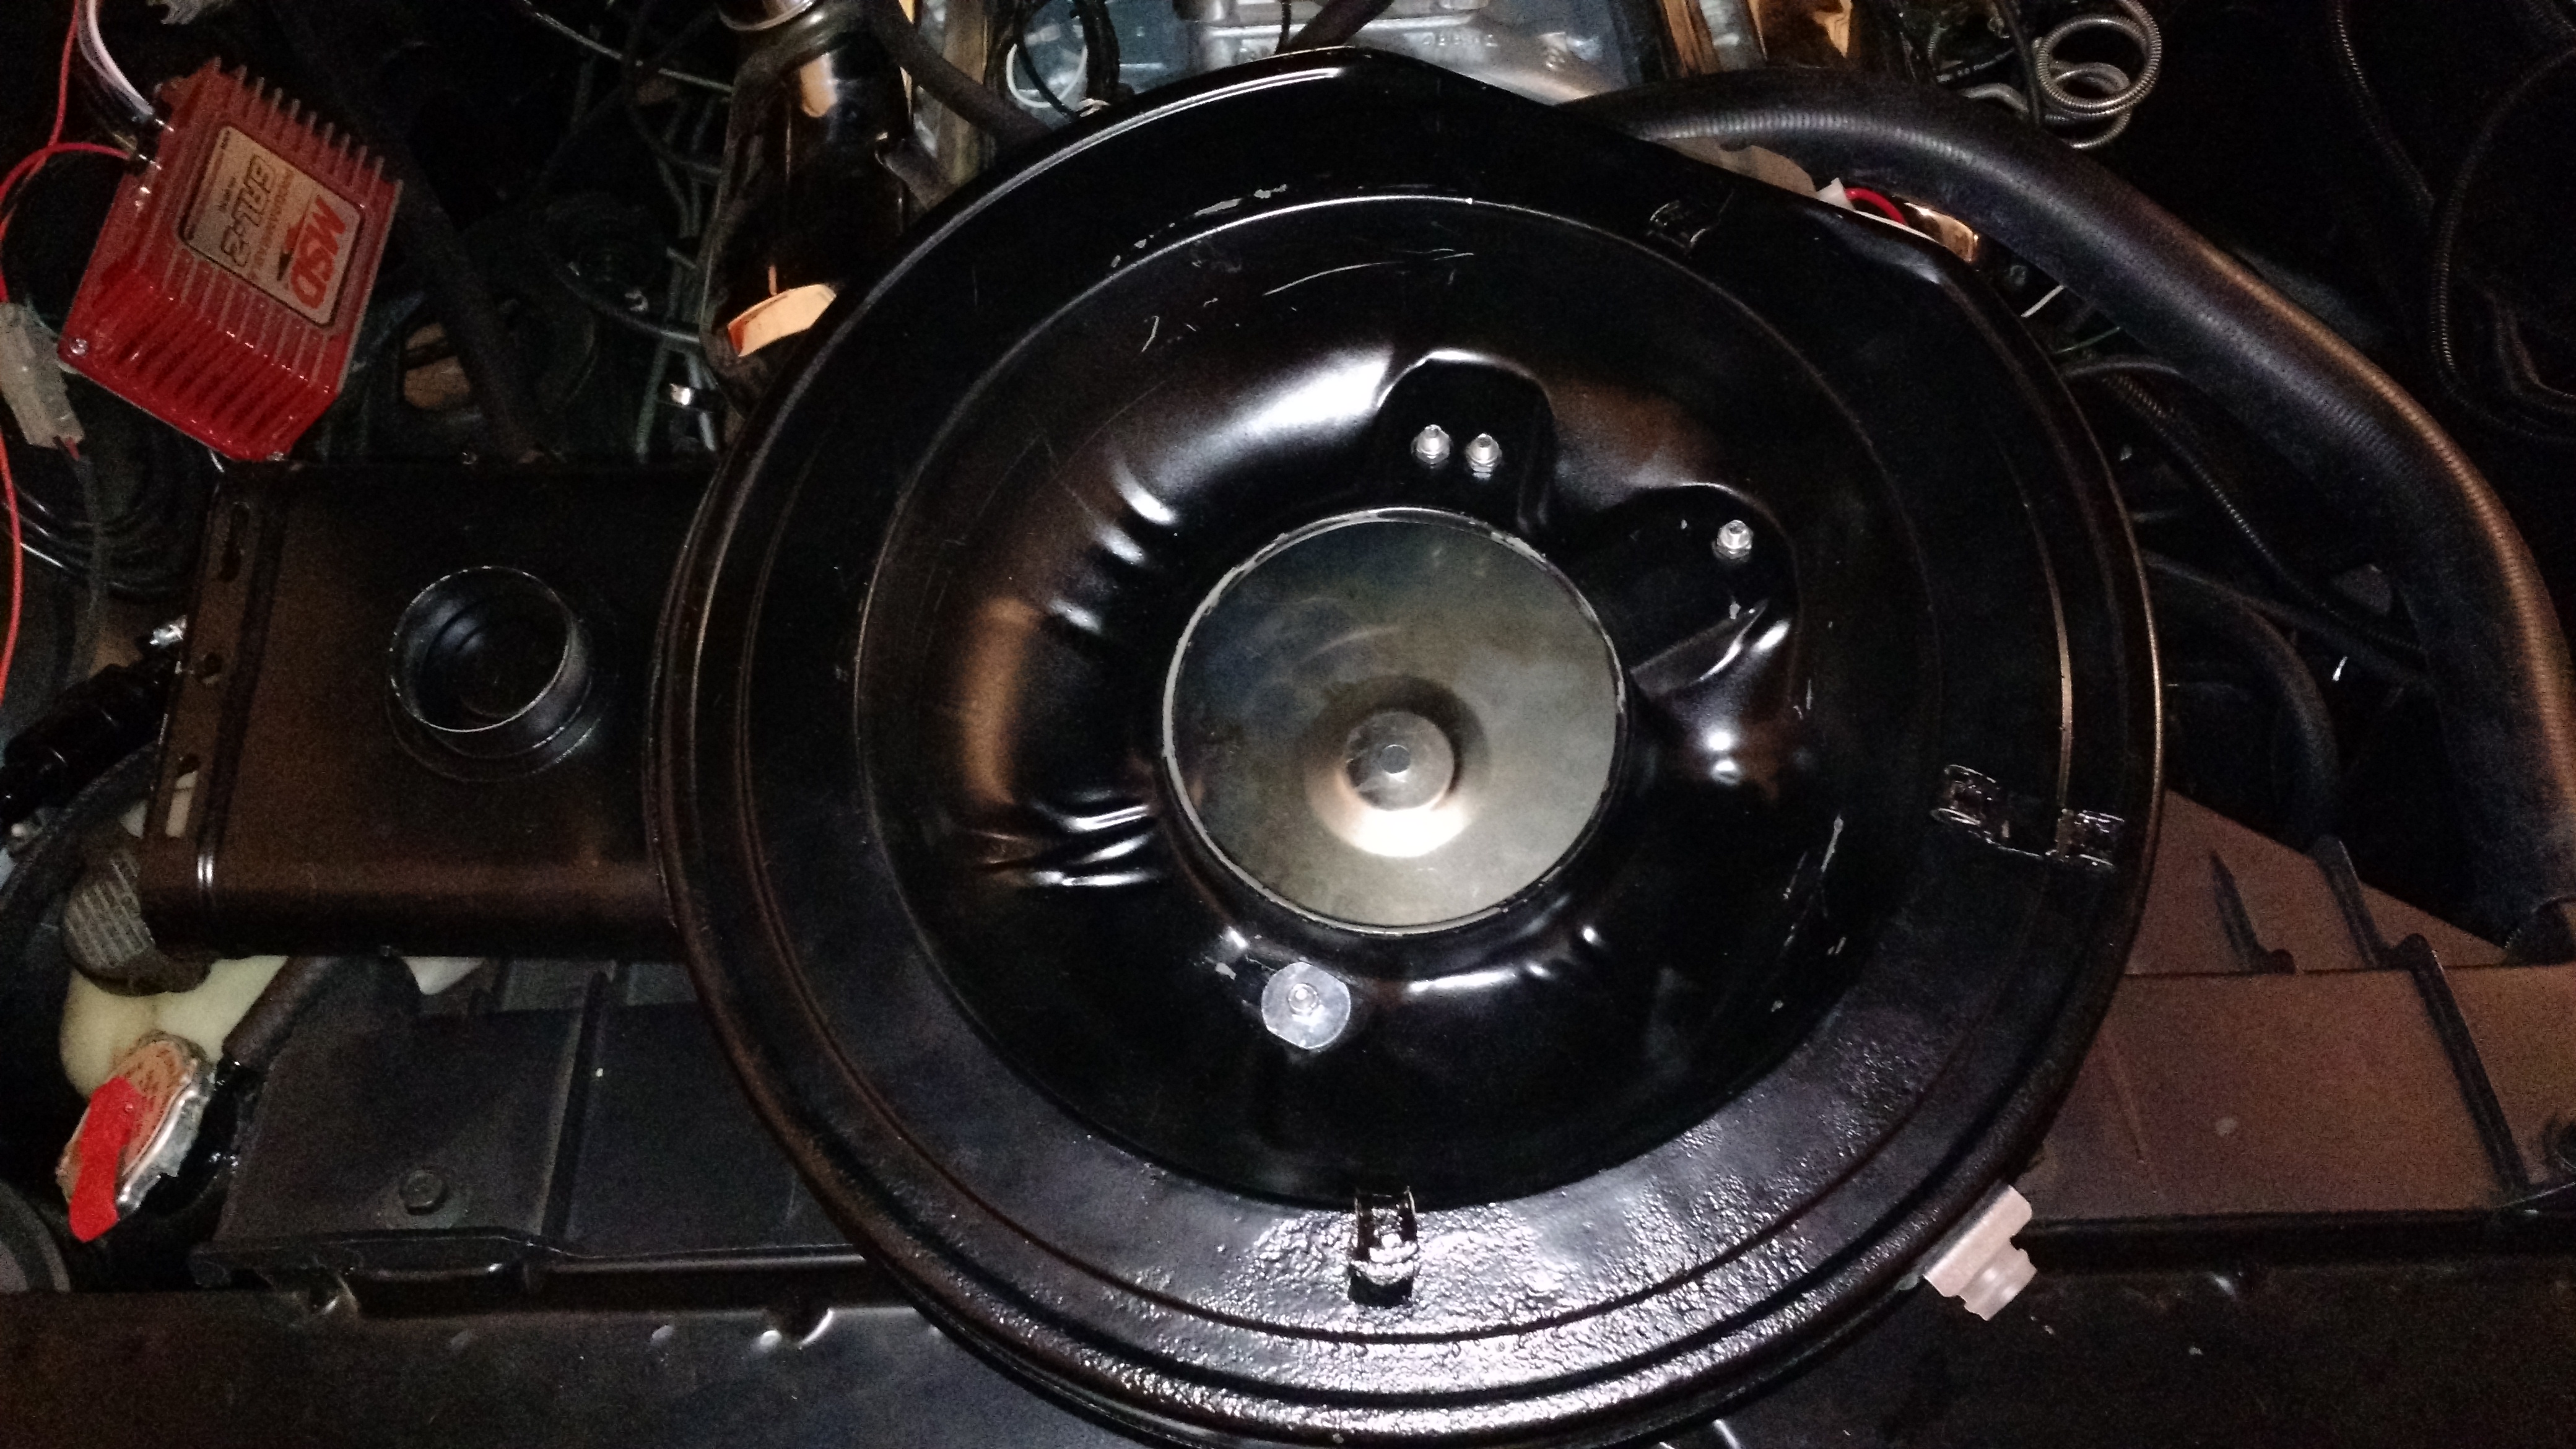
W72 factory air cleaner drop base modifications
I am not a fan of permanently modifying factory parts unless I have to. With the drop base, all I needed to do was plug the inside holes. I did this with some 1/4″ machine screws and lock nuts, and two 1″ wide fender washers with a #10 machine screw and lock nut. It doesn’t look pretty but it does the job. Air can only come in through the filter.
Tips and Suggestions
Ignition and Timing: If you want to be able to control your ignition timing with the FiTech you can. You can set the timing for 3 situations, WOT, no throttle (map sensor full vacuum) and boost (if you are running turbo, super charger, etc…). Each is set at idle, 1,100, 3,000 or 6,000 rpm. Idle rpm can be set as well. There are two setups:
- You can use a coil and locked out 2 wire distributor with the FiTech directly.
- You can use a CD box and run a single phasing wire from the FiTech to the CD box.
In both cases, you will need a coil and a 2 wire distributor.
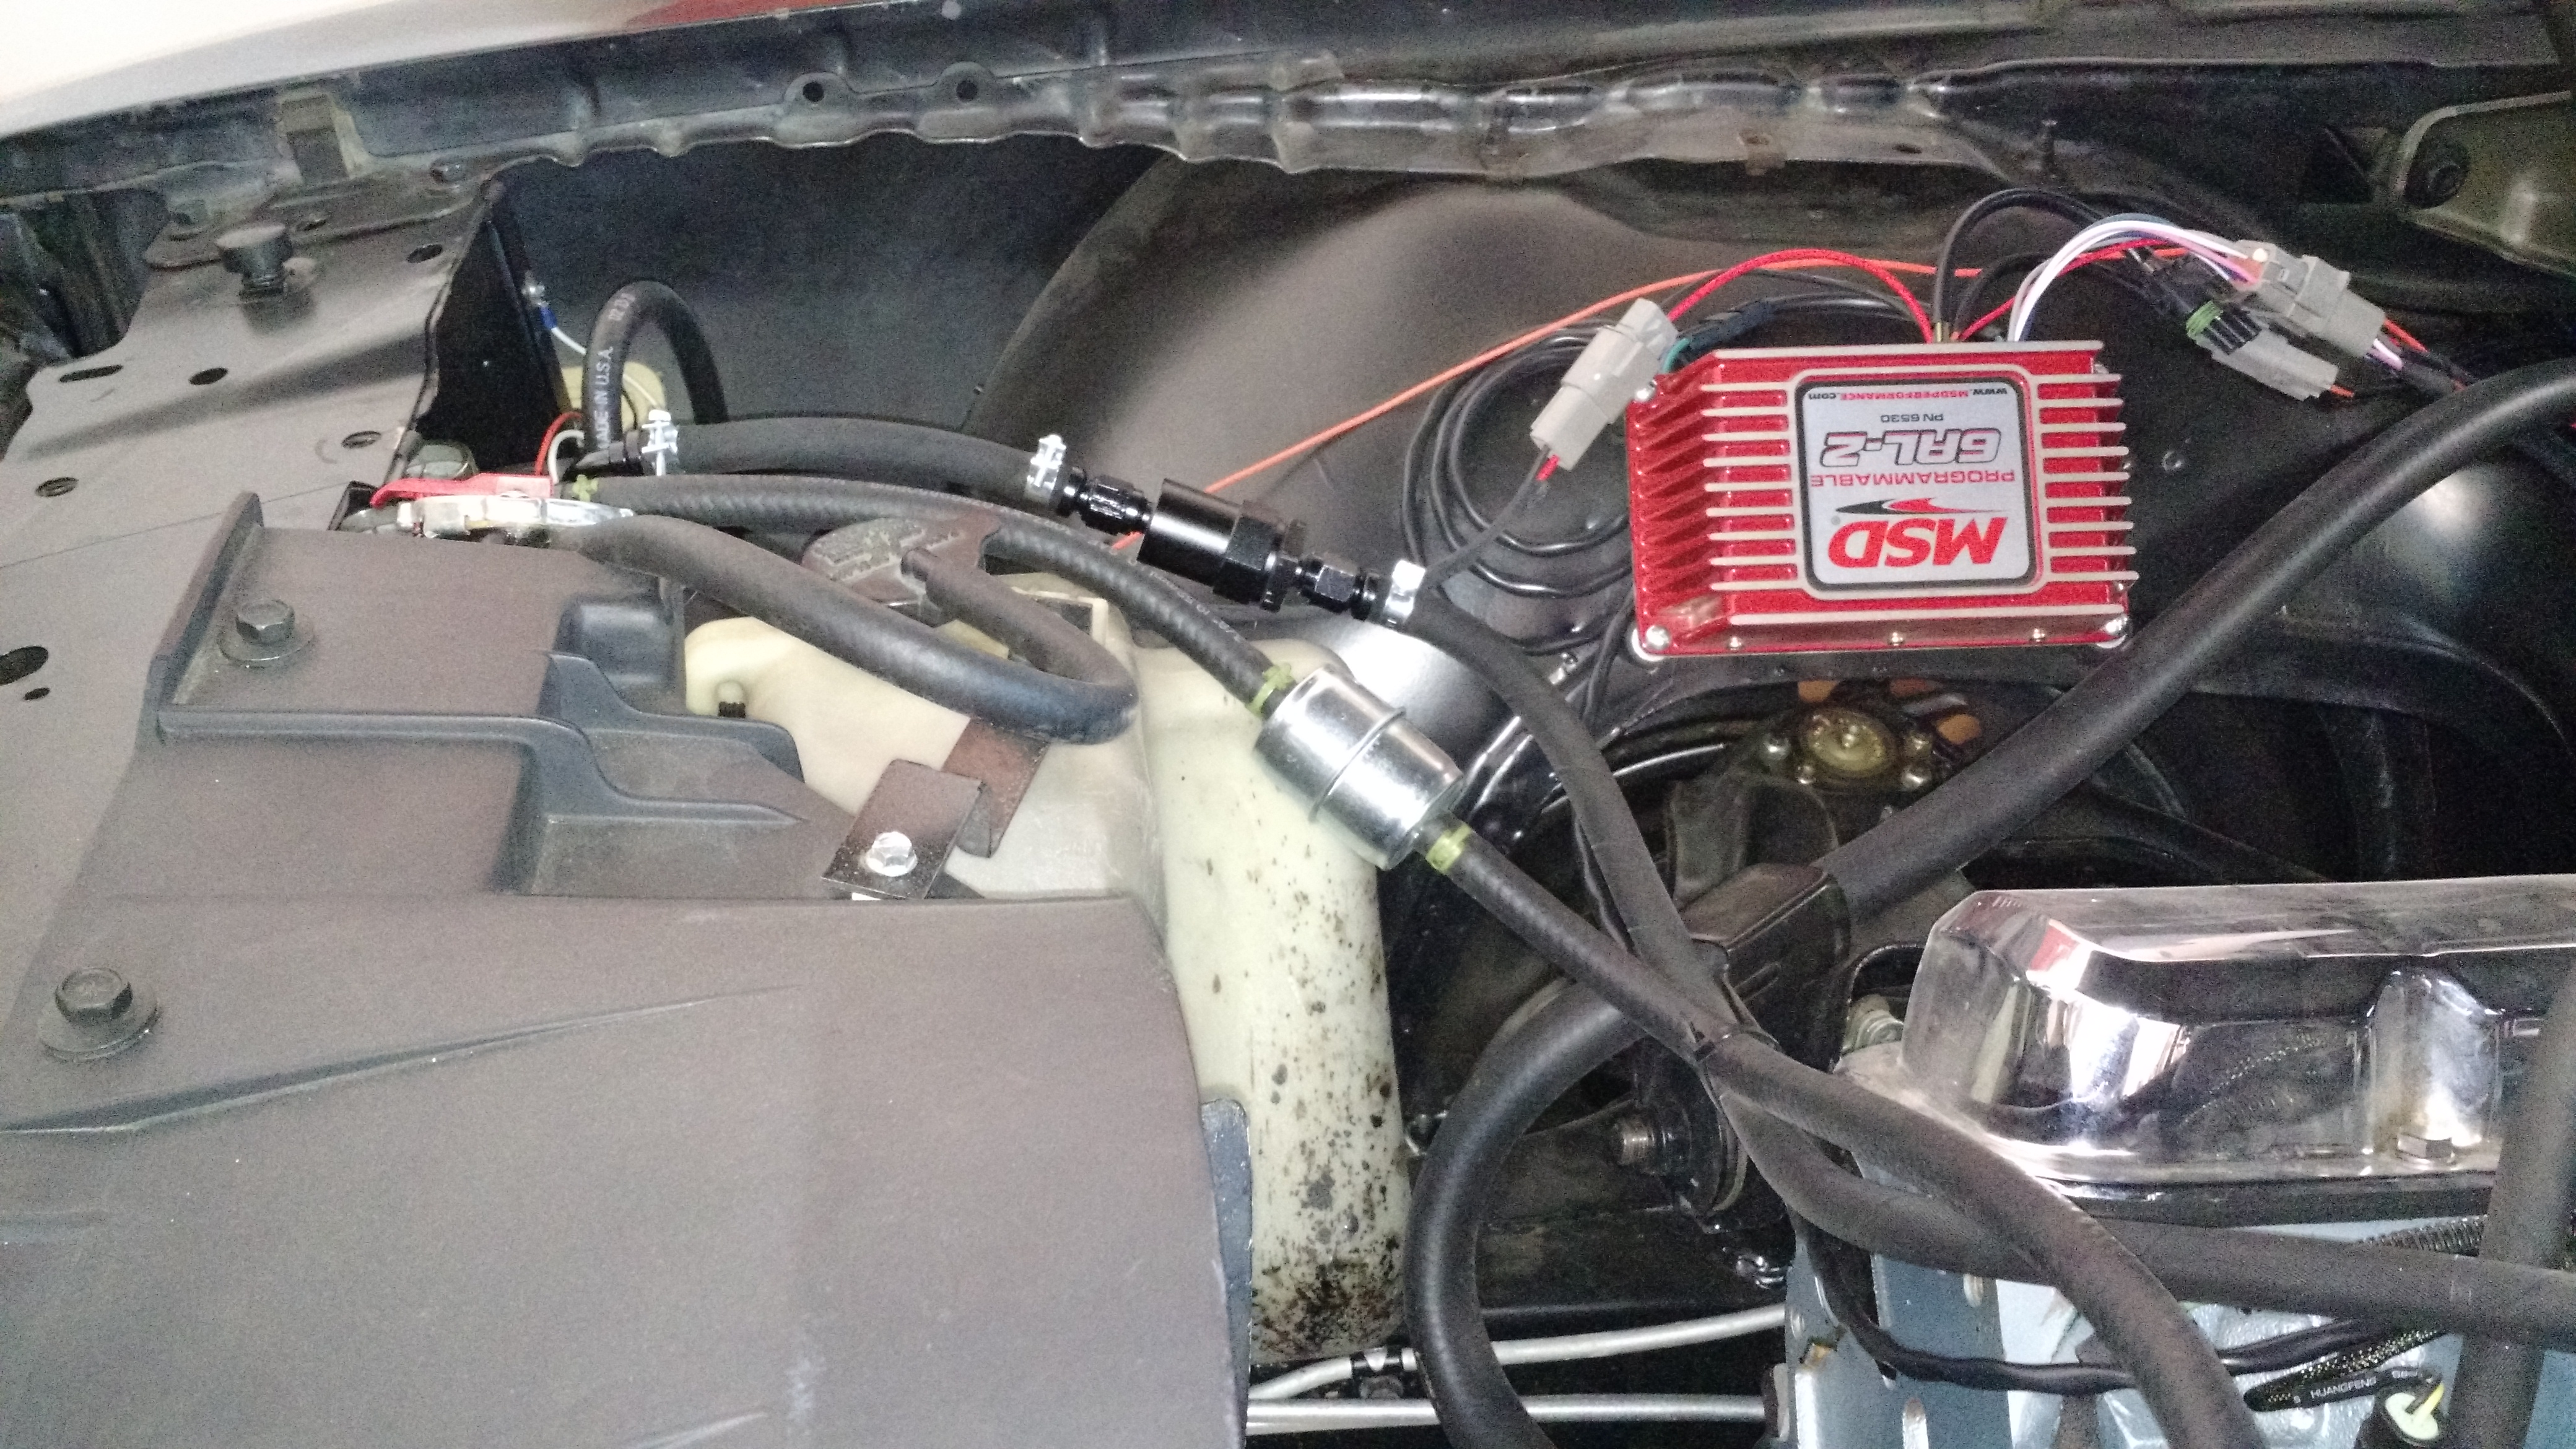
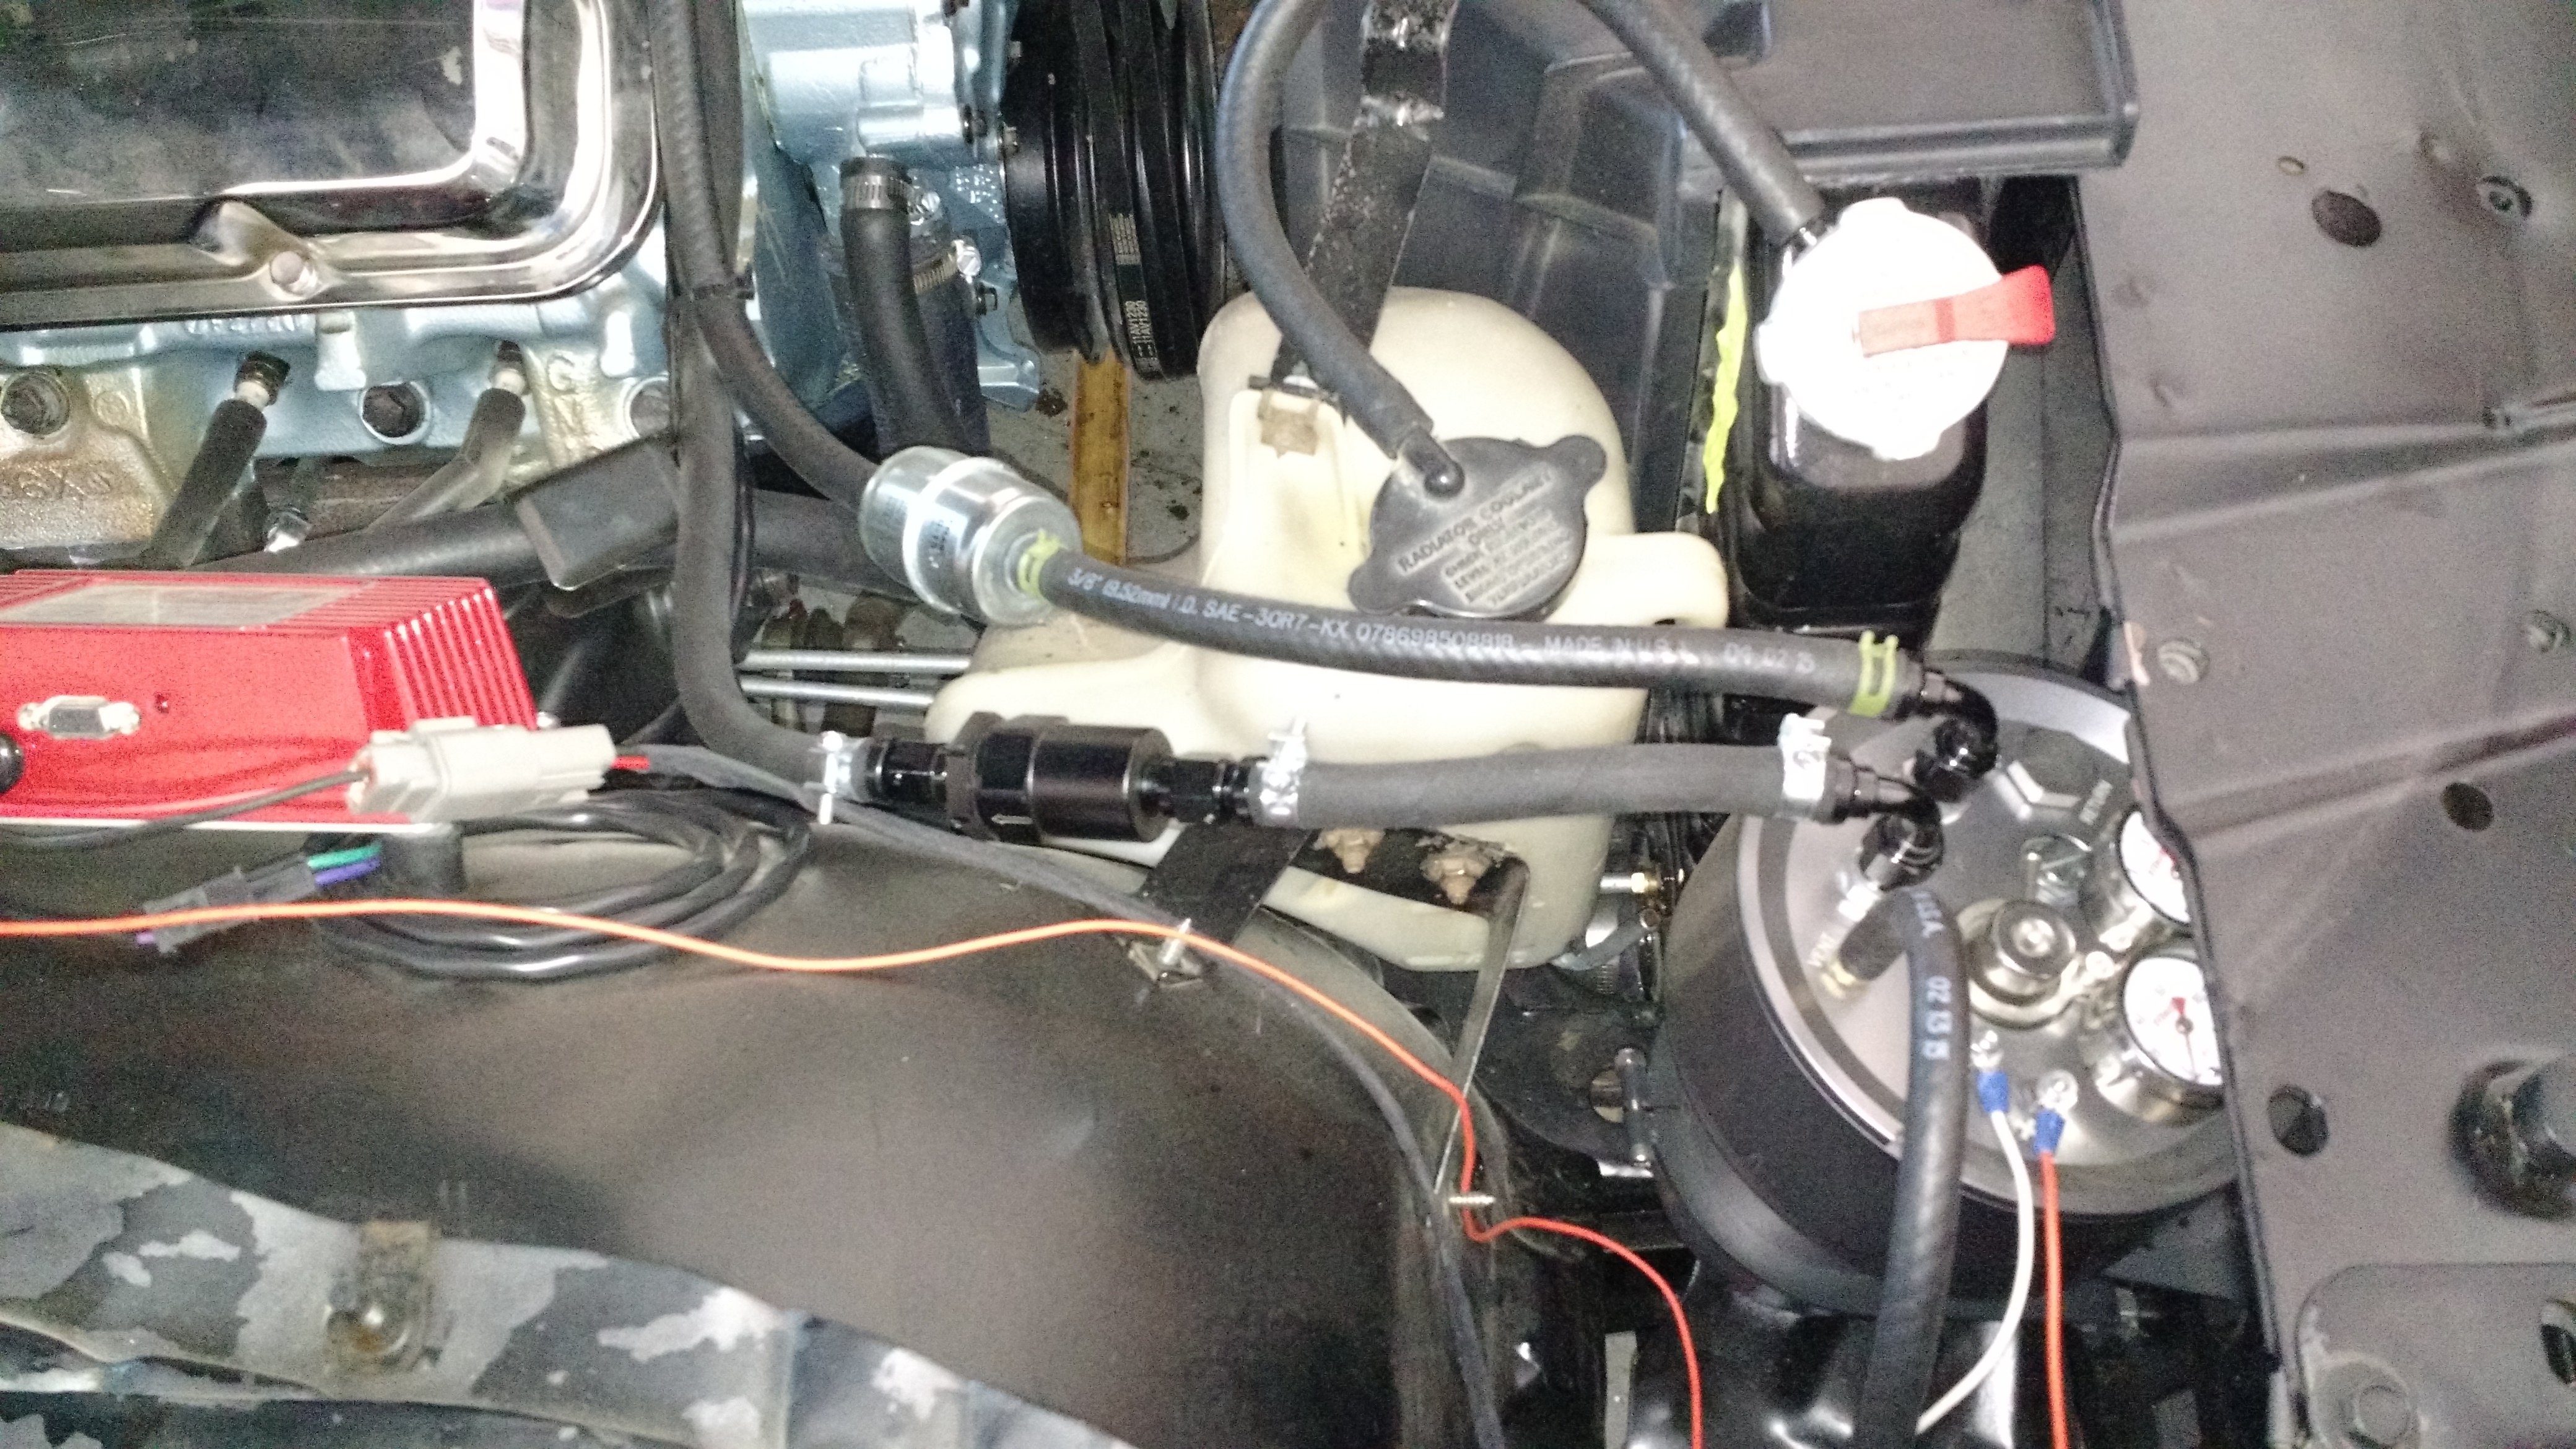
I am running a MSD 6AL2 Programmable which has more programmable rpm points than the FiTech. If I didn’t have the 6AL2, I would more than likely get a simple CD box and a Jegs Pontiac 2 wire distributor and let the FiTech control timing.
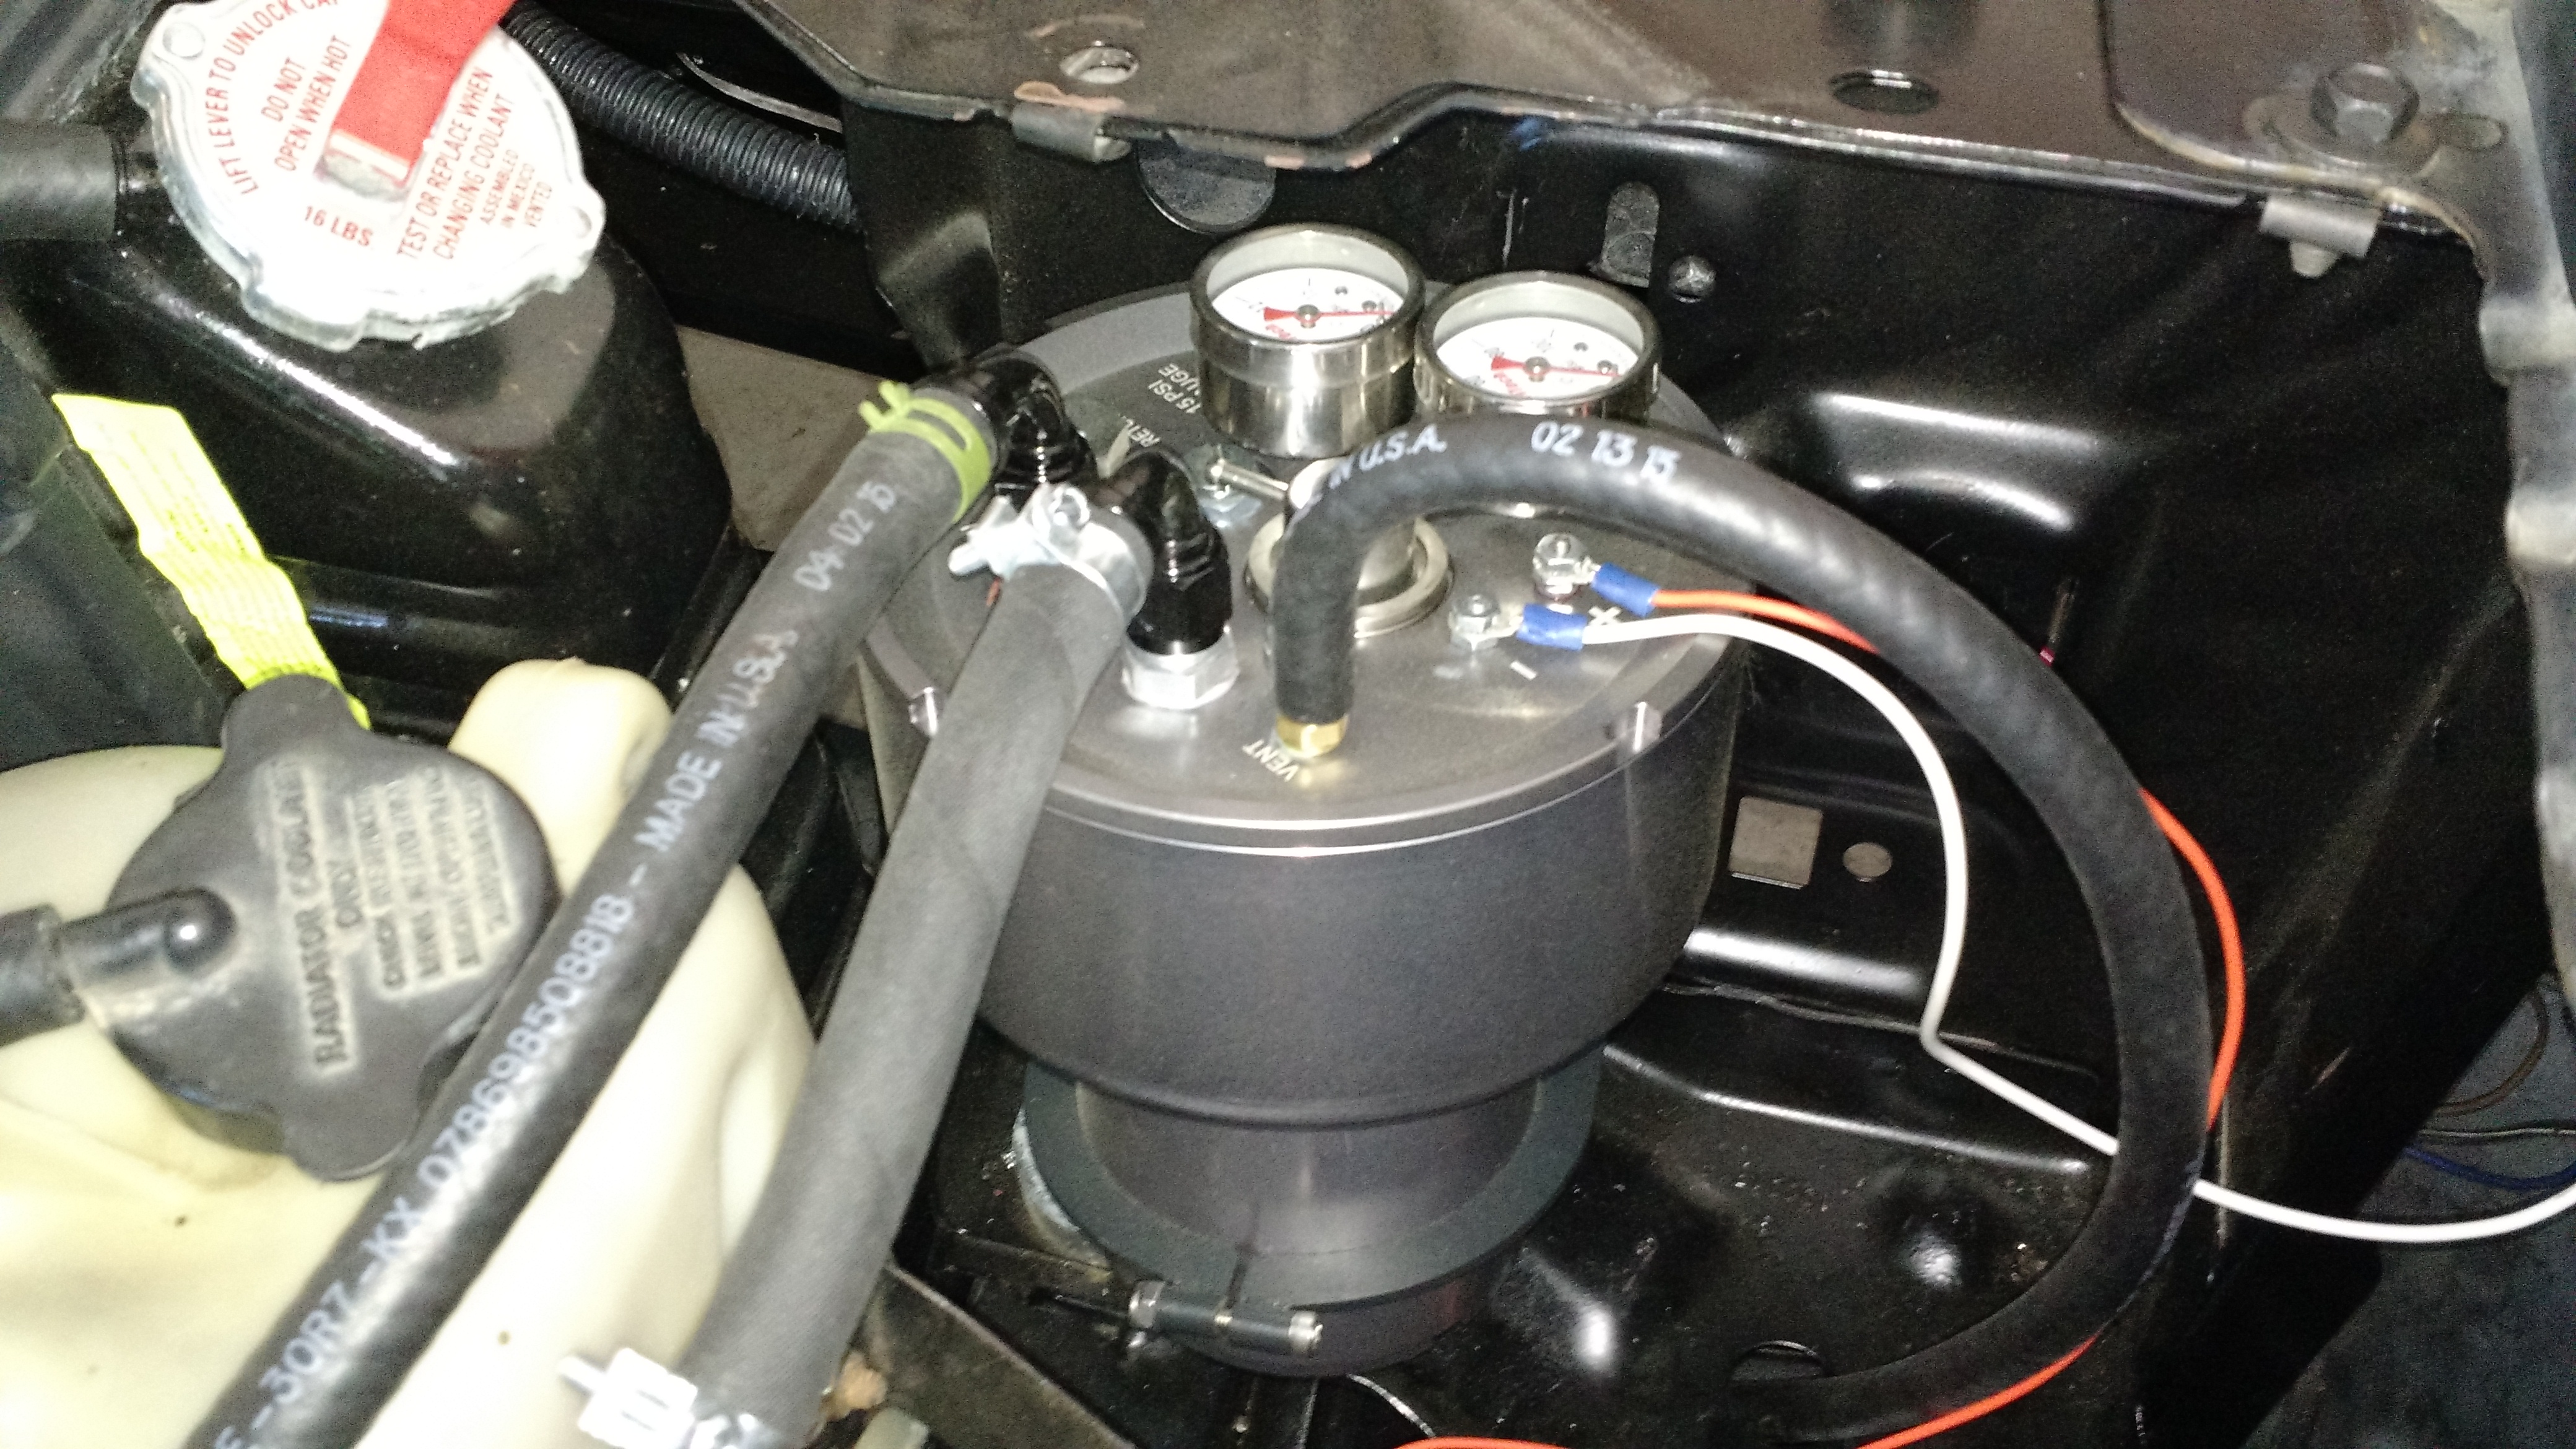
Fuel control center installation tips: I mounted the Fuel Control Center on the core support where the vapor canister mounts. I mounted it more toward the radiator though. 3 of the 4 mounting points are flush with the core support. One mounting hole I used a 3/8″ nut as a spacer. The core support has some pressed in indents for things like the vapor canister, a 3/8″ nut seemed to have the right height to bridge that gap perfectly. The mounting hardware that comes with the Fuel Control Center worked perfectly otherwise.
If I took the time to look at all the parts before I installed the system, I would have purchased a 90 degree AN 6 elbow to attach the high pressure fuel filter directly to. Then I would only have one run of high pressure push lock hose to the throttle body. I’ve added this to the list of suggested parts below.
FiTech EFI installation tips: This was rather straight forward. In my situation I had to use a square to spread bore adapter. The adapter was great, but the gaskets it came with are not to be desired. Specifically the Quadrajet side the primary holes were not in the right spot of the gasket. To keep the gasket thin I used a mr gasket one I had from a previous purchase. If you are using a spacer like the one I got that adds .8″ height, you want to use the thinnest gaskets possible (avoid the factory 1/4″ hardboard quadrajet gasket if possible).
Parts List
Stuff anyone will need:
- FiTech 30002 Go EFI 4
- FiTech 40003 Fuel Control Module
- Four 3/8″ hose low pressure fuel line clamps
- Five feet of 3/8″ low pressure fuel line hose
- Fram G15 inline fuel filter
- -6 AN 90 degree coupler fitting to bolt fuel filter directly to coupler (or one -6 AN 90 degree to push lock fitting if you want to use a 2nd piece of push lock hose to connect filter)
- Some 1/4″ and 5/16″ hose and possibly a Tee for connecting the vapor line to the Fuel Command Center.
- Handful of spade and ring wire connectors
If you are mounting to an intake that accepts both spread and square bore manifolds, you may want to purchase an Edelbrock 2732 1/16″ thick adapter plate (or equivalent).
Parts specific to my situation (Trans Am with a 72 intake):
- Edelbrock 8015 linkage adapter
- Edelbrock 2696 Square-Bore to Spread-Bore Adapter
- Mr. Gasket 56C Carburetor Base Gasket (because the spreadbore gasket in the 2696 is junk)
- Mr Gasket 6399 Air Cleaner Stud with 5/16″ adapter
Conclusion
I’m pretty pleased with the ease of installation and the performance of the FiTech. I now can hand my wife the keys and not worry about the car getting flooded or over cranked because she forgot to push the gas pedal down before cranking. I’m also pleased by the exhaust smell which is much cleaner at idle than it was before. Hopefully the system is as rugged as it is easy to install and will last for years to come.