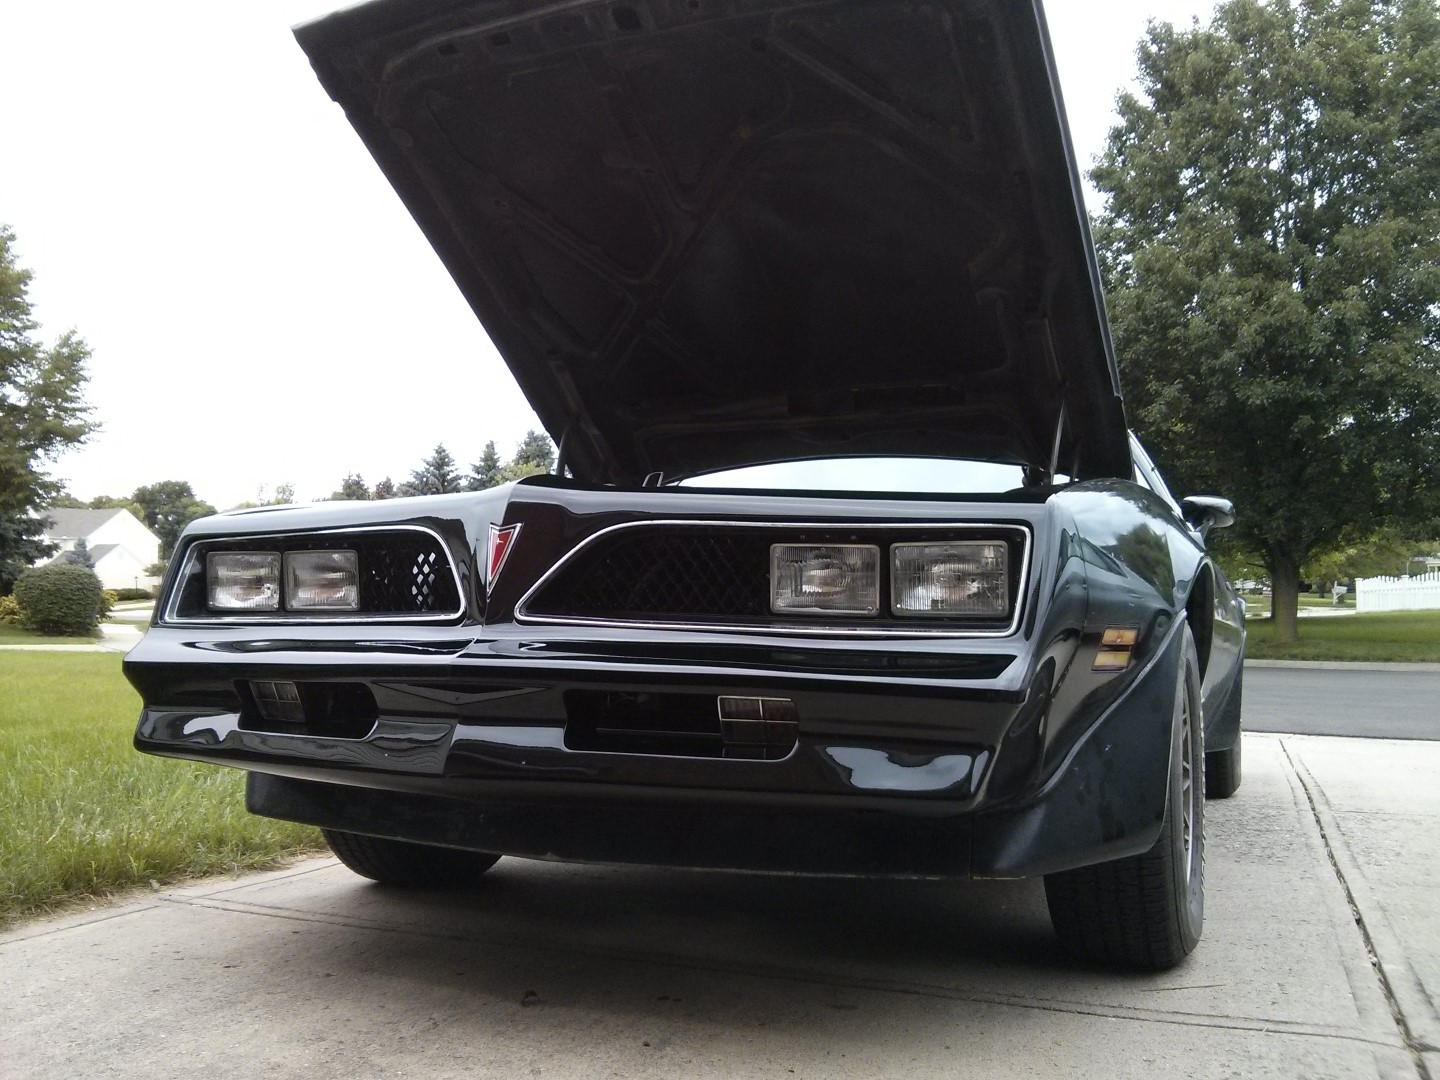
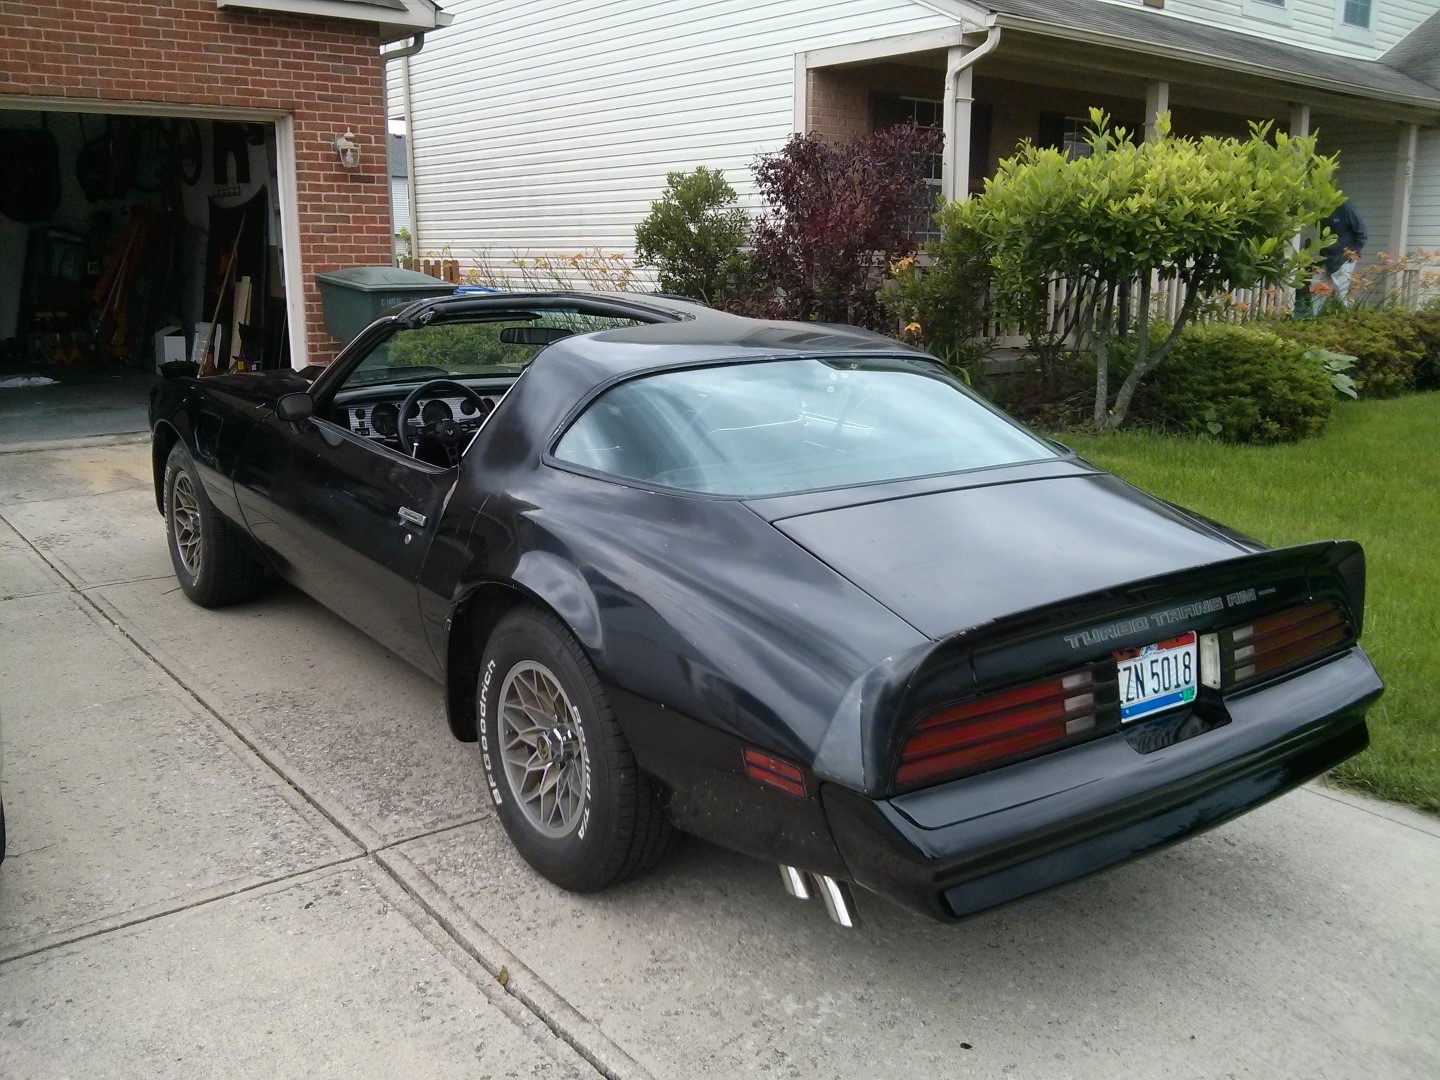
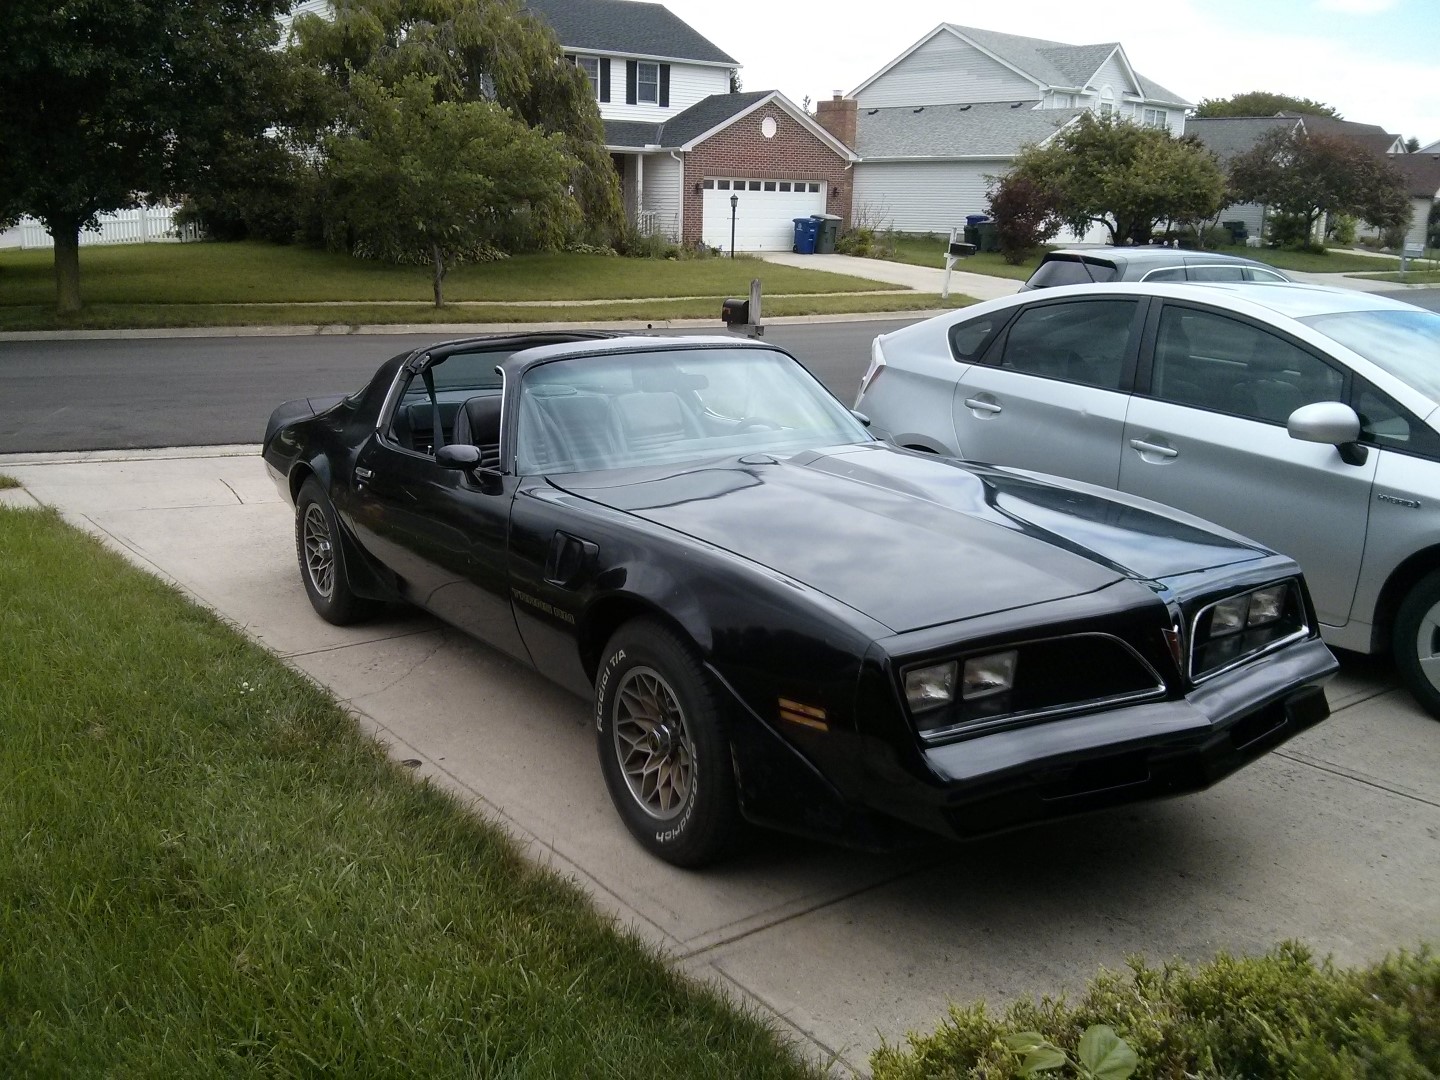
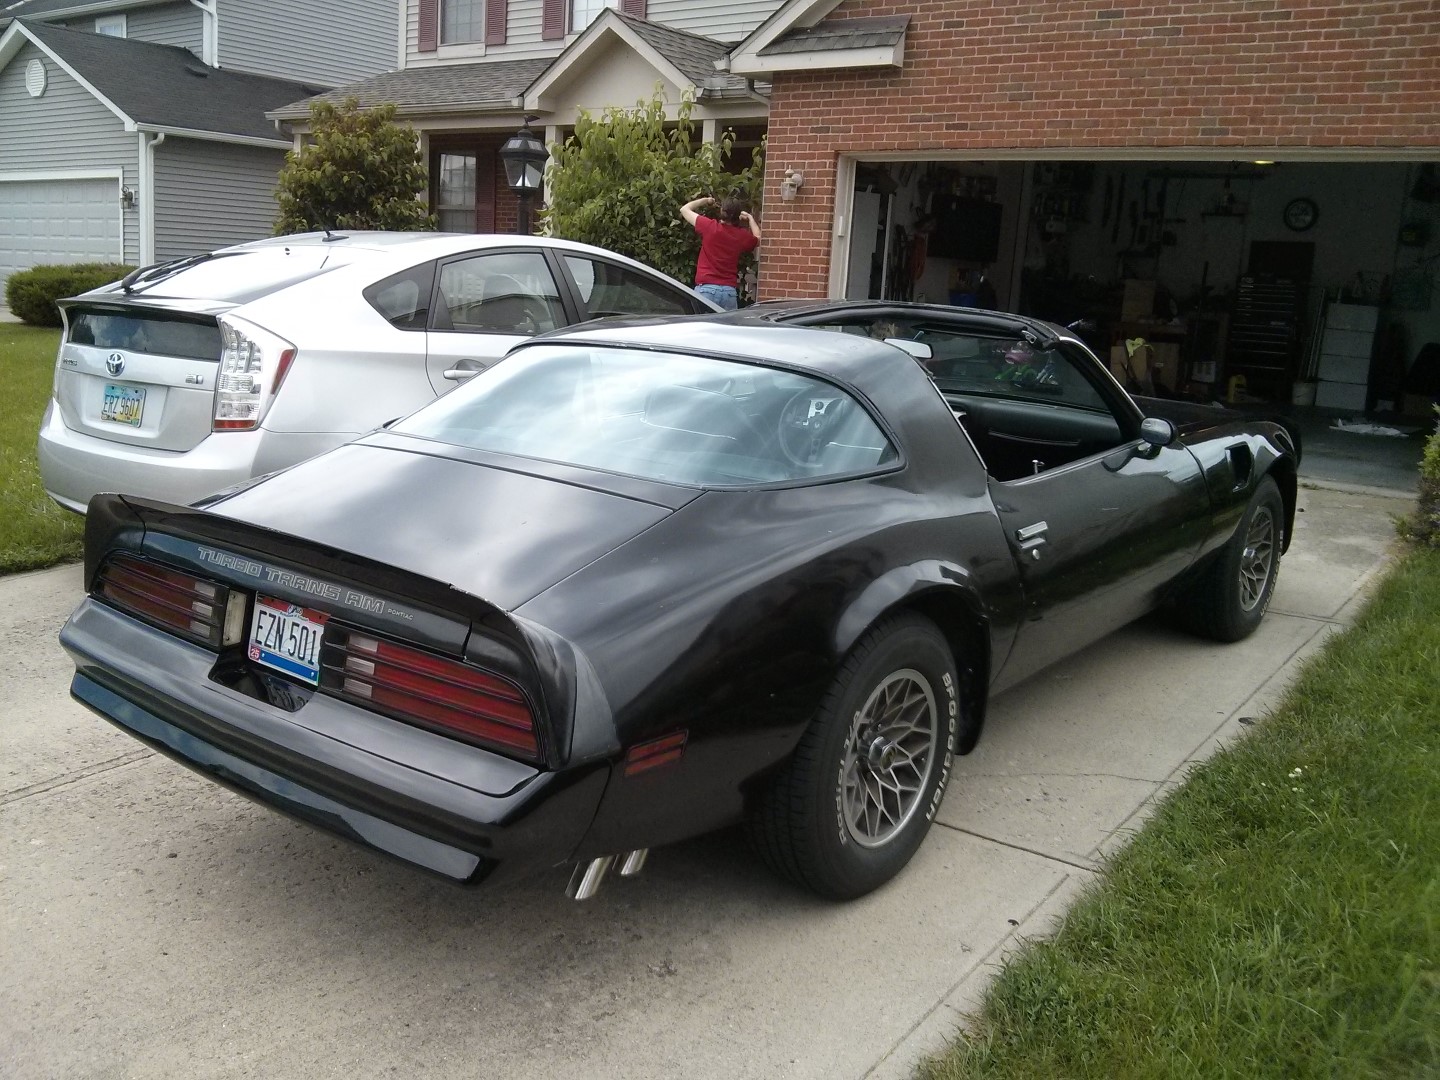
From June up through October, I’ve been working on the Trans Am off and on with a couple roller coaster problems. First, some pictures now she’s driving under her own power!
Now lets re-hash the summer…
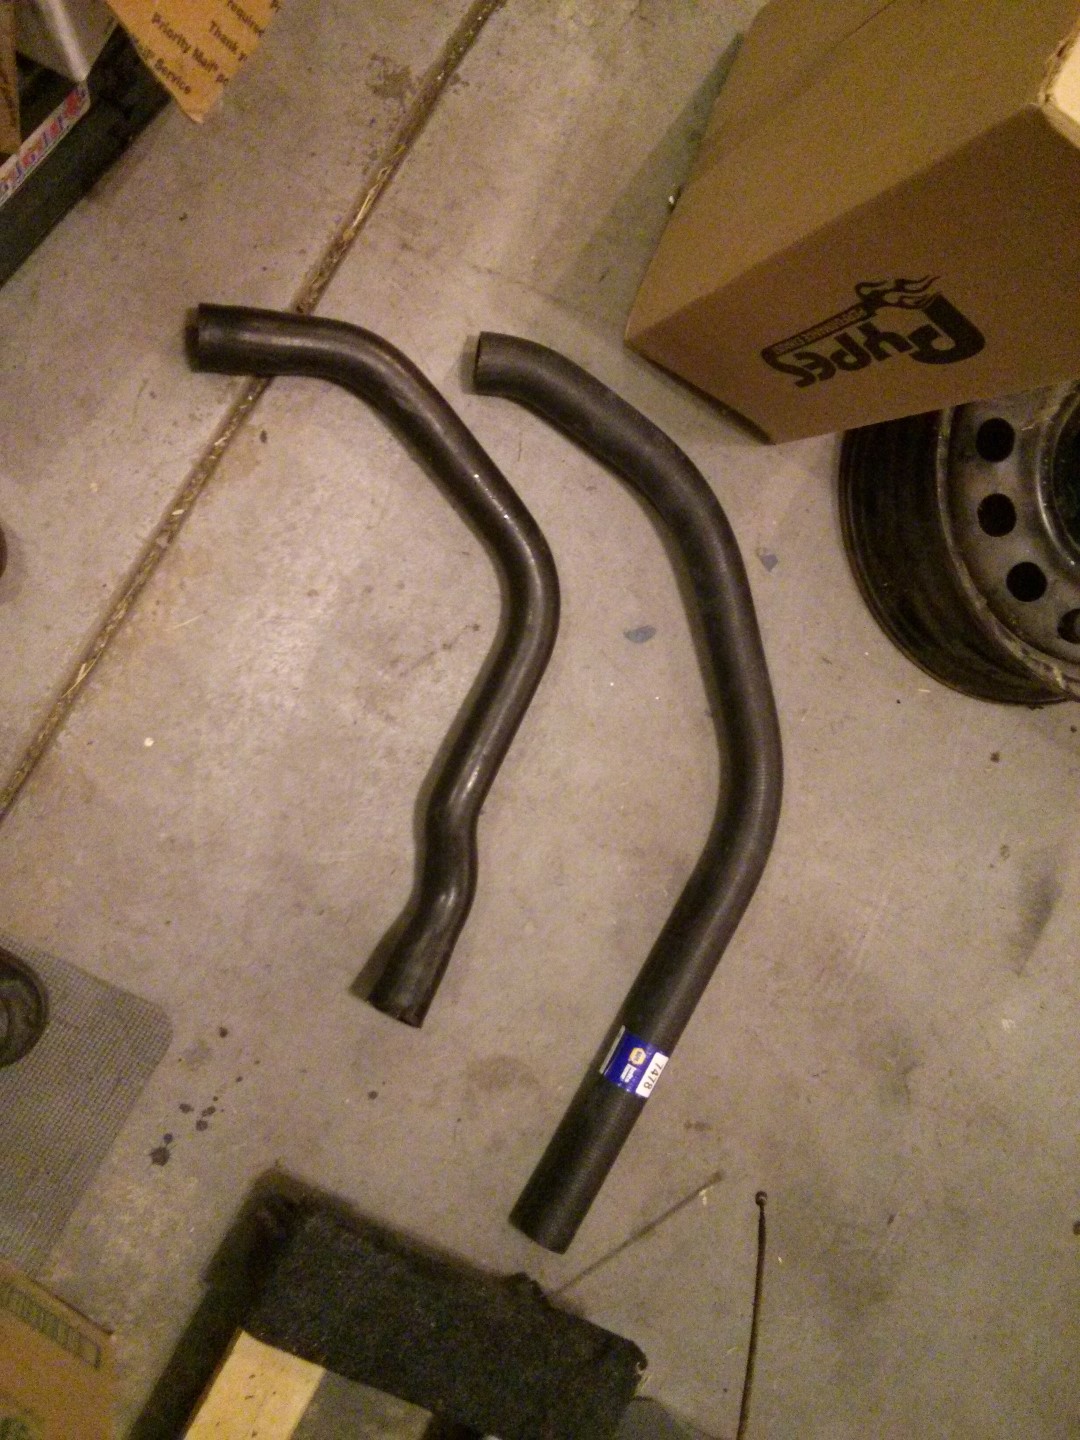
Upper Radiator Hose and Radiator
When I first got the motor in the car and I was taking the car on small trips to break in the rings and get things done like the wheel alignment, I randomly had a problem with the upper radiator hose blowing off the top radiator inlet. After the 2nd time it happened, I went to Google to see what could be the problem. It sent me down a goose chase, I started thinking that there could be issues with the water pump, or with the coolant mixture, you name it all the bad things that it could be came up on Google. Luckily I didn’t let that get to me, because nothing on the web actually explained the problem.
One fact, the radiator hose would only blow off 5-10 minutes after driving the car. It would never blow off while running. Also important to note that the coolant circulates into the radiator from the engine through the top radiator hose. the thermostat would have been closed when the coolant was very hot, allowing pressure to build once the engine was off between the radiator and the top radiator hose. With this knowledge, you would assume the radiator pressure would be alleviated in the overflow tank. So logically I replaced the radiator cap first. That didn’t fix the problem, but it did lead me to check the top radiator hose was the right hose.
When I first got the car back in 2009, the first things I purchased were new radiator hoses filters, etc… I knew looking at the car that anything of rubber in the car needed replaced. Well somewhere between that time and now, it never dawned on me that the hoses would be slightly different between a Pontiac Turbo 301 and a Pontiac 400, and for the radiator they are intended for. And all this research explained a lot when I took the car apart back in 2010.
It appears my 1981 Turbo Trans Am originally came with a 4 row radiator, replacement part number 477 if you are looking at a parts store. I didn’t buy this radiator back in 2010, I got the 3 core 573 radiator. I did not plan on putting air conditioning in the car so it made sense to save a little coin at the time and get the 3 core. When I took the core support off, I noticed the current radiator was loose, the rubber mounts were deeper than the radiator by about 1/2″. I ended up ordering new mounts that fit the 3 core radiator and thought nothing of it. Now I know, those mounts were for the original radiator, which someone more than likely had to replace in the lifetime of the car and they replaced it with a 3 core but used 4 core mounts.
After all that, I decided lets try a cut to length pre 1979 radiator hose. While I was at it, I pulled the thermostat and drilled a 1/8″ hole to allow some coolant to pass through the radiator to prevent vapor lock, but also to allow (in theory) some of the pressure to go back into the motor. The new cut to length hose failed too. By this point I’m getting very frustrated with this hose blowing business.
So here’s what really caused my problems. The radiator! The 3 core 573 radiator upper inlet has both a 1.5″ and then a stepped down 1.25″ neck. When I used the radiator hose for the 301, it fit perfectly using the 1.5″ second step, but it did not allow enough of the hose to slip over, causing the clamp to clamp around the lip , rather than before the lip. This was the problem! Basically when the engine was off, pressure would build at the top hose, and the clamp wouldn’t hold the rubber because the clamp was not behind the lip of the radiator inlet. I added a new clamp at the 1.25″ step of the radiator inlet and I haven’t had the hose blow off since. More than likely the 301 turbo hose would have worked just as well, the thermostat didn’t need the drill hole, and the other radiator cap was more than likely fine too. Live and learn!
Also note, the 301 / 301 Turbo radiator hose would need trimmed about 2″ at the radiator side leaving a hose with the diameter of 1.25 which would fit the radiator’s 1.25″ 2nd step inlet perfectly. The cut to length Pontiac hose I believe is for multiple model cars. I would say that if your putting a Pontiac 400 into a 301 car you can use the 301 hose just keep in mind the diameter is not 1.5″ throughout the hose like the cur to length hose. If I were to run a 4 core radiator, I would definitely not use the 301/301 Turbo hose.
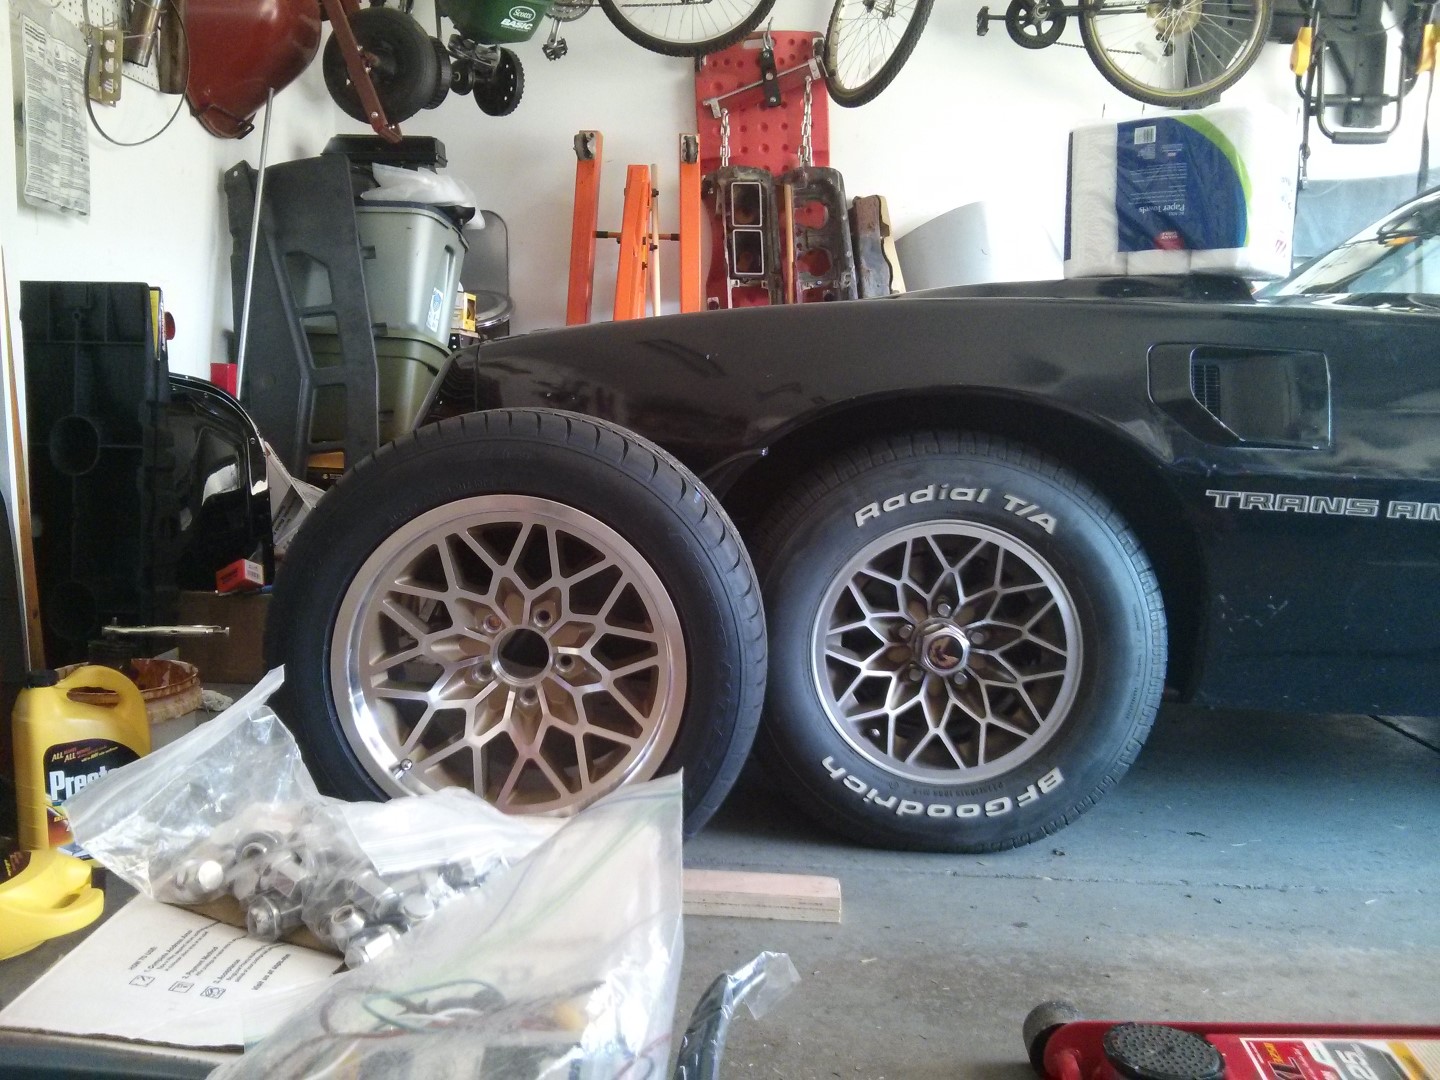
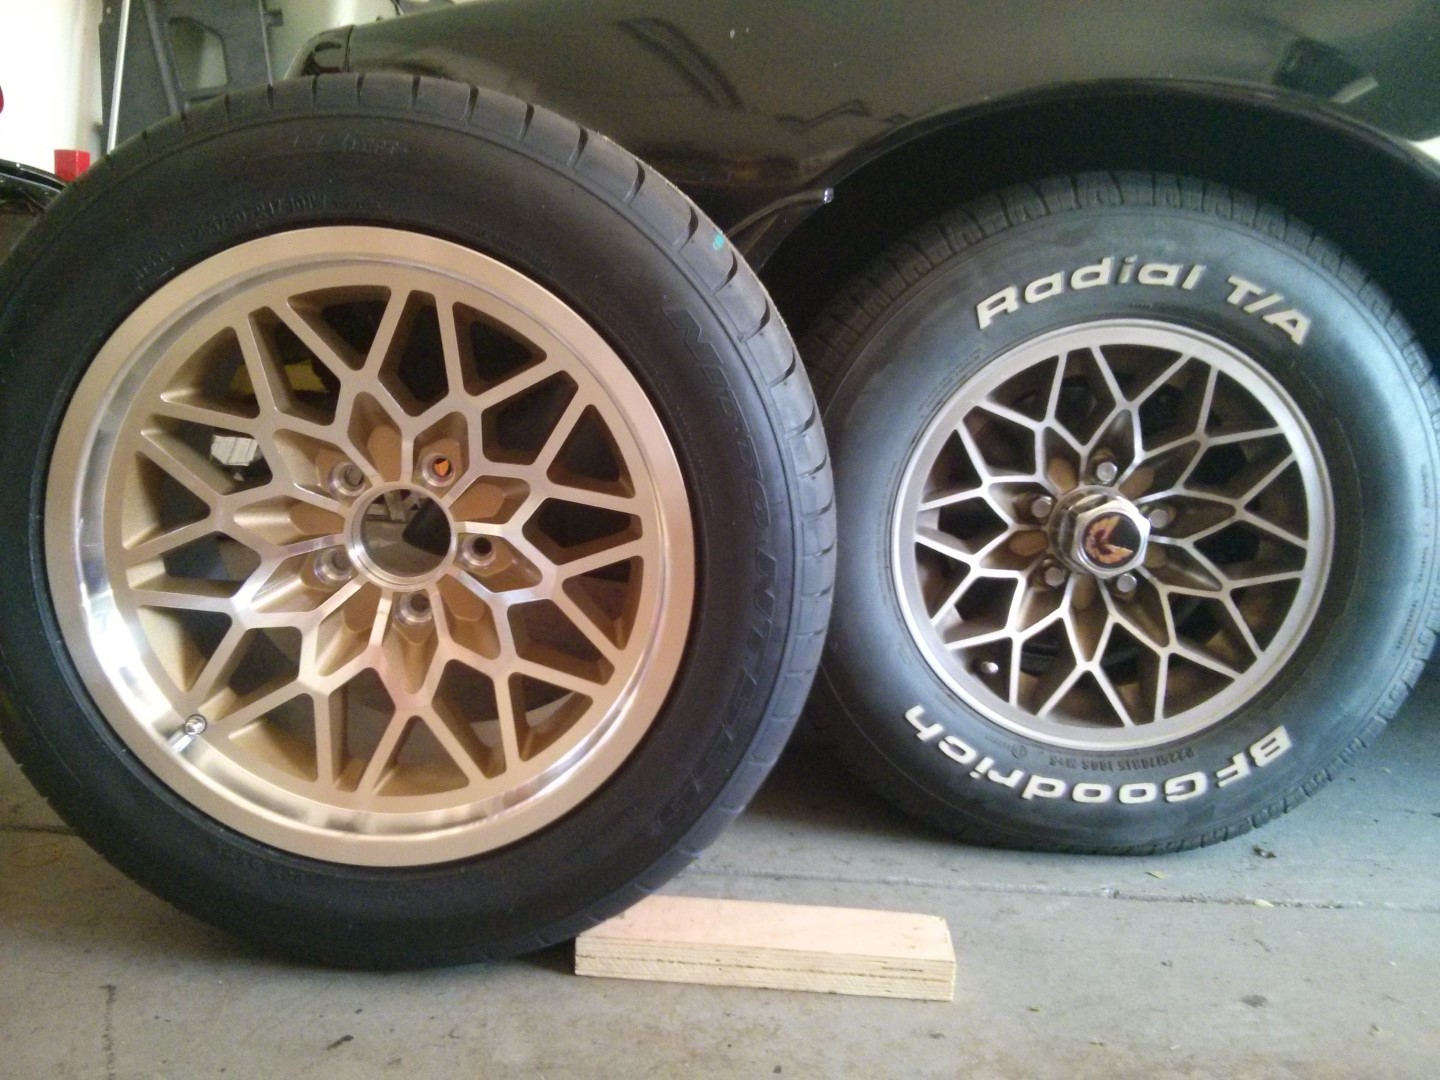
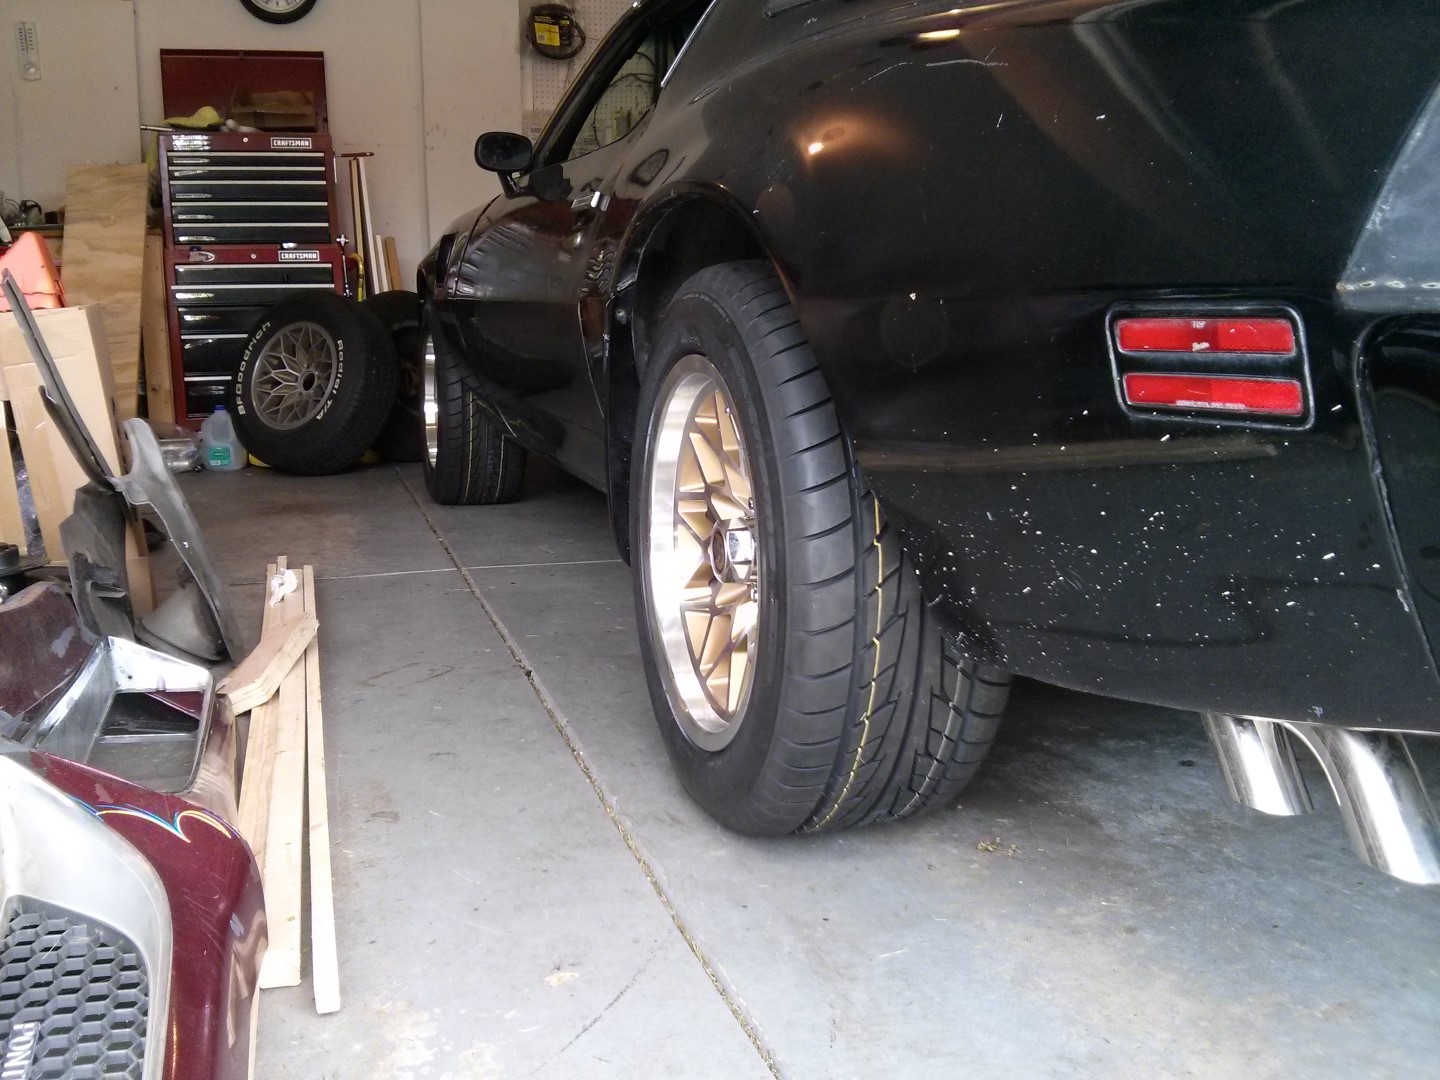
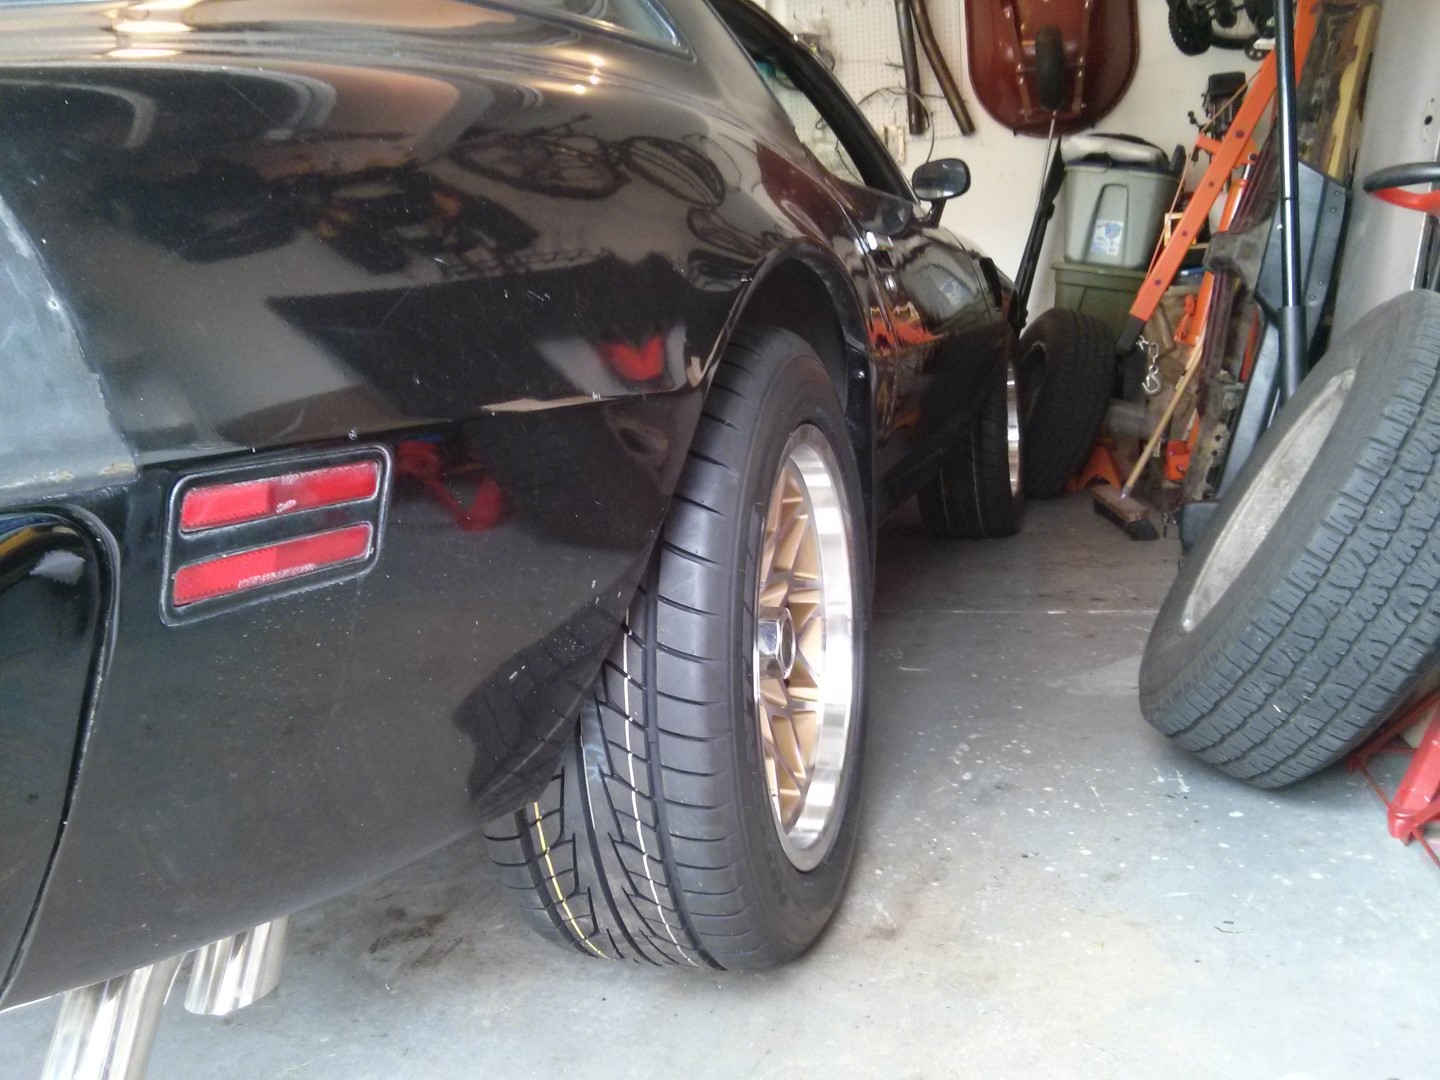
New 17″ Year One Wheels and Nitto NT 555 tires
I decided to go with Nitto 555 tires with the 17″ Year One wheels. Once I picked my tires size 255/50R17 , I really only had a handful of brands to pick from. The Nitto NT 555 was the best priced and well reviewed performance tire. If I had the cash, I would have considered the BG Goodrich g-Force T/A’s, but they were just out of my price range. I also considered Kumho Ecsta ASX (and the summer tire SPT version) but ultimately decided that I wanted the performance tire to have better wet traction, which lead me to go with the Nitto NT 555’s.
The results are in, these wheels and tires definitely improved the handling of the car. Actually, they amplified an issue with my steering box, which is the next item on this posts list. It is definitely worth the investment. No one makes performance 15″ tires, and even if they did, they will never perform as well as a lower profile tire.
Burnouts are harder to do with these tires, the wider profile tires definitely want to grip, which is a good thing. I get an initial rip of the tires, but then they start crawling the car forward, where the older tires, particularly in a turn, could keep letting loose with no traction.
I am keeping the old wheels and tires until I get the car painted.
Lares remanufactured steering Box rebuilt by Steer and Gear in Columbus
In 2012 I bought all new suspension components, at the time I also ordered a Lares (brand) remanufactured steering box from RockAuto. I didn’t think about bench testing it, I just assumed it was assembled correctly and put to factory specs. When I finally got the Trans Am on the road this summer, I noticed a lot of slop. At one point I thought perhaps it was my aftermarket intermediate shaft (more on that next) because it did make a bit of noise at the u-joint to the steering column. But once I got that off and put some vice grips on the gear side of the steering shaft, I really noticed the slop in the steering box. It was worse than the steering box I was replacing, which had 156k miles. I think I spent about $80 on this re-man steering box, it was definitely over 2 years ago with no warranty at this point. So I did a little research to see what I could do to the box and found out how to adjust the gear box on a bench using a very low inch pounds torque wrench. $40 torque wrench later (I had to buy a Park brand torque wrench for bicycles, only quality company to sell a torque wrench in the inch pounds needed for this), there was still way too much slop in the box. At this point, I decided to take it to a re-builder to see what was wrong, and I am so glad I did. I took it over to Steer and Gear in Columbus, they are known for rebuilding Mopar steering boxes. They only had it for 2 days and it came back brand new! Apparently something was not seated correctly during reassembly which caused everything else inside the box to not line up properly, causing a “smorgasbord” of issues with the box. All Steer and Gear had to do was reassemble it correctly.
When I got it back, it was super stiff, just a slight touch of movement on the steering shaft side showed pitman arm movement. You can’t get any better than that! Driving the car went from being a wobbly mess to a one-hand enjoyment!
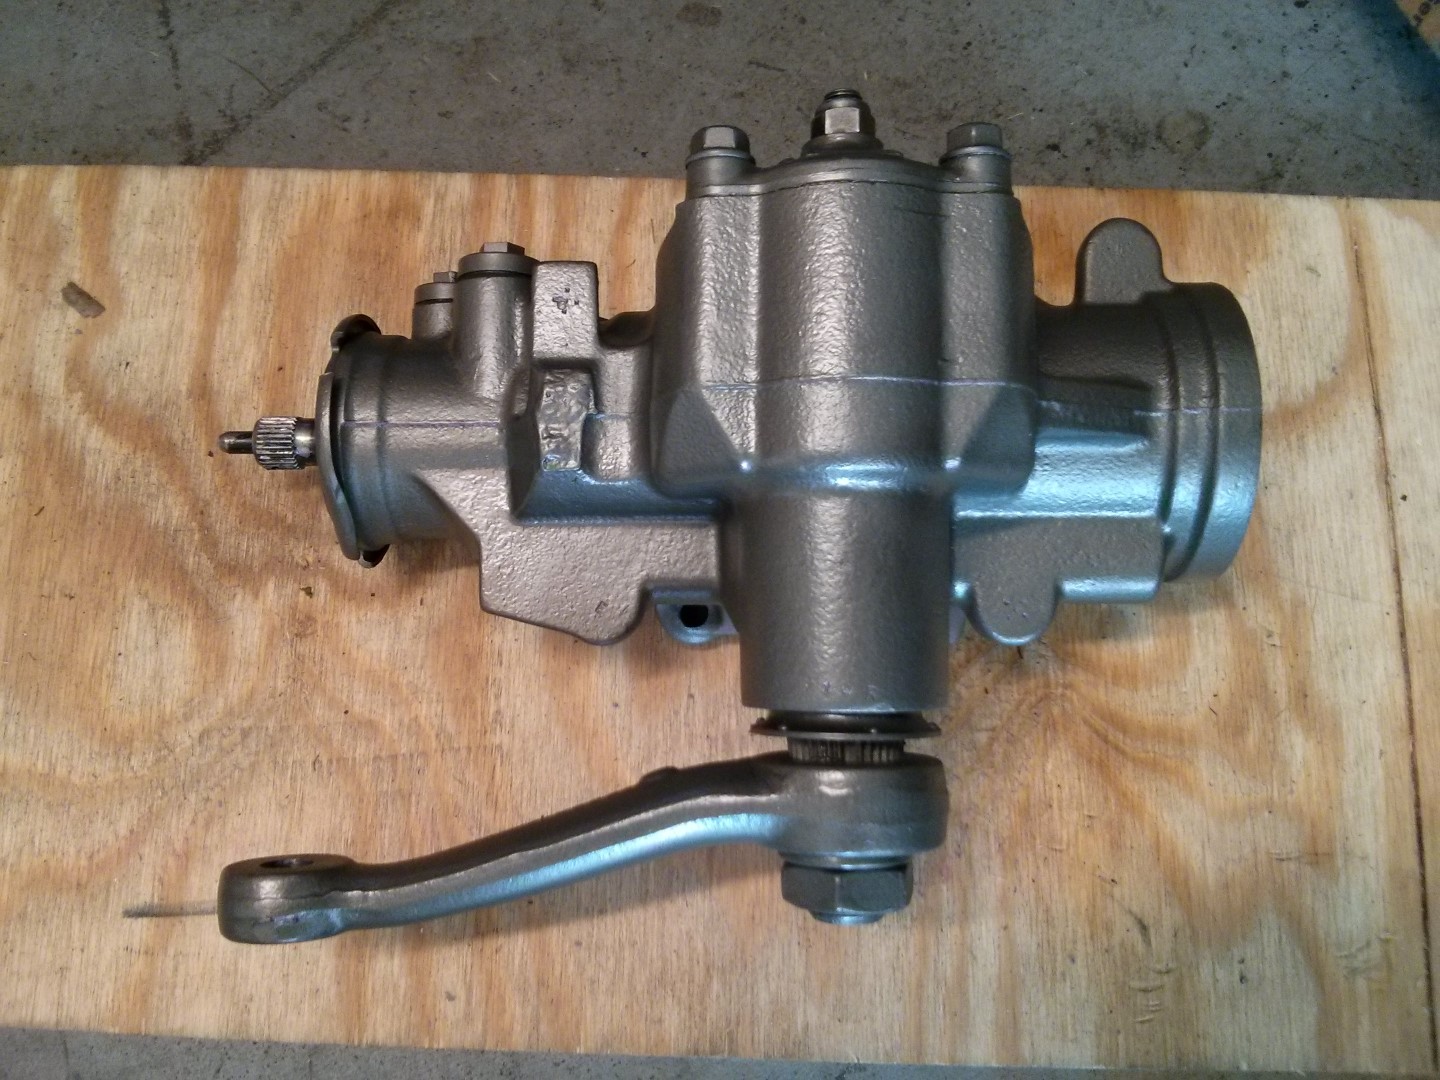
Steer and Gear did paint the box black, but decided to re-paint it with Dupli-Color Cast Iron gray so it matched my other steering components.
Intermediate Steering Shaft
in 2012 I bought a reproduction intermediate steering shaft, mainly because it has a new rag joint. It installed fine, maybe too easily. I did not think anything of it until I started driving the car. My buddy Joel noticed that when I would turn left or right, there was a clunk sound in the steering column. While I was fixing my steering box issues, I noticed that the intermediate shaft at the steering column side was producing the noise. After investigating, I found that the D shape coupling was not a tight fit and there was just a hair of space where the coupling could wobble. Though it did not appear to effect the steering, it did make noise, so I swapped back the old intermediate shaft and I’m now living with the old rag-joint.
The ultimate fix is to disassemble the coupler end of the new intermediate shaft and put the factory coupler end on it. I will come back to this in a year or two if the steering starts to bother me. As of current though the steering is pretty tight, though I suspect a 156k mile rag joint will not perform as well as a brand new one, it’s not doing too bad either.
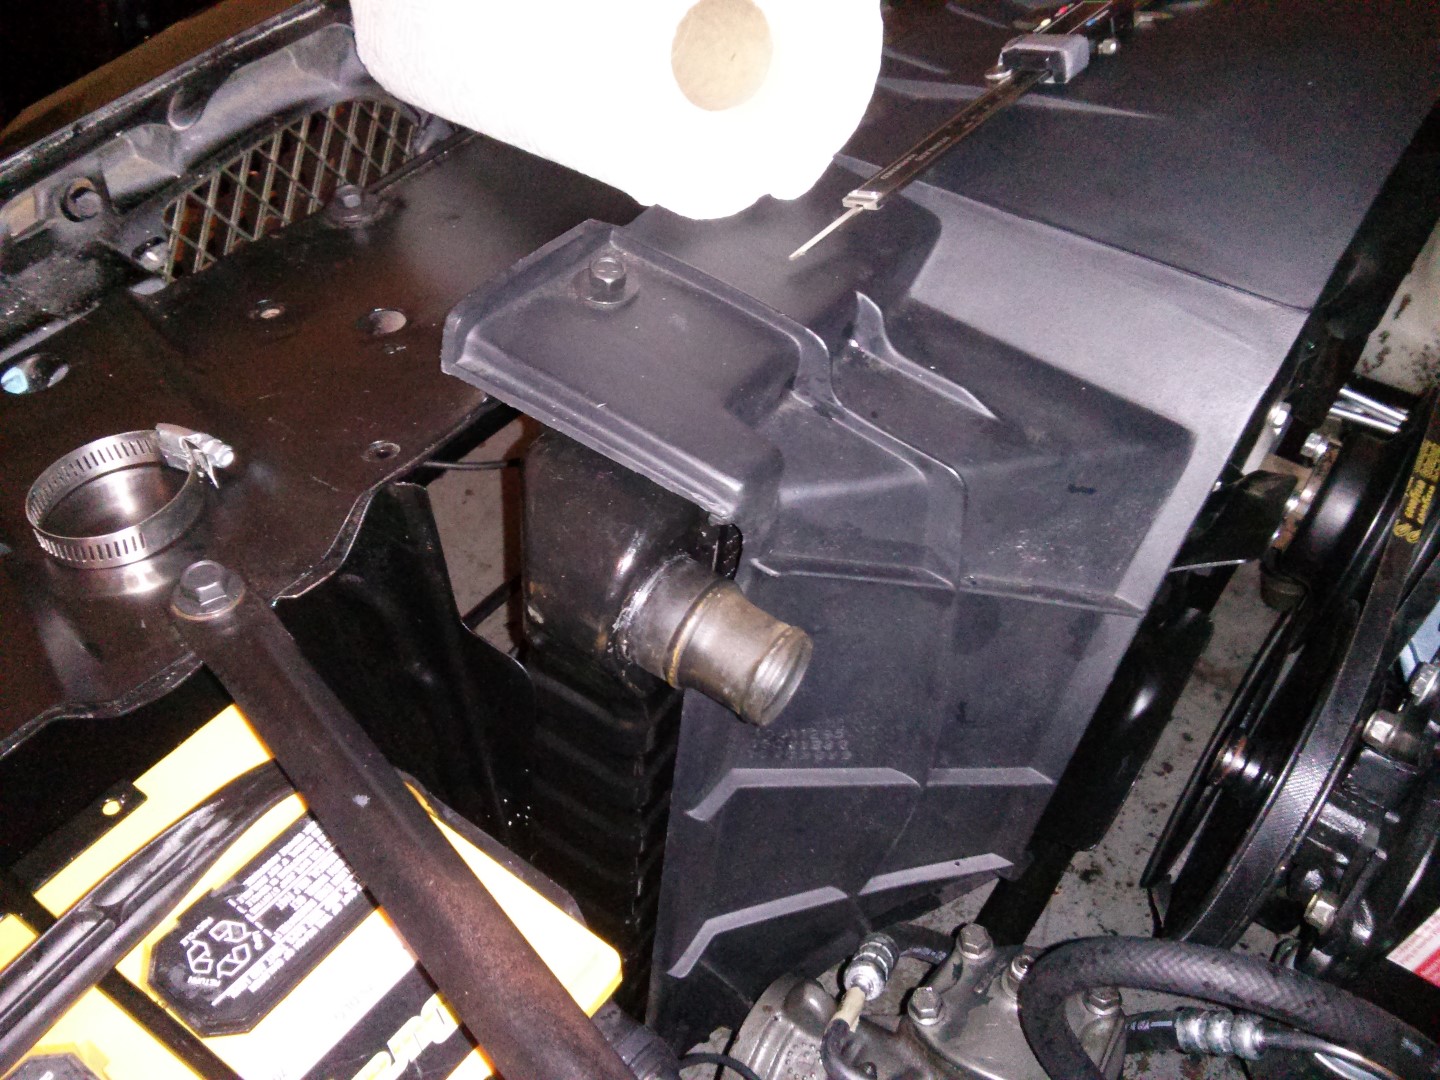
Fuel Line from Fuel Pump to Carb Modifications (in progress)
It was brought to my attention that I should upgrade the fuel filter that I’m using between the fuel pump and carb to ensure adequate fuel during heavy acceleration. The solution is to replace the factory filter with an inline Fram G15 filter. I thought I had a good idea of having a factory line cut and barbed 4″ before the carb, but my plan did not quite fit the space provided. My last tests I used rubber hose in a bend. I am still not getting the clearance I wanted. Due to other issues I’m trying to resolve, I decided to go back to the factory hard line and factory filter setup, but I do plan to revisit this in the spring. Here are some pictures so you can see the progress. My goal is to have a setup that looks factory. One thing I hate is when you see hoses thrown into an engine bay.
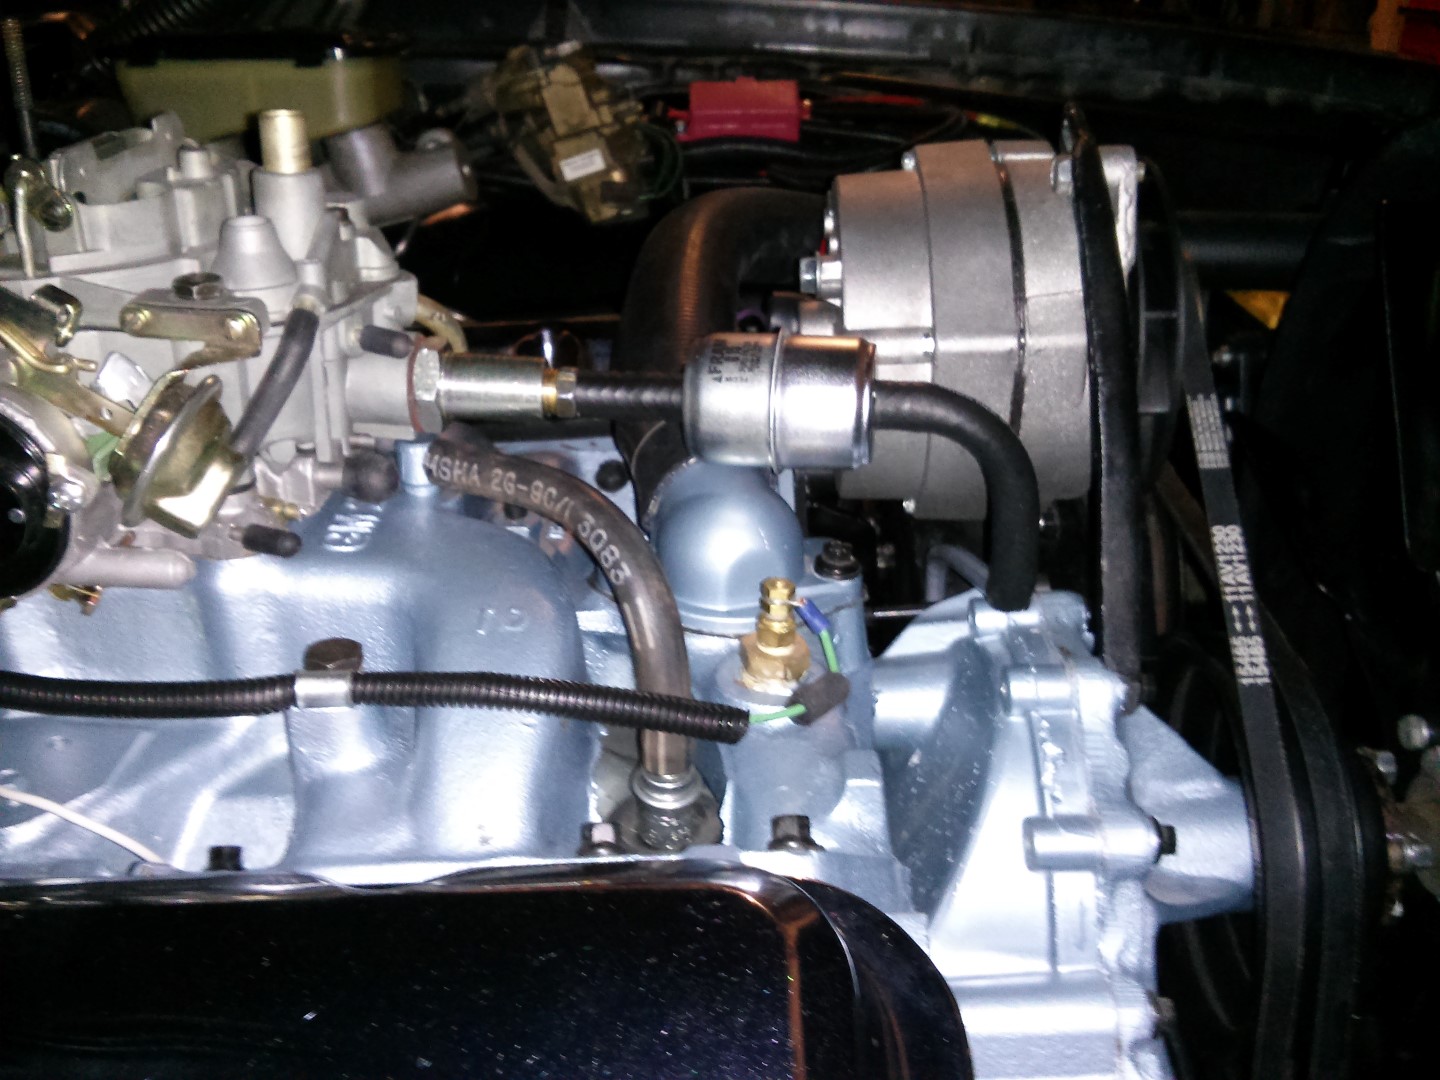
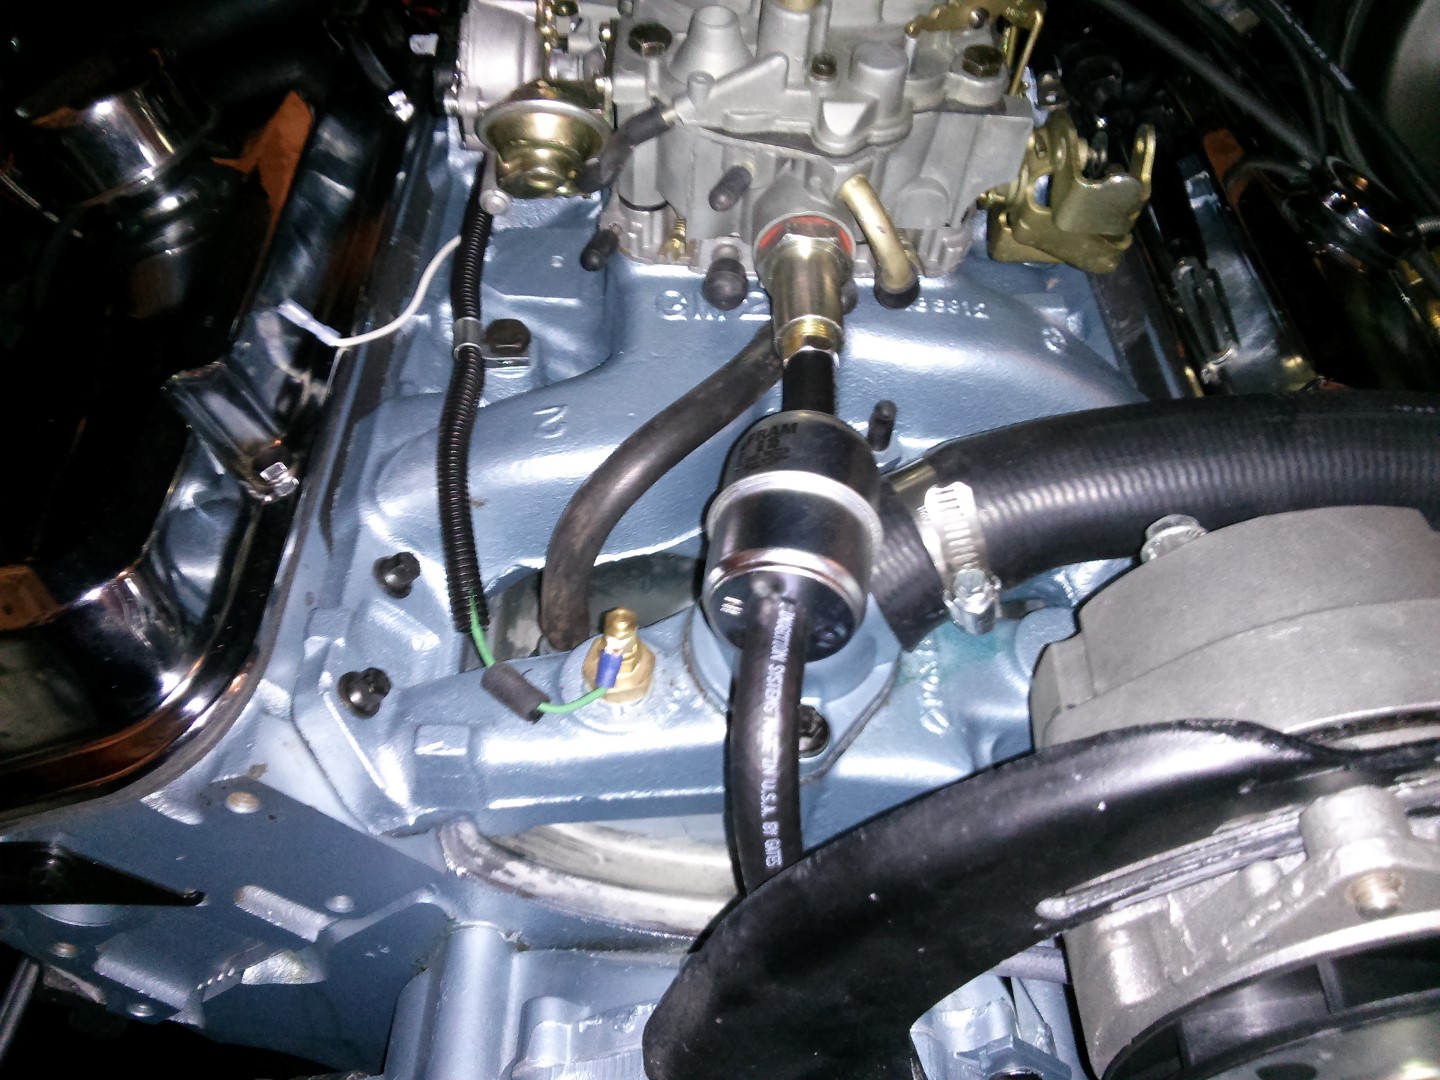
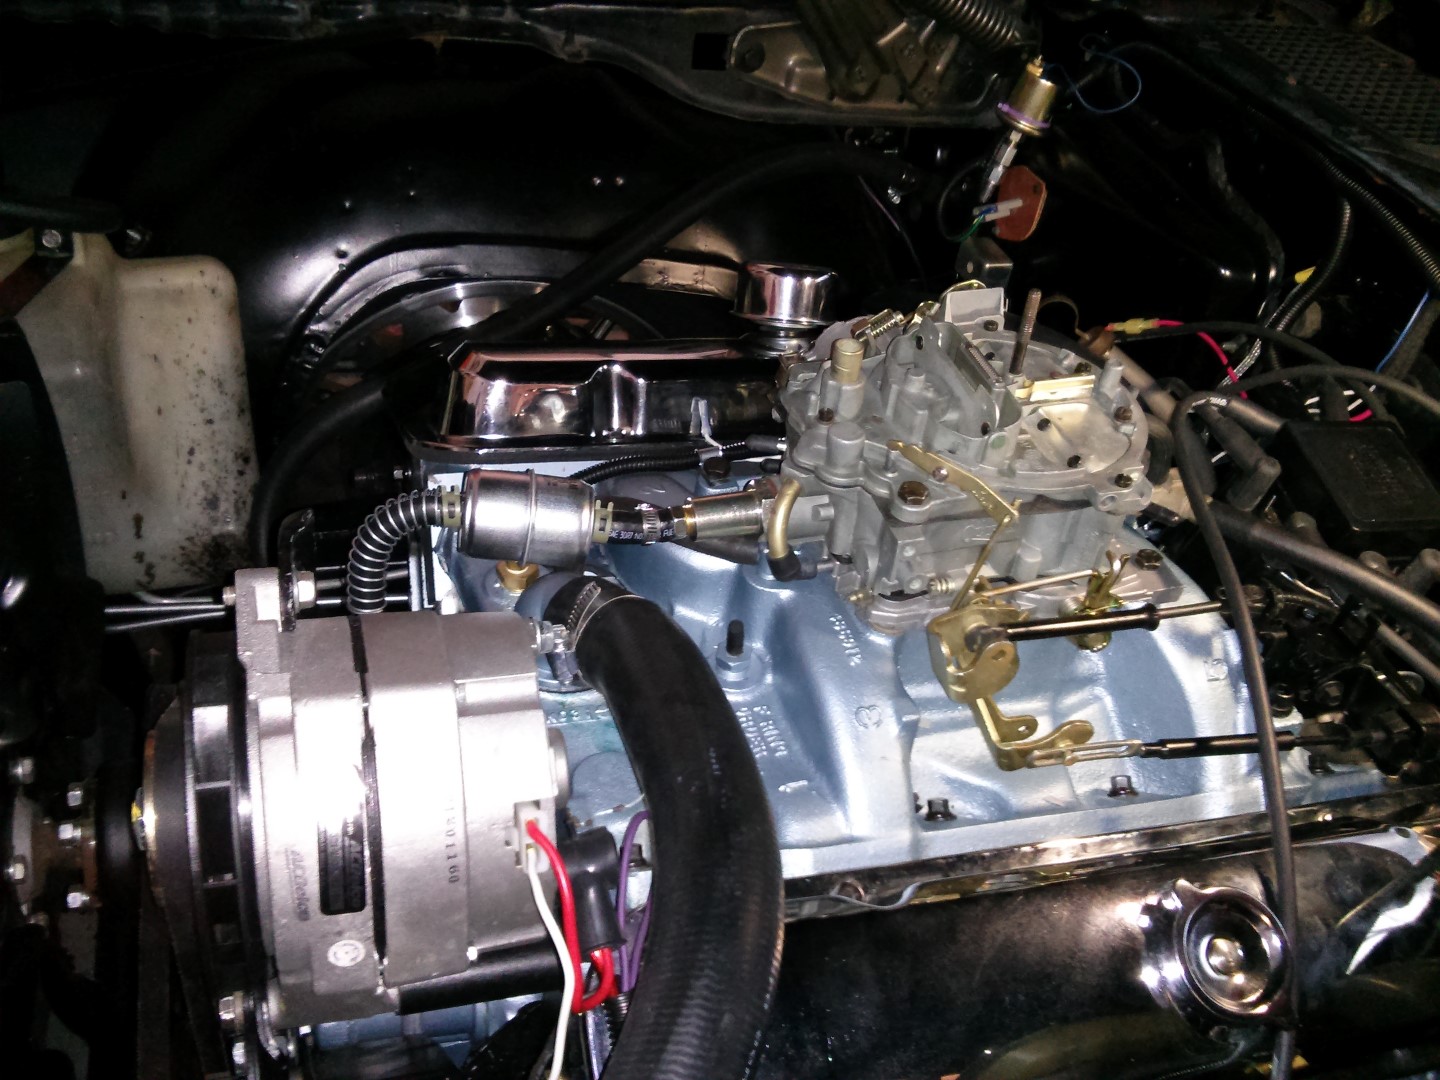
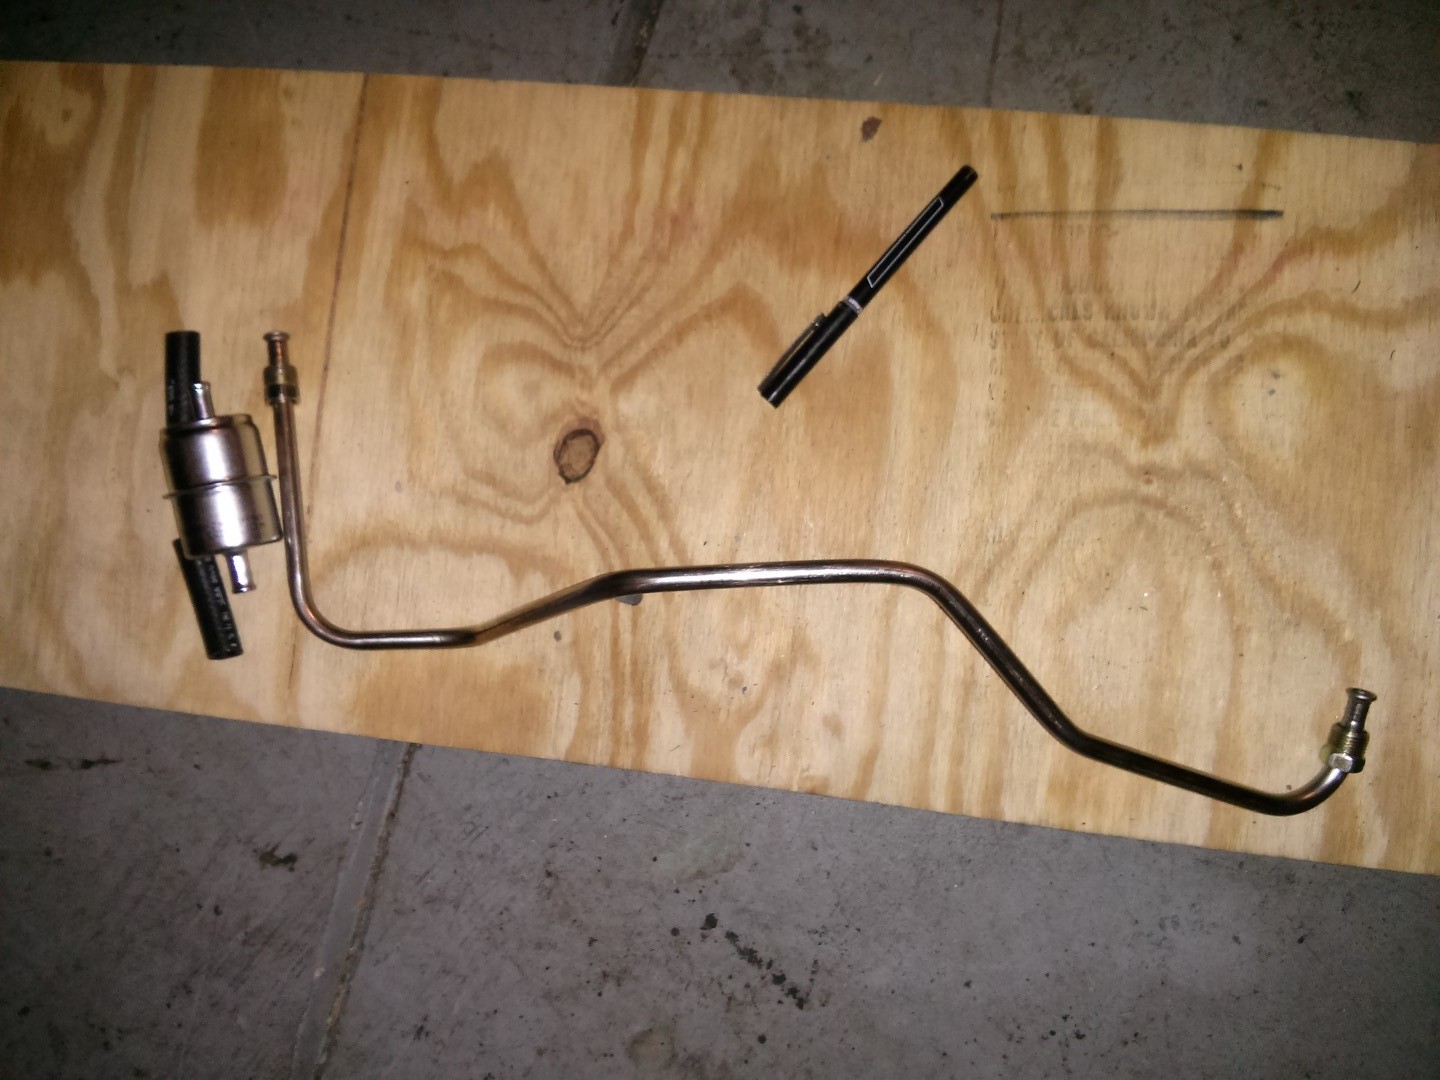
You can see in the last picture that I was overzealous assuming the filter could fit in that last section of the fuel line. It almost worked, but was too tight and not serviceable. I also looked at using regular hose, but it quickly kinked. I then tried using a spring to reenforce the hose, but then it lead to the same problem of being too tight, plus at that point it was starting to not look factory.
Muffler dynamics
Once I got her on the road, I quickly found the mufflers, which sounded great when I first rebuilt the motor, now sounded like a droning nightmare. The Pypes Street Pro mufflers with factory log manifolds sounded awesome, but now I am running ported heads with Ram Air exhaust manifolds, the Pypes Street Pro mufflers had excessive amounts of drone inside the car, and outside of the car I sounded like an obnoxious hot rod. I decided to replace the Street Pros with Dynomax Super Turbos, which appear to have quieted down the exhaust, but I still have a drone sound at idle inside the car, albeit low. This very drone problem appears to be a problem a lot folks have over at Performance Years forums, and the consensus is that the drone is caused by a combination of using Ram Air Manifolds with the Pypes X pipe. The fix is to run straight pipes rather than the X. Not an issue I’m now concerned with, I may eventually replace the X pipe with straight pipes in the spring. We’ll see if the drone bothers me over the coming months. At least now I don’t sound obnoxious.
Again though I have to say the Street Pro mufflers with the log manifolds sounded quite nice. I suspect the logs cut down the frequency of the exhaust significantly enough that the Street Pro’s rumble was desirable. Also important to note, Street Pro mufflers are not intended for street use. You want a street Pypes muffler, you need to get the “race pro”. Figure that one out.
Ignition System Blues
The last of my problems was with my Pertronix distributor. Near the end of the summer I had a hard time keeping the motor running. When I checked it with a timing light, I observed erratic timing. At first I wrote it off as this is just how old cars work. But at one point it really got out of hand. The last time I checked it before I took action, I observed the timing retarding when I revved the motor rather than advancing.
I did some research, and I couldn’t find much about the problem, except for a handful of folks who complained about it happening to them with their Pertornix modules, I didn’t have much to go by. I was tempted to order a replacement Pertronix module to see if it fixed the problem, but quickly found that a brand new Cardone OEM replacement distributor is 1/2 the price of a new Pertornix module, plus swapping the entire distributor would be better diagnosing the problem. I did have to order another distributor gear because I have a hydraulic roller cam.
Don at DCI curved my Pertonrix distributor specifically for the cam. I knew my test distributor would never have the right curve, I decided to put an MSD re curve kit in my Cardone replacement to at least get me into the ballpark for testing purposes. The MSD weights and light springs got me pretty close at least.
The Cardone replacement distributor worked!!!
My timing curve is not quite right, I’m idling at 16 degrees, where I need to be about 20-22, but my all-in at 3,000 is at 34 degrees, and she pulls strong on the street. Lesson learned, ignition modules go bad even if you pay 4x more for the distributor, the quality may not be there.
Ignition Future Plans
My plans now are to lockout the mechanical advance in my distributor and replace the Pertronix module with the MSD 6530 Programmable 6AL. This will allow me to set the exact timing curve with my computer. It will also allow me to set a few more things, specifically a rev limit. Plus I will be able to adjust all this with my computer, which is something I will enjoy I am sure.
While the Cardone distributor is in the car, the plan is to modify the Pertronix distributor for the MSD 6530 ignition box.
I purchased a lockout plate assuming it would work with the Pertronix distributor. It fits the factory distributor perfectly, but unfortunately the Pertronix distributor uses different diameter shafts for the distributor weights and center plate, so I cannot use it with the Pertronix distributor. At this point I’m not sure if I will use the Pertronix distributor with the MSD module or not, I got a few months to make that decision, but needless to say I feel like I wasted a lot of money on Pertronix and I don’t plan on buying another Pertronix product for a long time, if ever.
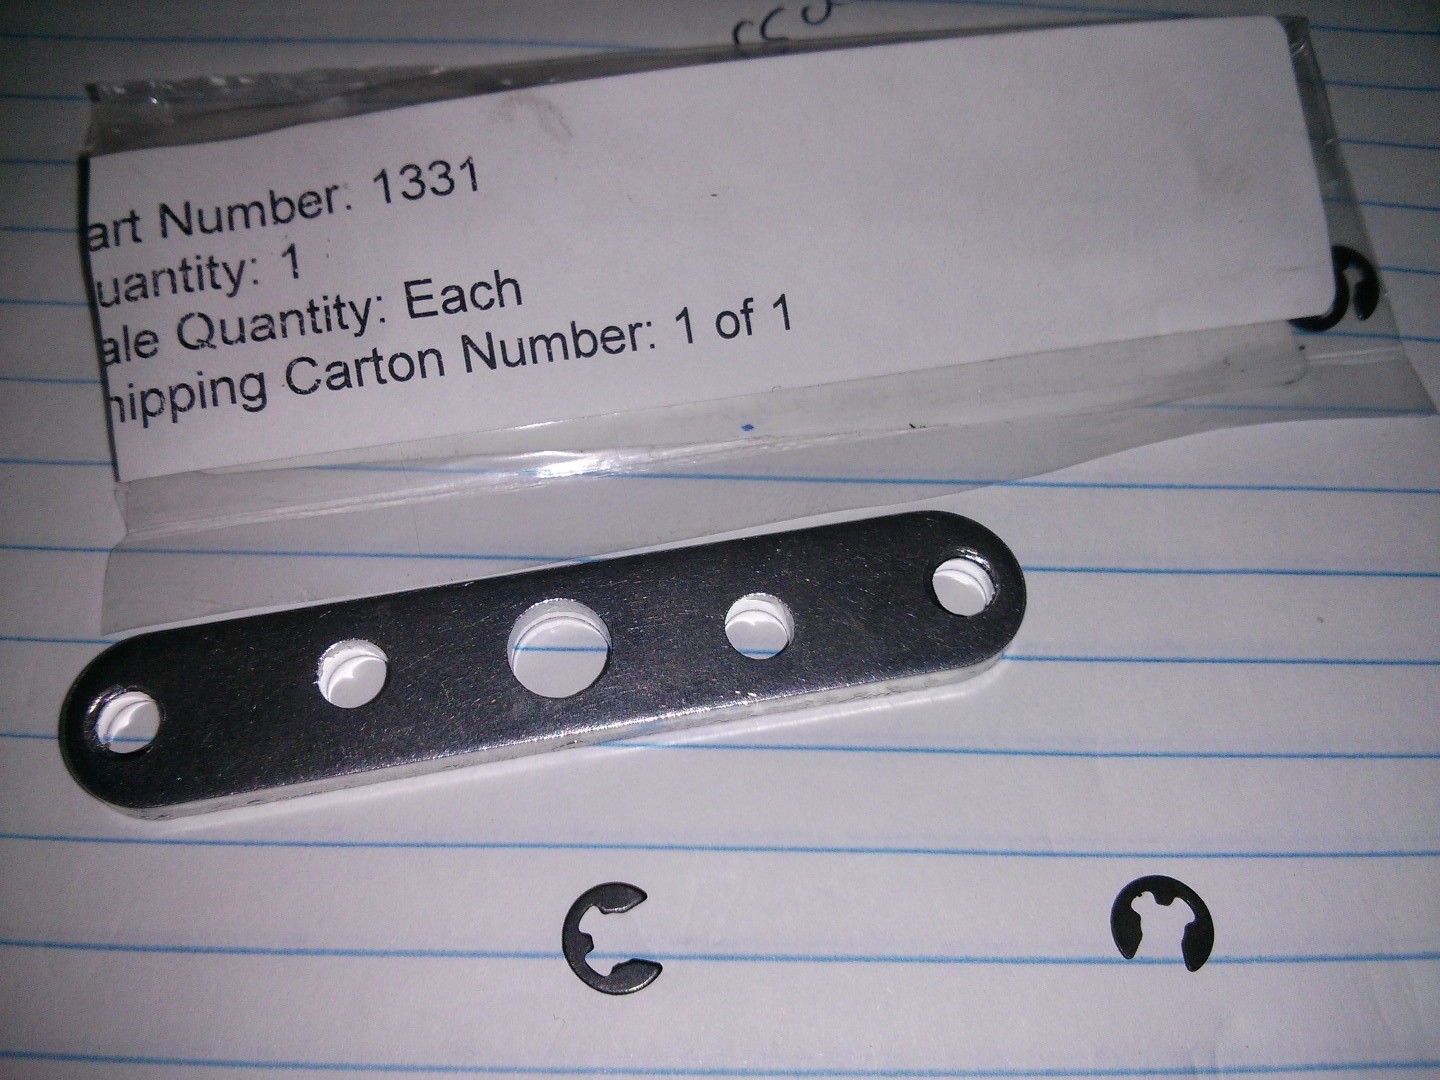
What would you do if you were me? Would you modify the Cardone for use with the MSD 6530 by using the plate pictured above, or would you take the Pertronix and lock out the advance by welding the advance in? I like the idea of modifying the Pertronix at this point, I have nothing to loose, plus I can keep the Cardone as a spare.
What’s Next with Project Trans Am
This may be a very cold winter, so I’m keeping my plans inside the car. I have some wiring gremlins to address, specifically with the left turn signal not always signaling when the headlights are on. I also need to swap out the tachometer, replace the headlight switch, get the wipers working, fix the power door locks, and clean up the trunk. Perhaps next year I will get the car painted!